
DIY Tips
Crafting Beauty: Make Your Own DIY Concrete Planter
Jun
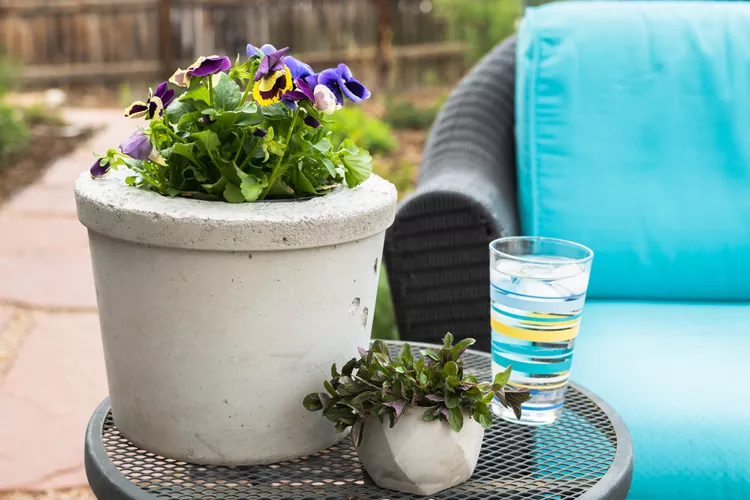
Welcome to our guide on how to make a DIY concrete planter! If you’re looking to add a touch of modern elegance to your home or garden, you’re in the right place. In this comprehensive tutorial, we will walk you through the step-by-step process of creating your own stylish and durable concrete planter. From selecting the right materials to mixing and molding the concrete, you’ll learn all the techniques necessary to make a personalized planter that perfectly complements your favorite plants. Whether you’re a seasoned DIY enthusiast or new to working with concrete, this guide will provide you with the knowledge and inspiration to craft a unique and functional planter that adds a touch of sophistication to any space. Get ready to unleash your creativity and embark on this exciting journey of making your own DIY concrete planter. Let’s dive in!
Supplies You’ll Need To Get Started
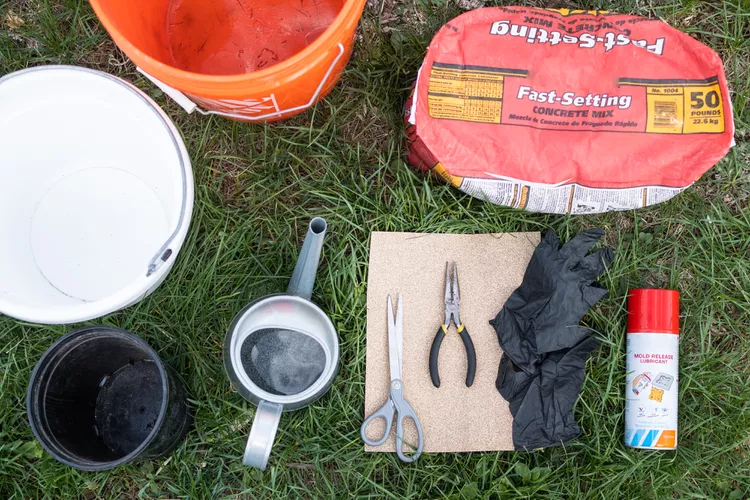
Equipment / Tools
- 5-gallon bucket
- Sandpaper
- Scissors
- Pliers
Materials
- Cement mix
- Water
- Concrete release spray or canola oil
- 1 large plastic container or paper carton
- 1 small plastic container or paper carton
- Latex gloves
Instructions
Step 1: Prep Any Plastic Containers
- If you’re using plastic containers instead of paper cartons to make your DIY cement planter, you need to prep them beforehand. Either spray concrete release spray or lightly soak a paper towel with canola oil and coat the inside of your larger container and the outside of your smaller one, making sure to oil up every inch. This will prevent the cement from sticking to (and ruining) your container after the cement dries.
- You don’t need to prep your larger paper carton like this because you won’t be releasing it from the cement at all—you can simply tear the paper carton off of the cement. Plastic containers don’t work that way, unless you’re using something very flimsy.
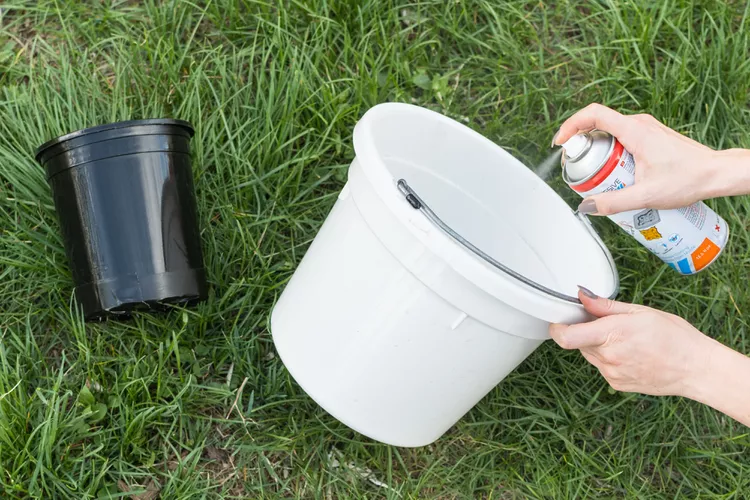
( Tip: Oil or use concrete release spray on the outside of your inner, smaller container no matter its material to make the removal process easier and less messy. )
Step 2: Mix Cement and Water
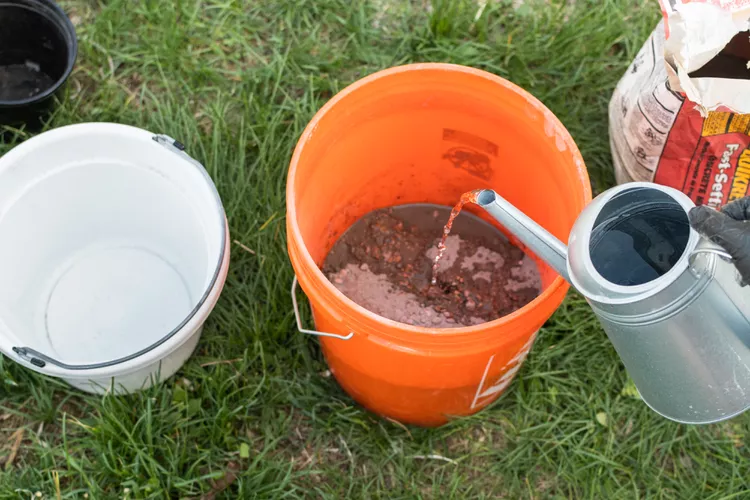
- Don your latex gloves and start mixing cement in your 5-gallon bucket. Follow the instructions on your bag of cement to get the right ratio. Start by mixing equal parts cement mix and water. If it looks dry, add more water. Add more cement mix if it looks especially wet. Keep mixing until you have a thick but slightly viscous consistency, almost like brownie batter.
Step 3: Pour Cement Into Container
- Pour your cement mixture into your larger container, whether you’re using a plastic container or paper carton. If you’re using a plastic container, make sure it’s oiled before pouring the mixture in.
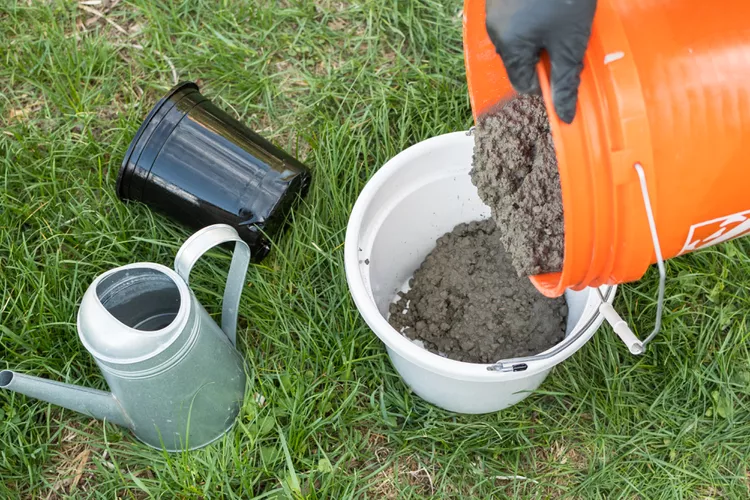
Step 4: Place the Smaller Container Inside
- Insert the smaller container (with an oiled outside) inside the larger one so that it’s smack dab in the middle of the cement you just poured in. This will make the hole where your plant will go once the cement is dried, so push your small container in until it reaches the desired depth. Do not push it all the way to the bottom.
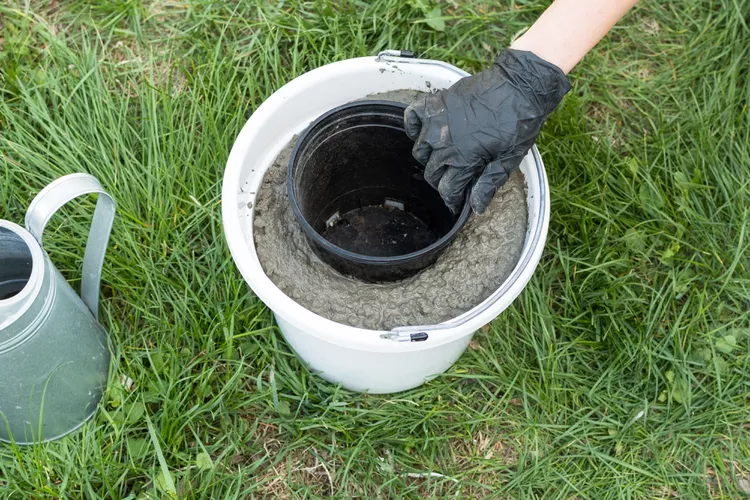
Step 5: Weigh Down the Small Container
- If you don’t weigh down your small container, it could slowly rise to the top and leave you with no room for your plant. Weighing it down is crucial. You can either pour water into the container to weigh it down or use things like rocks and stones. Make sure it’s not so heavy that it will push the container further down into the cement, but just enough to keep it in place as the cement dries.
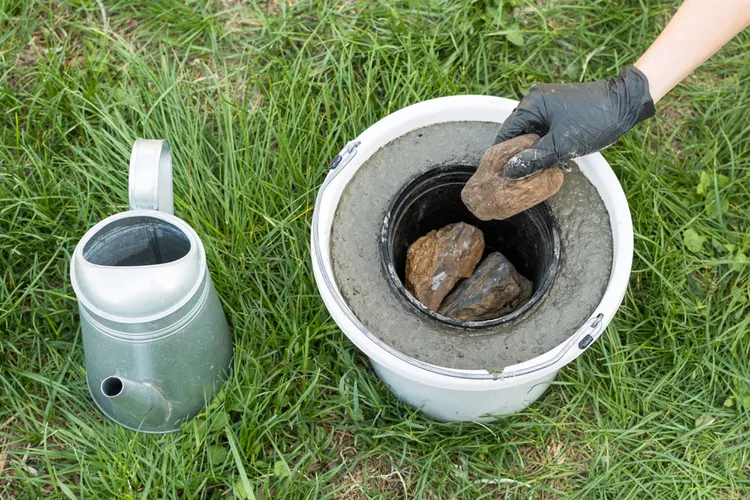
Step 6: Let the Cement Dry
- Check the instructions on your cement mix for the appropriate drying time for your cement. In general, allow between 12 and 24 hours for the cement to dry. Before moving forward, make sure it’s completely dry and won’t crack when you remove the containers.
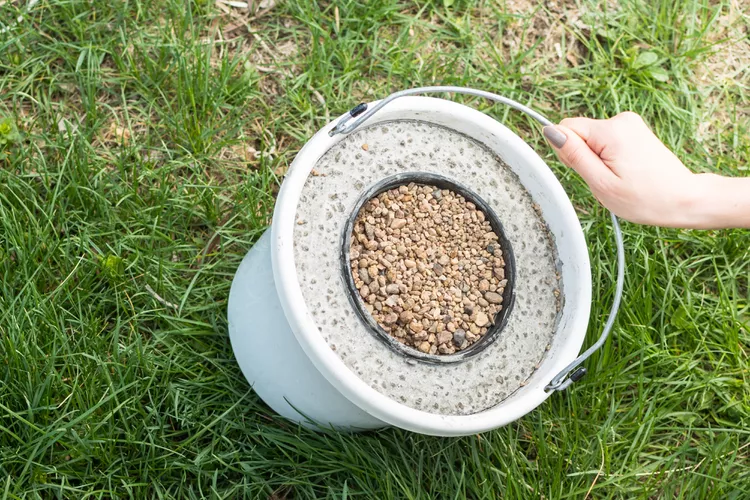
Step 7: Remove the Containers
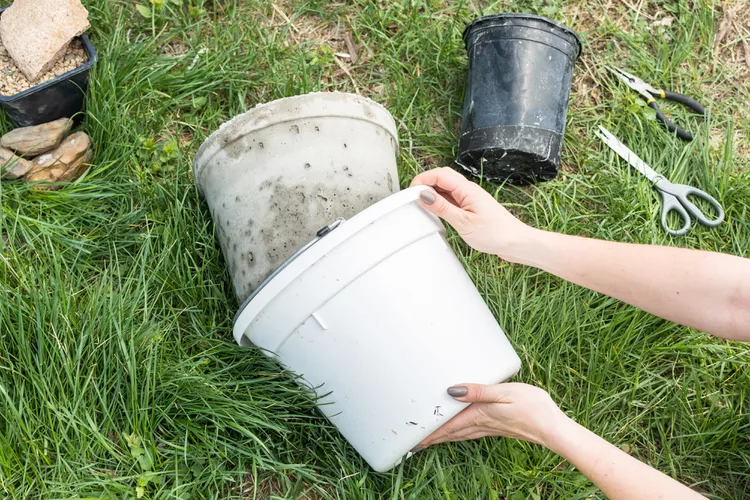
- Once the cement is fully dry, you can start to separate the containers and the cement. If you used a paper carton as your container, you can simply peel it away. The oil you prepped your plastic container with should allow it to slide out relatively smoothly to reveal the finished shape of your DIY cement planter. If needed, use scissors and pliers to separate the cement and containers.
Step 8: Sand Down Your Planter
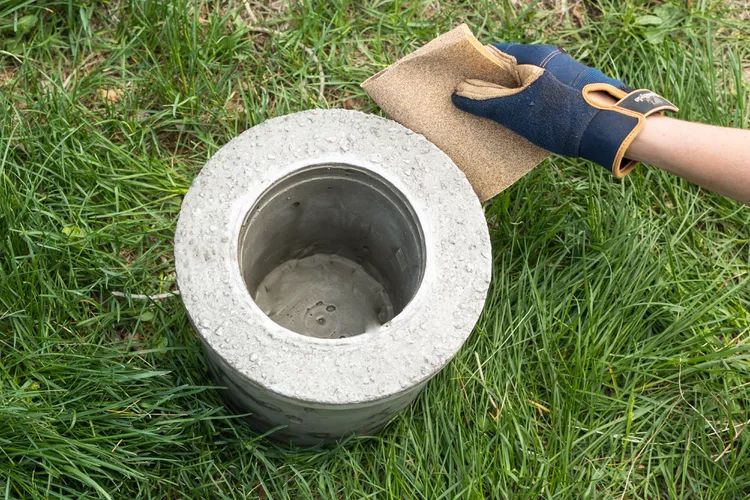
- Use sandpaper to sand down your planter if it feels or looks rough. Sandpaper or a sanding block can also help get rid of excess cement fragments. Smooth the edges of your planter to your liking. If you’re going for a more organic look, you’ll probably need less sanding. More sanding is required for more sleek, modern vibes.
Step 9: Add Greenery and Display
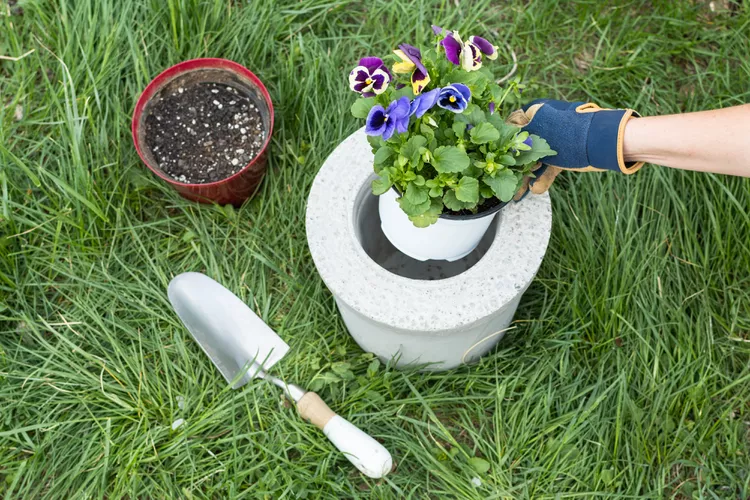
- The structure of your planter is now finished! All that’s left to do is fill it with your favorite plants and put it on display for all to see. Pretty much any plant you nestle into your DIY cement planter will look stunning, but succulents look especially great. If you’re filling yours with a plant that needs drainage, drill into the concrete to create a few drainage holes.
These are the simple steps to create a DIY concrete planter. By following these instructions, you can craft your own unique planters that will add beauty to your garden. The process is straightforward yet incredibly captivating, offering a rewarding experience. Enjoy the journey of making your own DIY concrete planters and witness the transformation of your garden into a haven of natural beauty.
