
DIY Tips
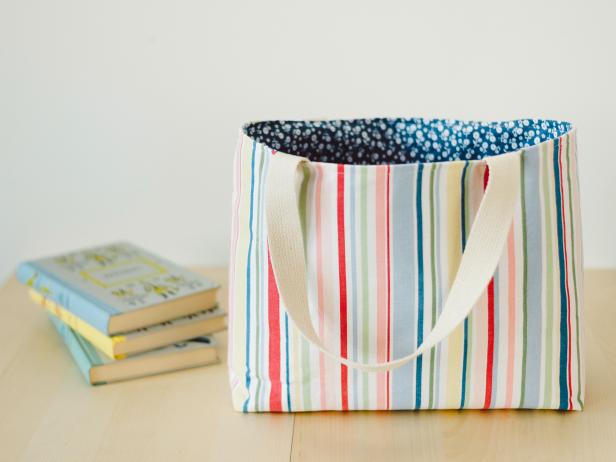
How to Make an Easy-to-Sew Lined Tote Bag
Jun
Welcome to our guide on how to make an easy-to-sew lined tote bag! If you’re in need of a versatile and stylish bag that you can confidently carry your belongings in, you’ve come to the right place. In this comprehensive tutorial, we will walk you through the step-by-step process of creating a lined tote bag that is not only functional but also a fashion statement. From selecting the perfect fabric and cutting the pieces to sewing and assembling the bag, you’ll learn all the techniques necessary to make a durable and chic tote bag. Whether you’re a seasoned sewing enthusiast or a beginner, this guide will provide you with the knowledge and inspiration to craft a practical and trendy accessory that suits your individual style. Get ready to unleash your creativity and stitch your way to a fabulous lined tote bag that you’ll love using for all your everyday needs.
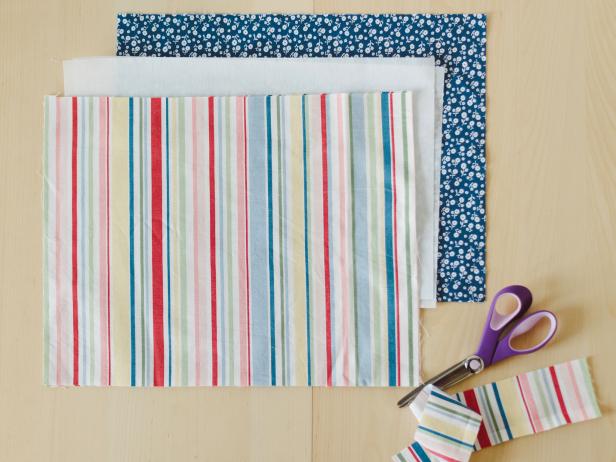
Supplies You’ll Need To Get Started
- 1/2 yard cotton fabric
- 1/2 yard of complementary cotton fabric for inner lining
- 1/2 yard of heavy fusible interfacing
- 42″ of canvas strap
- fabric scissors or rotary cutter
- sewing machine
- thread
- iron
Instructions
Step 1: Cut Fabrics
- For the first part of this DIY tote bag project, cut two 18″x14″ rectangles of both outer and inner fabric choices then cut two 18″x14″ rectangles of interfacing. Cut canvas straps into two 21″ lengths.
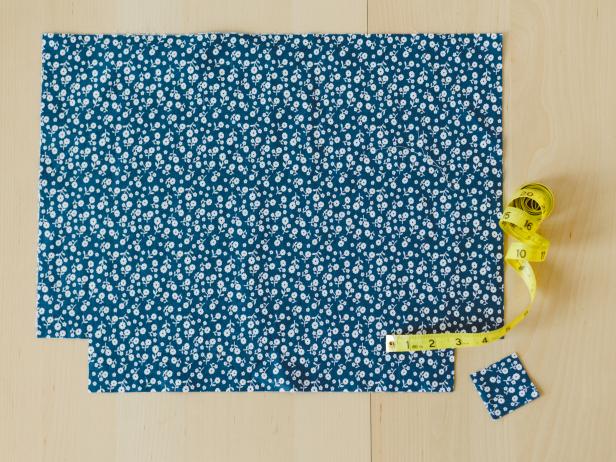
Step 2: Snip Corners
- On the long side of all rectangles, snip a 2″x2″ square from only the bottom corners. Repeat for interfacing. This will form the base of the tote.
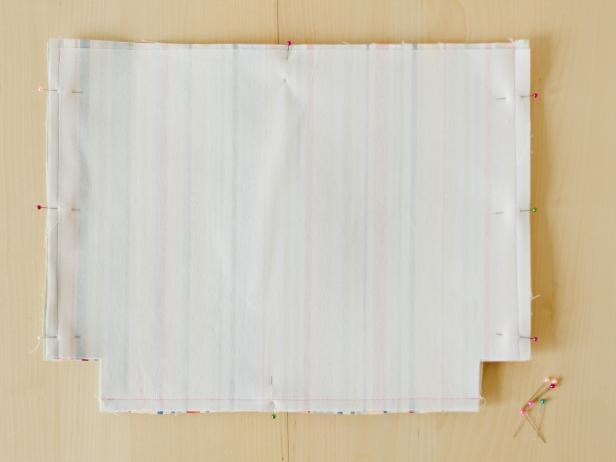
Step 3: Add Interfacing and Sew Sides
- Press interfacing to wrong side of outer fabric rectangle. Tip: Follow the manufacturer’s directions for heating and adhering your interfacing. Pin outer fabric’s right sides together and sew straight 1/2″ seams along the sides and bottom of piece.
Note: Leave the top and two snipped corners unsewn. Press seams open.
Step 4: Create Corners
- Pinch together gaps in snipped corners, lining up the side and bottom seams in the center. Pin straight across and sew a 1/2″ seam. This step adds depth to the bag and creates a flat bottom.

Step 5: Sew Liner Sides and Corners
- Pin right sides of inner (liner) fabric rectangles together and repeat the above steps.
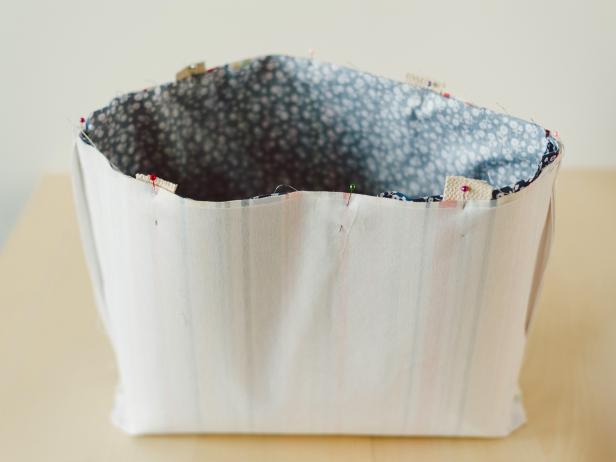
Step 6: Piece Together and Pin
- Flip liner right-side out and place inside outer fabrics so that right sides are together. Tuck canvas straps between inner and outer fabrics so that two edges of one face the front and two edges of the other face the back of bag. Pin the end of each canvas strap approximately four inches from side seam then pin fabric edges together around perimeter of bag opening.
Step 7: Sew Bag Opening
- Beginning at a side seam, stitch a 1/2″ seam almost all the way around the tote, stopping 4″ before the starting point — this should catch all four ends of the canvas straps while leaving ample room for turning.
Step 8: Turn and Press
- Pull both fabrics and straps through the 4″ gap, turning the tote bag right-side out. Lightly press with a warm iron to remove wrinkles.
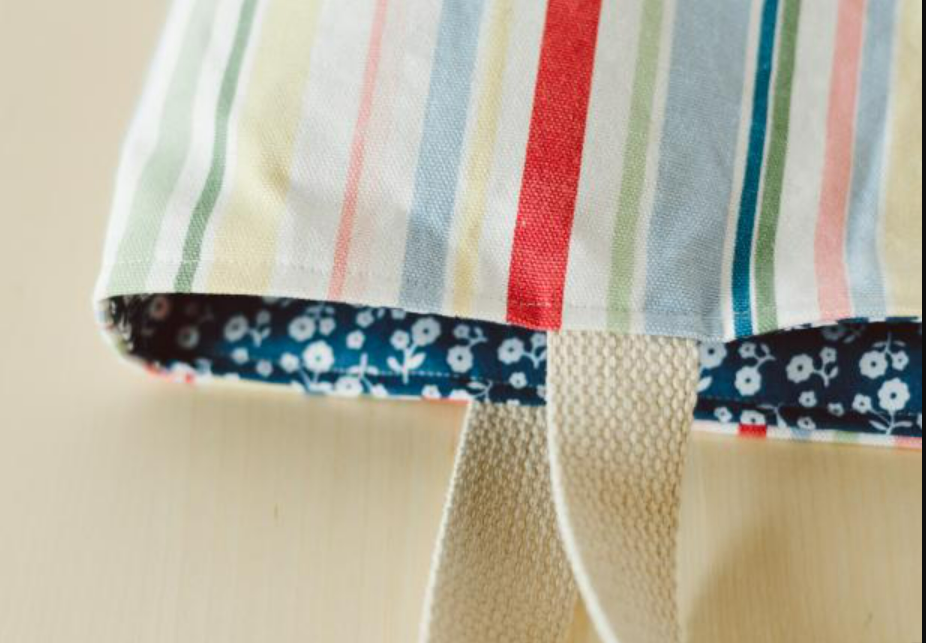
Step 9: Top-Stitch and Finish
- Top-stitch around the tote bag’s entire opening to finish edges. This will also help reinforce canvas straps and shut the gap left in the previous step for turning.
These are the simple steps to make an easy-to-sew lined tote bag. By following these instructions, you can create your own unique tote bags that are not only economical but also easy to make. Unleash your creativity and showcase your personal style as you design and sew practical tote bags that perfectly suit your needs. Enjoy the satisfaction of carrying a one-of-a-kind accessory that reflects your individuality. Let’s get started on this enjoyable and rewarding journey of crafting your own personalized tote bags.