
DIY Tips
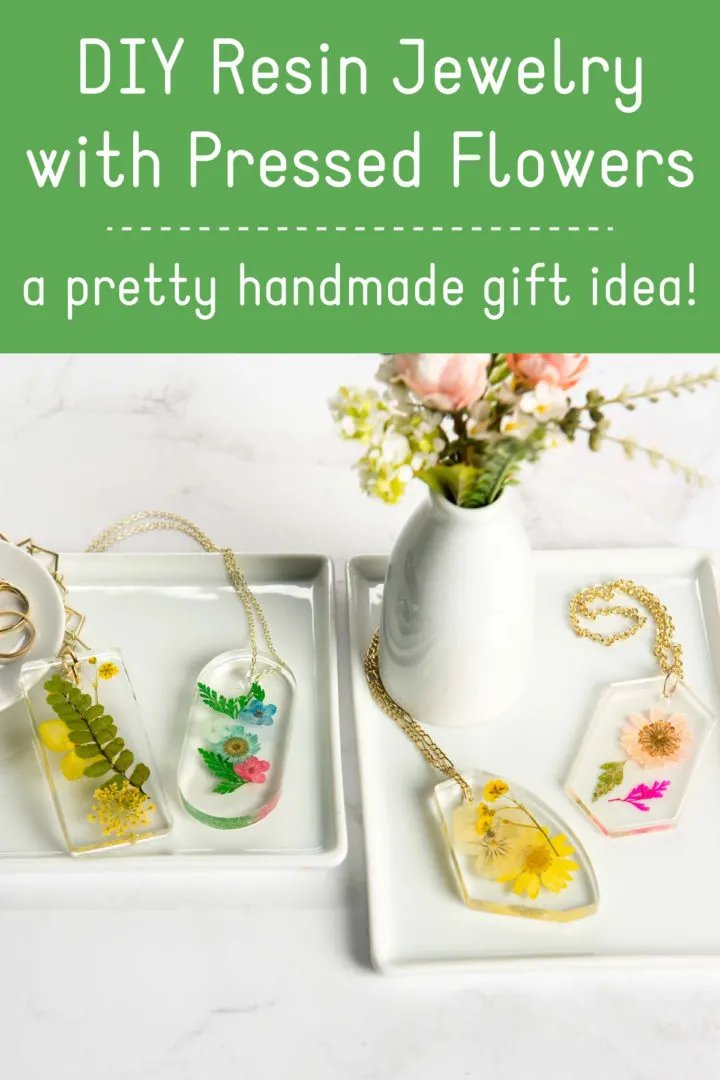
Create Stunning Resin Jewelry with Pressed Flowers
Jun
Welcome to our guide on making resin jewelry using pressed flowers! If you’re captivated by the enchanting beauty of flowers and want to preserve their delicate essence in wearable art, this tutorial is perfect for you. By combining the art of resin casting with the timeless charm of pressed flowers, you can create stunning and one-of-a-kind jewelry pieces that capture nature’s grace and elegance. In this comprehensive guide, we will take you through the step-by-step process of selecting the right flowers, preparing them for preservation, and encapsulating them in resin to create exquisite jewelry. Whether you’re a seasoned crafter or new to resin jewelry-making, this guide will provide you with the knowledge and techniques to bring your floral-inspired creations to life. Get ready to unlock your creativity, celebrate the beauty of nature, and adorn yourself with unique and breathtaking resin jewelry adorned with pressed flowers.
Supplies You’ll Need To Get Started
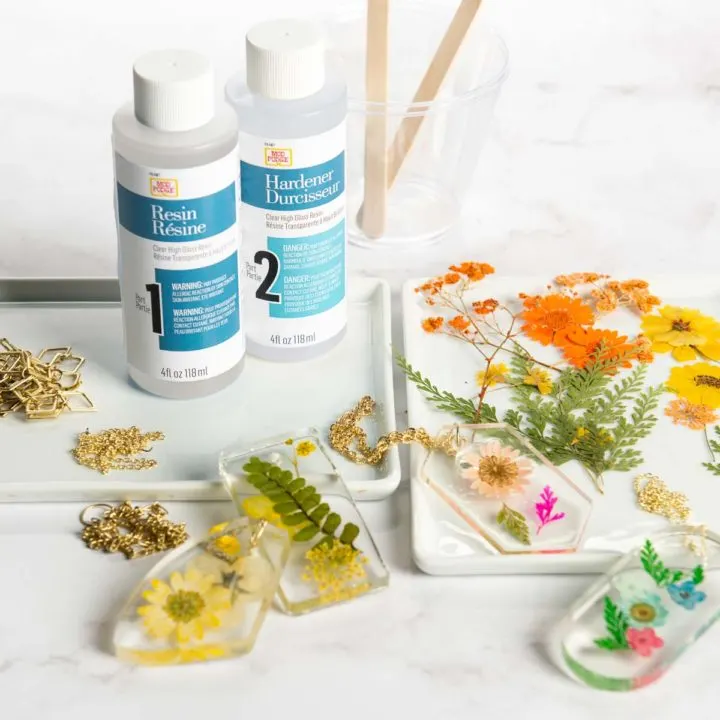
- Mod Podge Resin
- Pendant Casting Mold
- Pressed Flowers
- Respirator
- Gloves
- Cups
- Craft Sticks
- Large Jump Ring
- Necklace Chain
- Torch or Lighter
- Jewelry Pliers
Instructions
Step 1: Mix the Resin
- Mix your clear casting resin according to package instructions. Typically it’s a 1:1 ratio of resin to hardener. You’ll use crafting sticks to be sure and scrape the sides and mix thoroughly.
Step 2: Pour Into Molds
- Fill the pendant mold(s) of your choice with the resin, approximately halfway up the side. Let it sit for one hour and use your torch or lighter to remove any bubbles. Tip: you can also exhale lightly on the surface to remove bubbles as well.
Step 3: Add the Flowers and More Resin
- Press the flowers of your choice into the resin. It might help to use tweezers, as the flowers are delicate and you want to place them carefully.
- Pour the remaining resin over the flower and fill up the mold. Remove any bubbles. Wait five minutes and check for bubbles again (and remove!). Let your piece dry for 24 hours and then remove from the mold.
Step 4: Add the Findings
- Use your jewelry pliers to add the jump ring and necklace chain to your necklace pendant. Your project is complete.
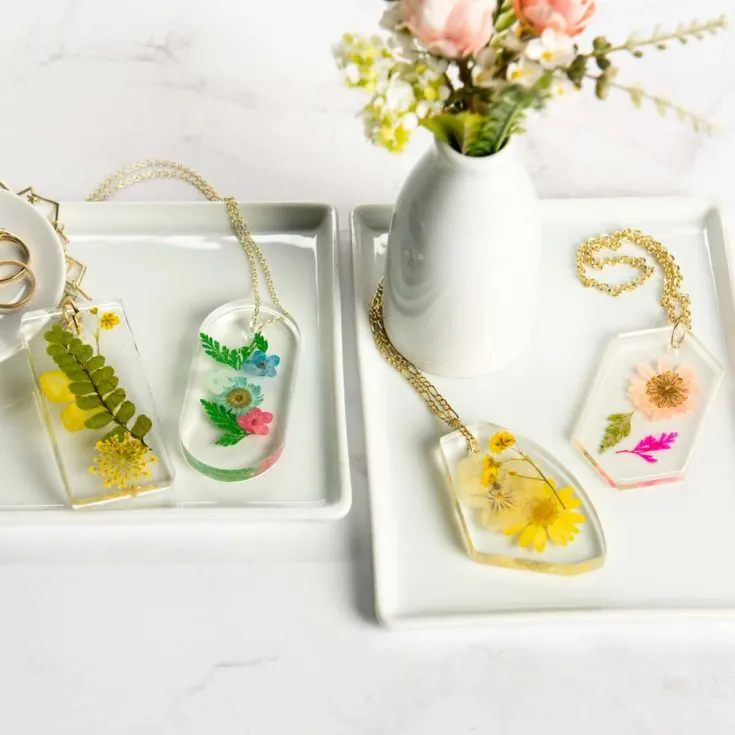
We hope that the shared experiences have inspired and empowered you to create your own DIY jewelry. Embrace the joy of crafting and explore your creativity as you embark on the exciting journey of making handmade pieces that reflect your personal style. The process is not only enjoyable but also offers a unique opportunity for self-expression. So, dive into the world of DIY jewelry-making and discover the satisfaction and fun that comes with creating one-of-a-kind pieces that you can proudly wear and cherish.