
DIY Tips
Sew Your Way to Style: How to Make a DIY Pillow Cover
Jun
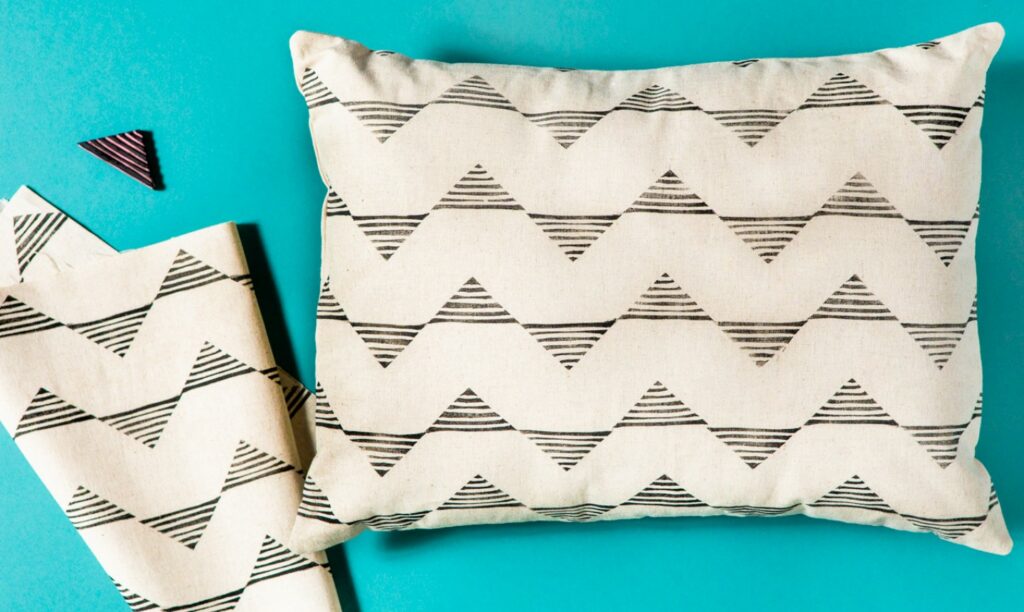
Welcome to our guide on how to make a DIY graphic pillow! If you’re looking to add a pop of personality and style to your home decor, this tutorial is for you. A graphic pillow is a fantastic way to showcase your creativity and make a bold statement in any room. In this comprehensive guide, we will walk you through the step-by-step process of creating your own unique graphic pillow. From choosing the perfect design and materials to transferring the graphic onto the fabric and assembling the pillow, you’ll learn all the techniques necessary to bring your vision to life. Whether you’re a seasoned crafter or a beginner, this guide will provide you with the knowledge and inspiration to create a stunning graphic pillow that reflects your individual style and adds a touch of charm to your living space. Get ready to unleash your creativity and make a statement with a DIY graphic pillow that will truly stand out!
Supplies You’ll Need To Get Started
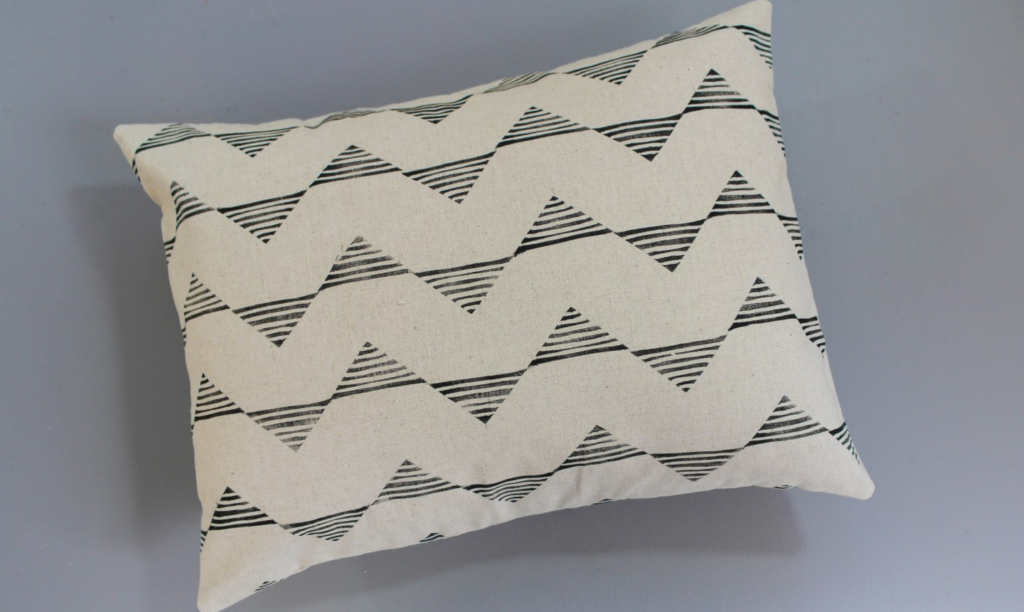
- ½-yard printed fabric
- ½-yard light-colored cotton fabric
- 12″ x 16″ pillow form
- Pins
- Tape measure
- Scissors
- Rotary cutter
- Cutting mat
- Quilting ruler
- Iron and ironing board
Instructions
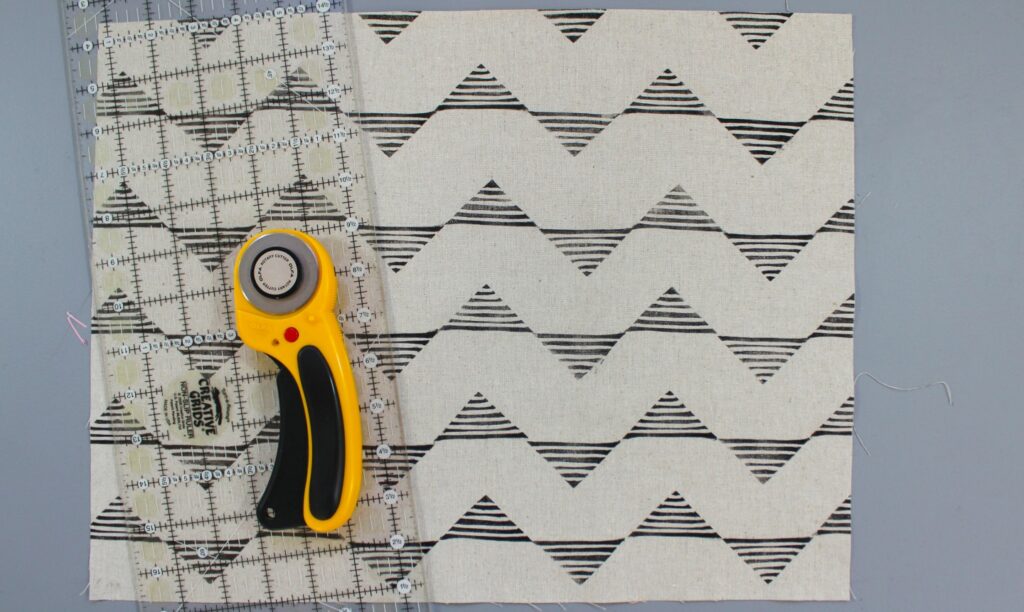
Step 1: Cut the Fabric
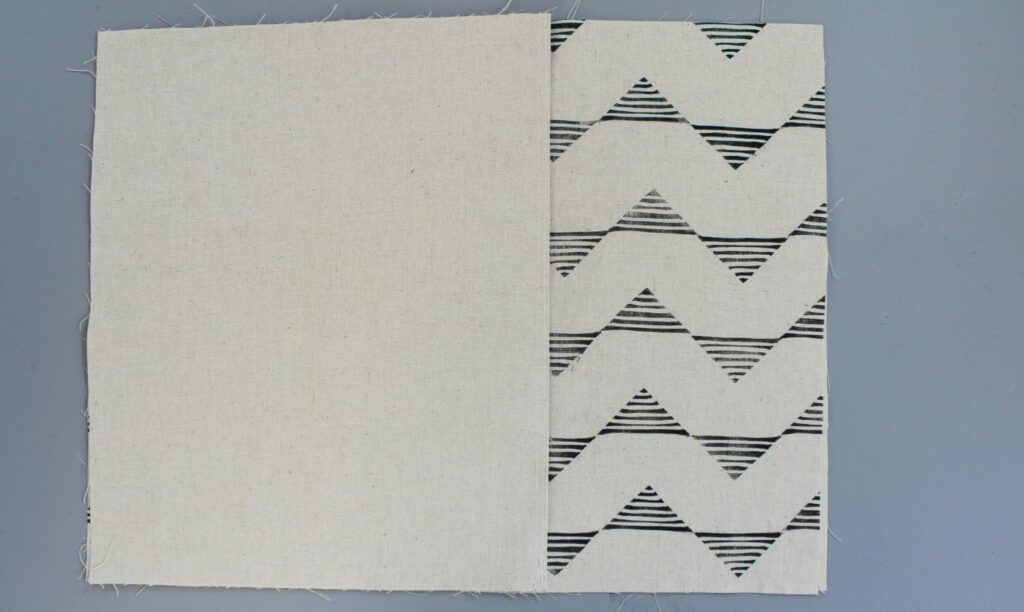
- Grab your printed fabric and press out any wrinkles so it lies smoothly on your work surface. Using your rotary cutter or scissors, cut a rectangle that is one inch longer and one inch wider than your pillow form. Our pillow is 12″16″, so we cut a 13″ x 17″ piece of fabric.
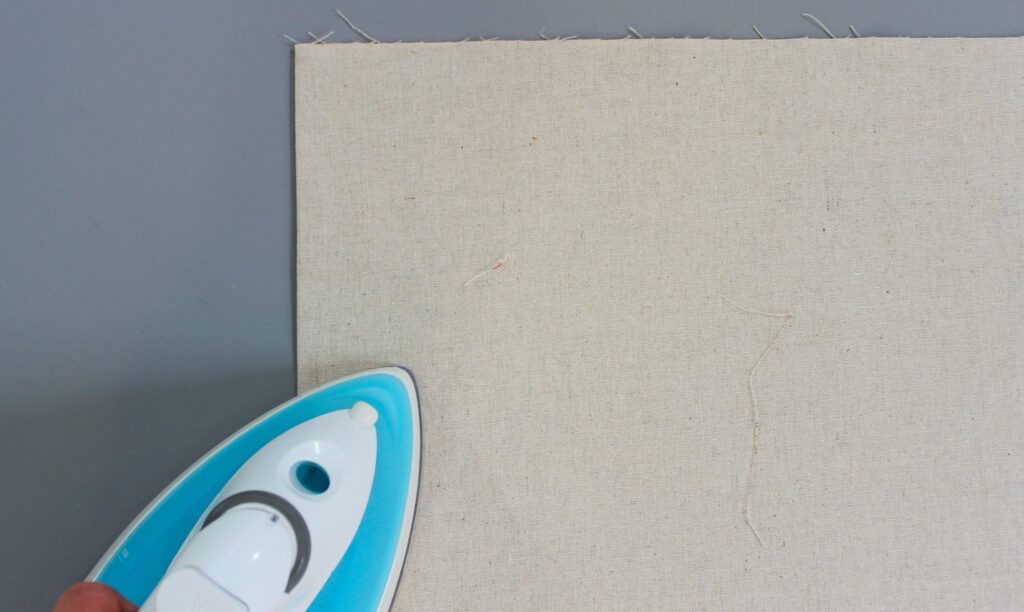
- Then cut out a 13″ x 17″ piece of light-colored fabric. This will be the lining of your pillow.
Step 2: Fold and Stitch
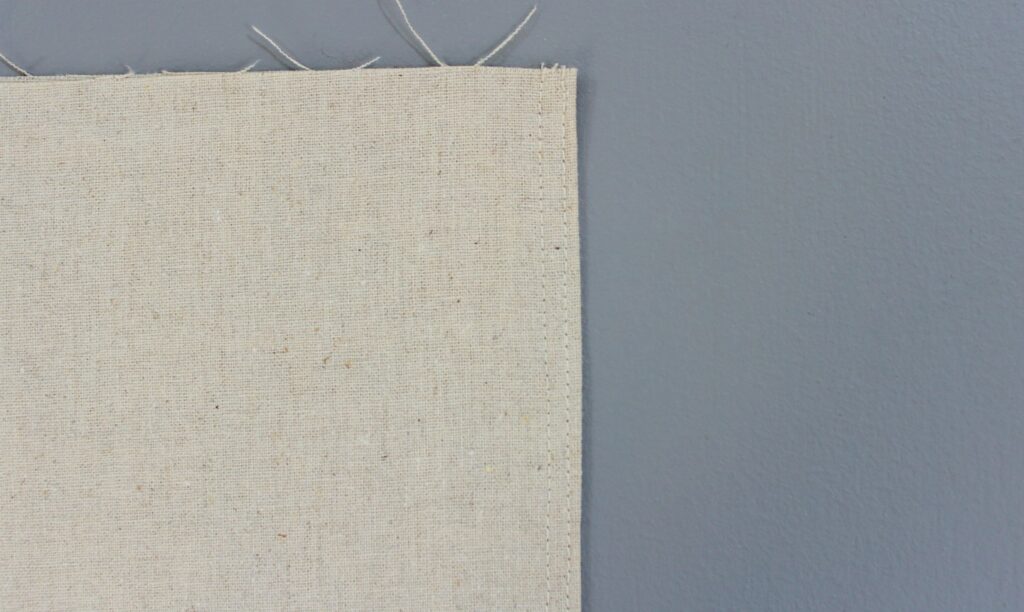
- For the back side of the pillow, cut two 13″ x 22″ pieces of the light fabric. Fold each piece in half and press along the fold with an iron. This fabric should now measure 13″ x 11″.
- Topstitch two rows of stitches along the fold of both pieces. This stitch is decorative, but also helps to hold the fold in place.
Step 3: Stack the Fabric
- Place the rectangles in the following order: The light color fabric rectangle, the printed fabric (right side up), and then both folded back pieces overlapping on top. The folded edges with topstitching should be overlapping — this will create the “envelope” opening on the back of the pillow.
Step 4: Pin and Sew
- Once everything is laid out, pin all the fabric together along the outside edge of the rectangle. Stitch around the pillow’s edges with a ¼” seam allowance.
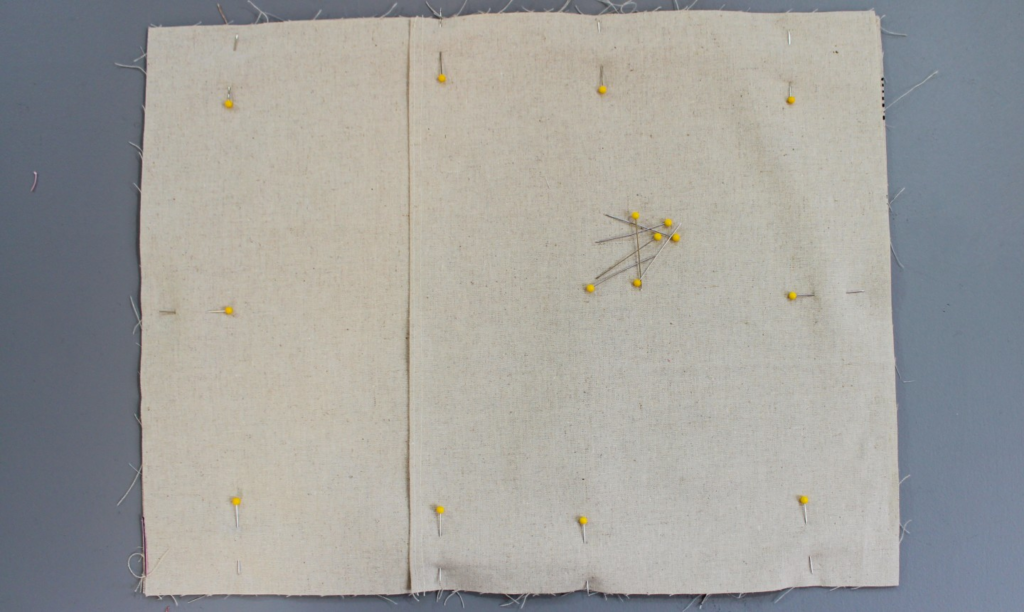
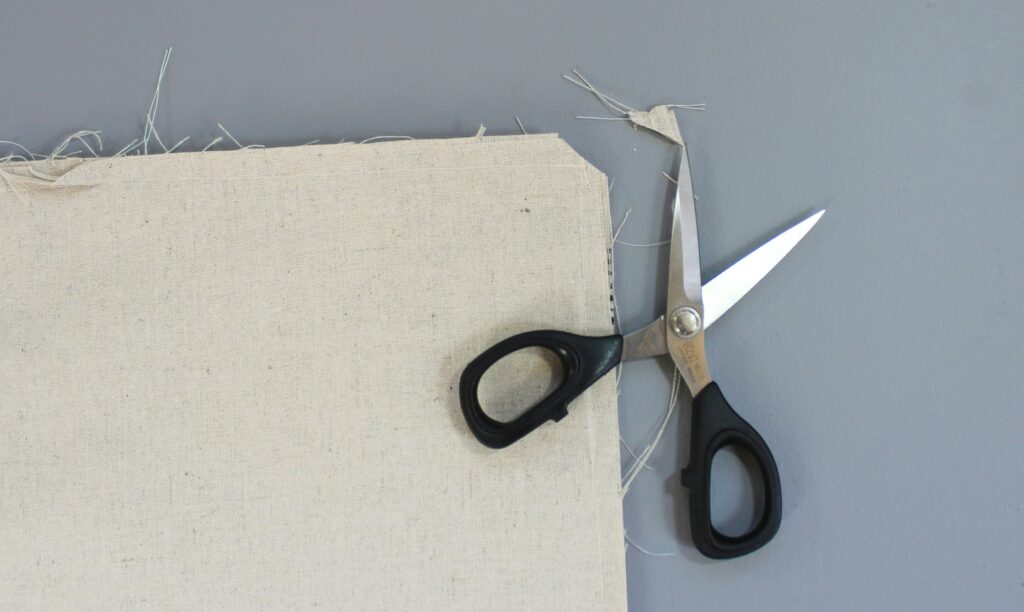
- Press the seams and trim the tips of the corners.
Step 5: Flip it Out
- Turn the pillow right side out through the opening, press the seams and insert the pillow form.
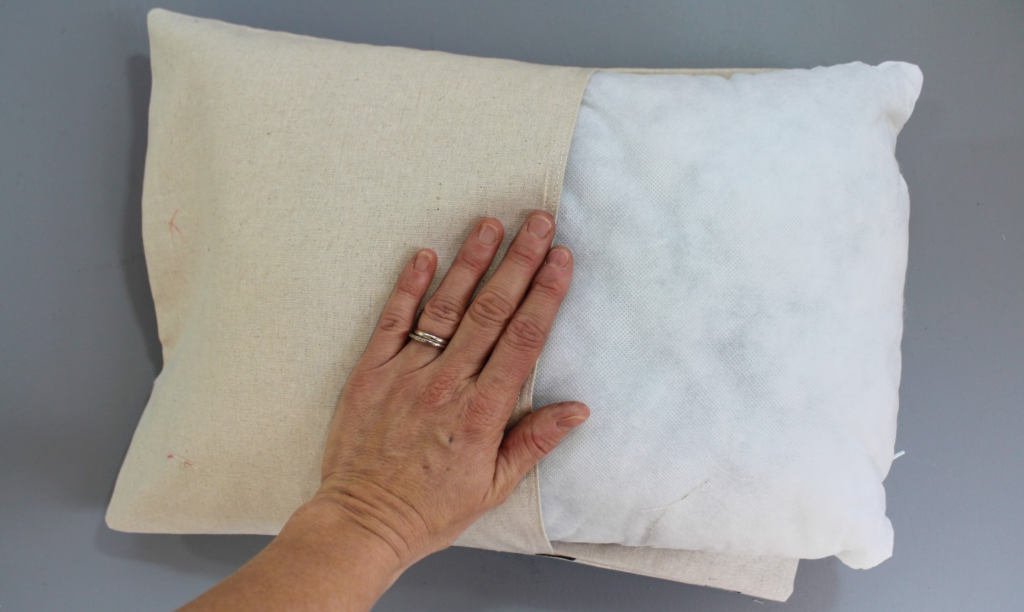
- Fluff it up and make your couch or chair very happy.
Let your creativity soar as you embark on this DIY project and transform ordinary pillows into stunning pieces of home decor.