
DIY Tips
DIY Cutting Board: Create Your Own Custom Kitchen Tool
May
If you’re someone who enjoys cooking or knows someone who does, then you know how important it is to have a good cutting board in the kitchen. While there are many cutting boards available for purchase, making your own can be a rewarding and cost-effective option. In this article, we will guide you through the process of making your own cutting board. Not only will you end up with a customized cutting board that suits your needs and style, but you will also gain some woodworking skills in the process. So, let’s get started on how to make a cutting board!
Supplies You’ll Need To Get Started
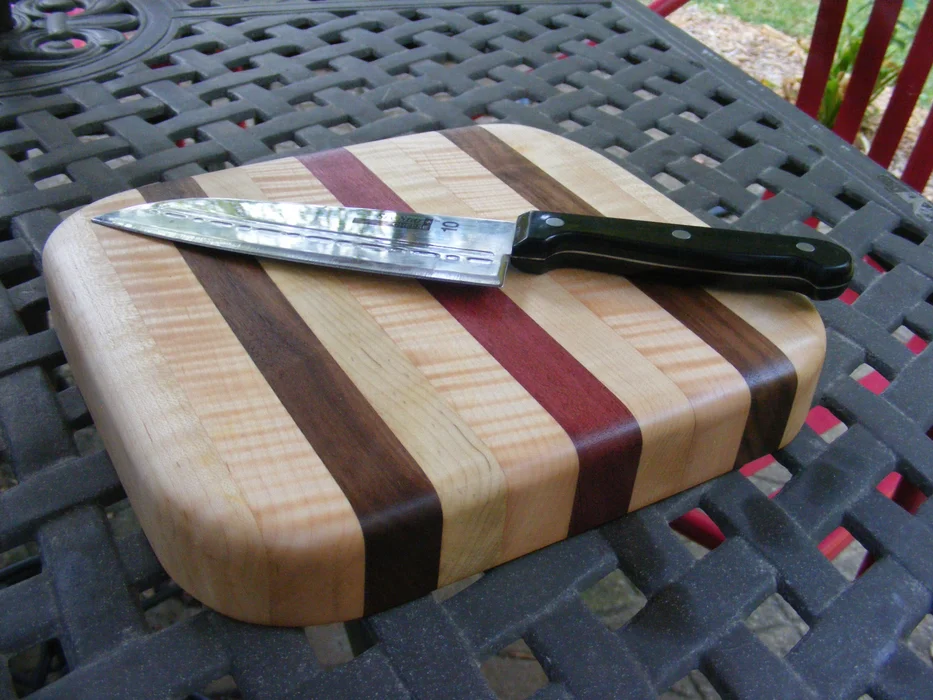
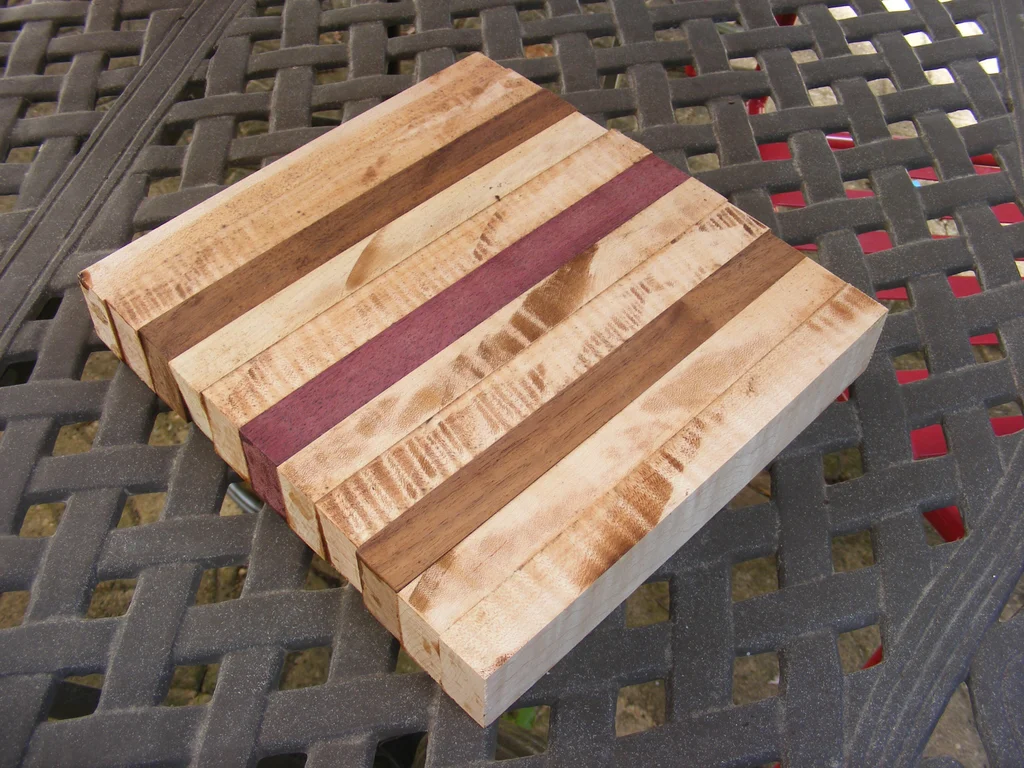
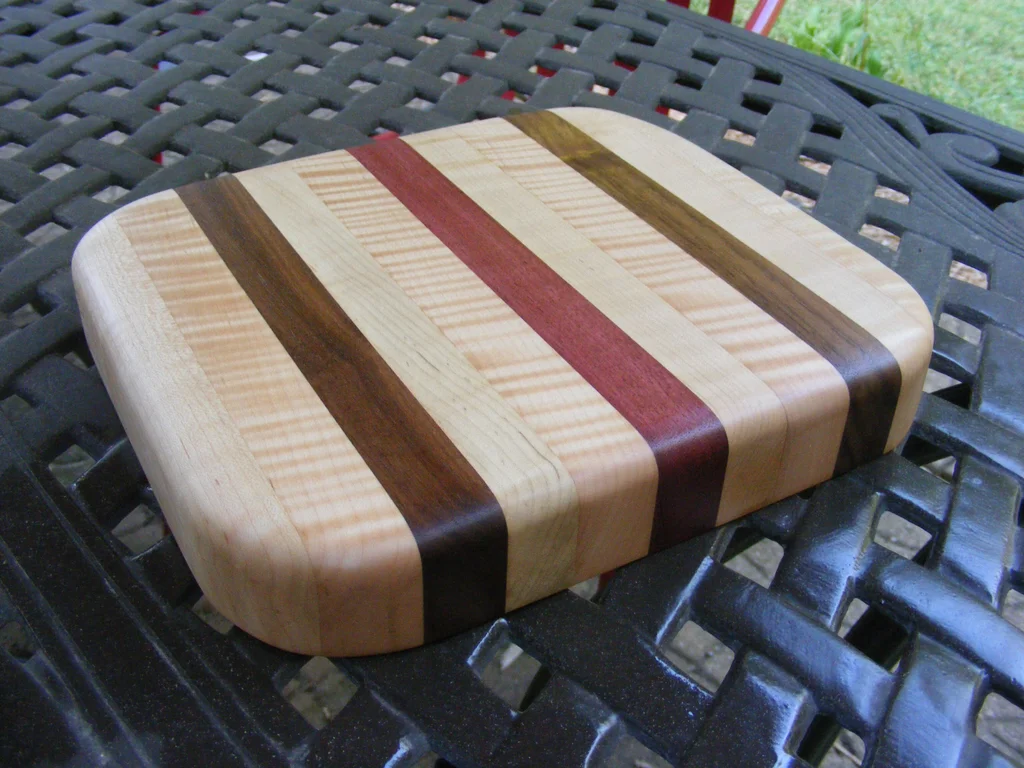
In this tutorial, you will learn how to create a stunning and straightforward cutting board that will complement your kitchen decor. The materials used in this project include curly maple, walnut, and purpleheart. When choosing the wood for your cutting board, it is important to select a hardwood with a closed grain and non-toxic properties. It is crucial to be cautious with exotic woods and thoroughly research their toxicity before using them. Safety is a top priority, and this instructable assumes that you have the appropriate personal protective equipment, including safety glasses, dust masks, and earplugs. Basic woodworking experience or training is also assumed, and it is recommended to carefully read and understand the operating instructions for each tool used in this project to ensure safe and effective operation.
Instructions
Step 1: Gather Materials and Tools
I bought same-sized, planed hardwood boards from a lumber store for $50, enough to make three cutting boards. Tools needed include a square, Titebond III glue, bandsaw or jig saw, parallel bar clamps, orbital and belt sanders, tablesaw for cutting strips, and food-grade mineral oil for treating the board.
Step 2: Decide Your Dimensions
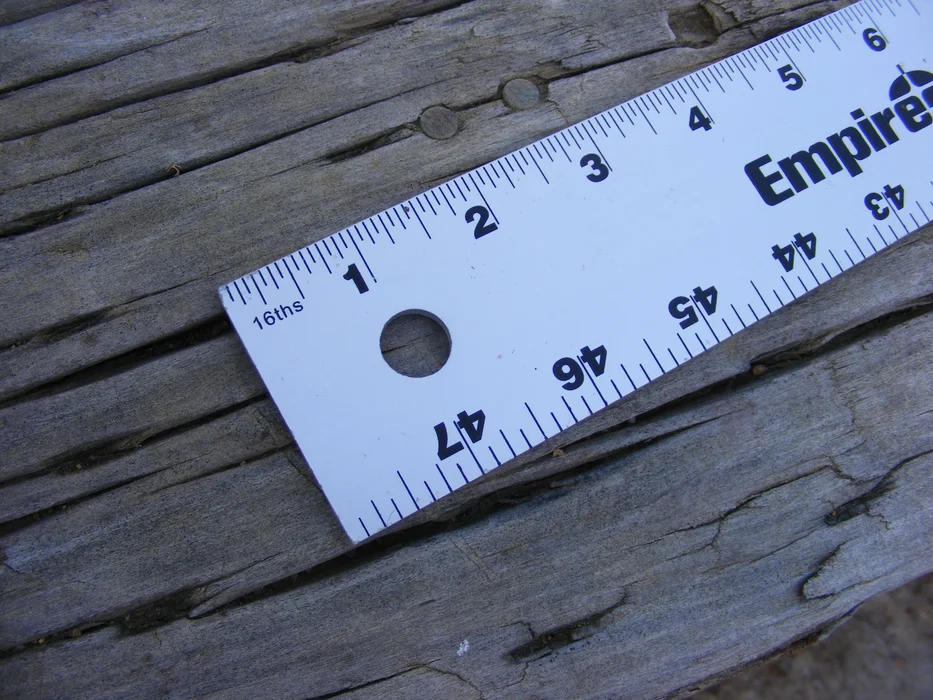
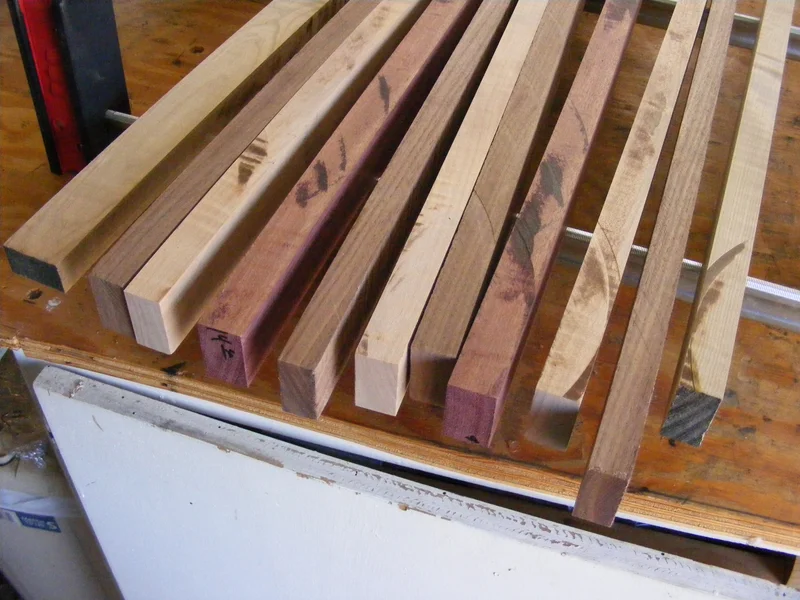
Decide on your cutting board dimensions based on your needs and storage space. Don’t overthink it, just choose what works for you. For my board, I went with a thickness of 1.5 inches, which may be thicker than most. Look to store-bought boards for inspiration. Mine measures 14 inches long by 12 inches wide. I’ll be using the side grain of the lumber for the cutting surface by gluing the pre-planed 1.5 inch strips together face-to-face.
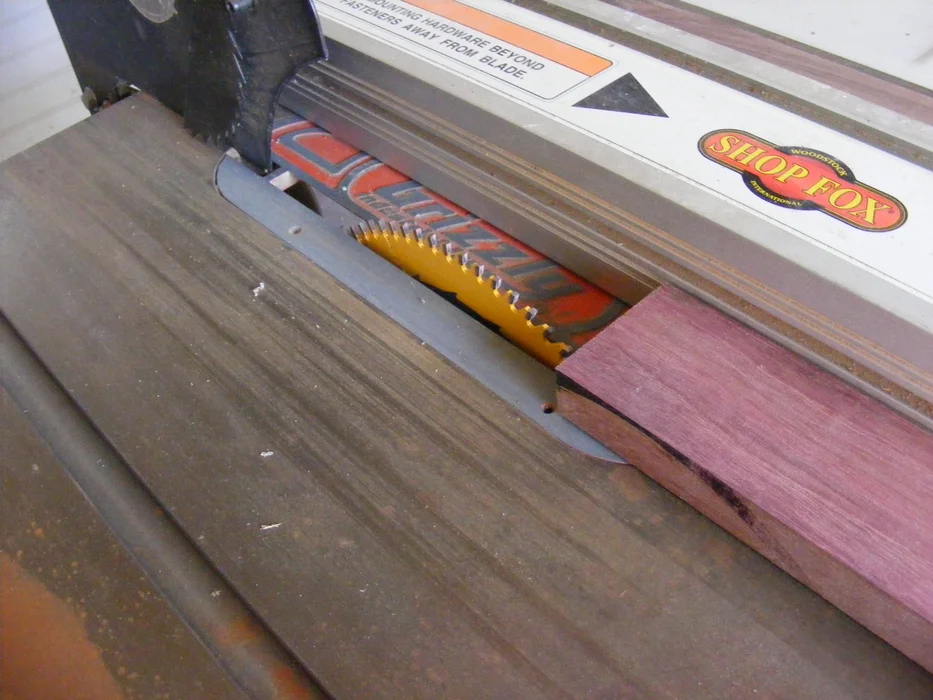
Step 3: Cut the Boards
Cut boards to 1.5 inches using a table saw. Length doesn’t matter yet. Buy boards that are identical in thickness. Make sure to read instructions, wear safety glasses, and use a push block while operating the saw. Consider reducing thickness to 1 inch. Be aware of finger placement.
Step 4: Glue Boards Together
Use long parallel bar clamps to hold the boards together while gluing them. Protect the runners of the clamp with painter’s tape. Choose a pattern for the boards and use Titebond III glue for waterproofing. Lay newspapers under the clamps and apply glue liberally. Remove excess glue with a damp rag and make sure the boards rest level on the clamp rails. Lay down newspapers to catch excess glue and avoid getting it on your work surface. Sand the boards to fix any unevenness caused during gluing.
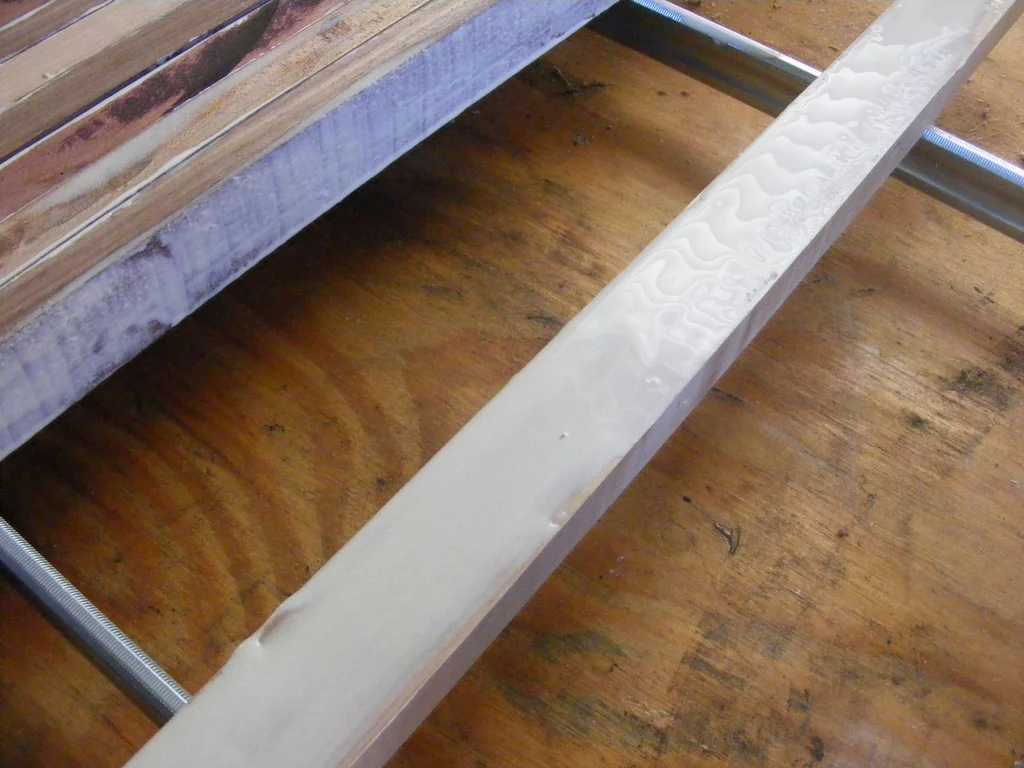
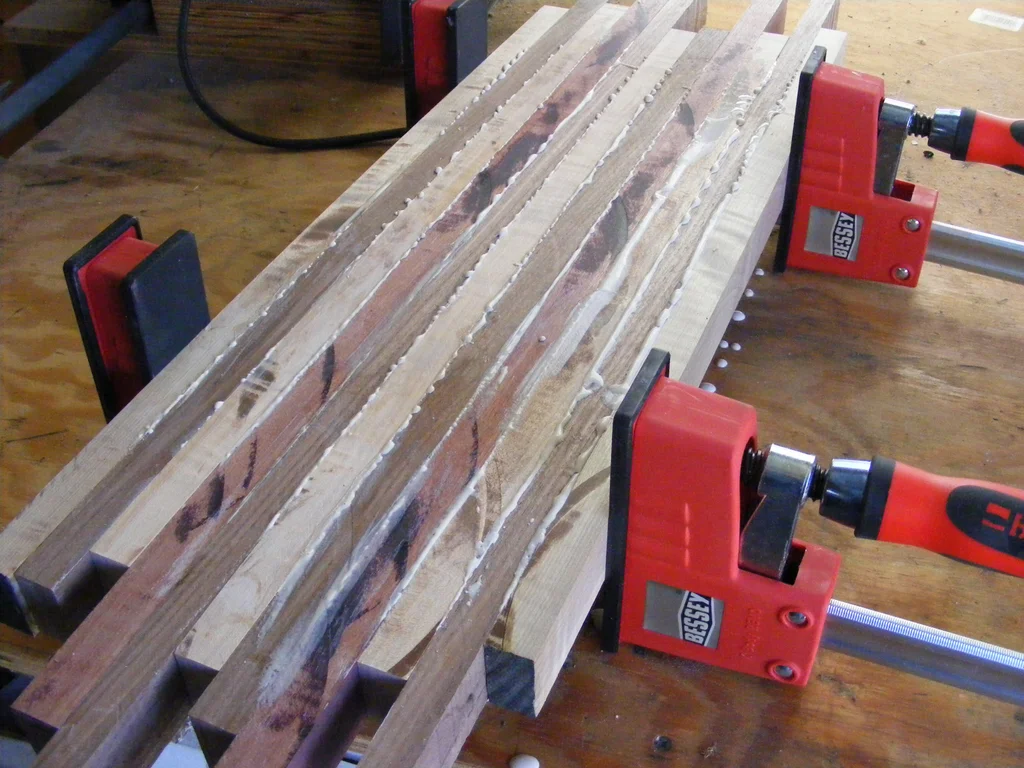
The last picture shows a different cutting board I was working on, but just wanted to show you what it looks like in the clamps once you press everything together tight. See how all the glue is spilling on top of my workbench? That’s why I recommend laying down some newspaper.
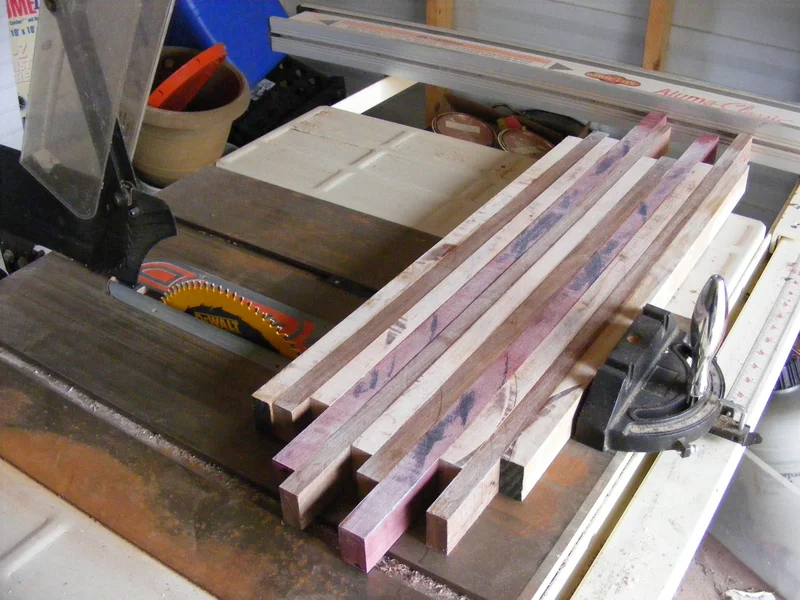
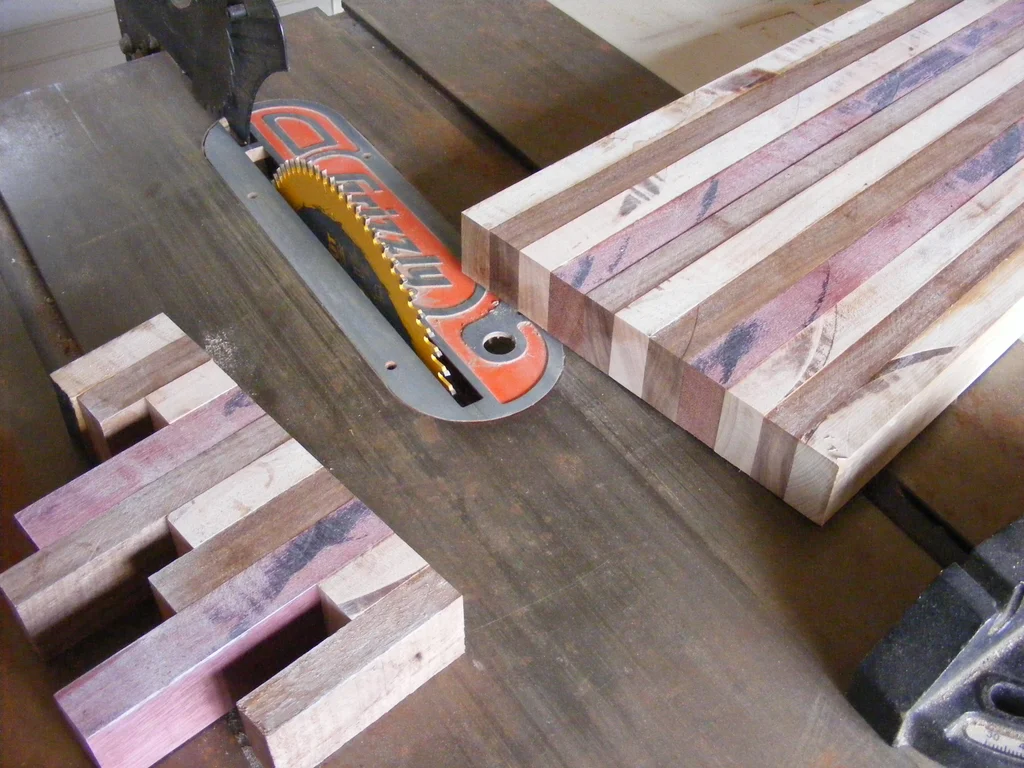
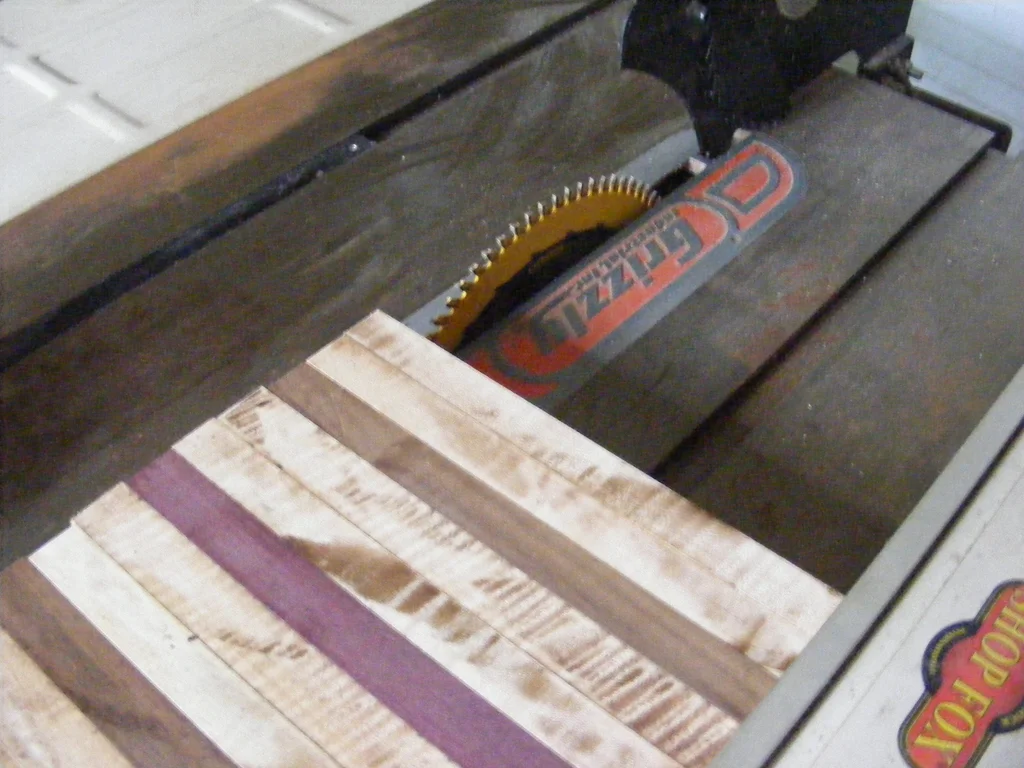
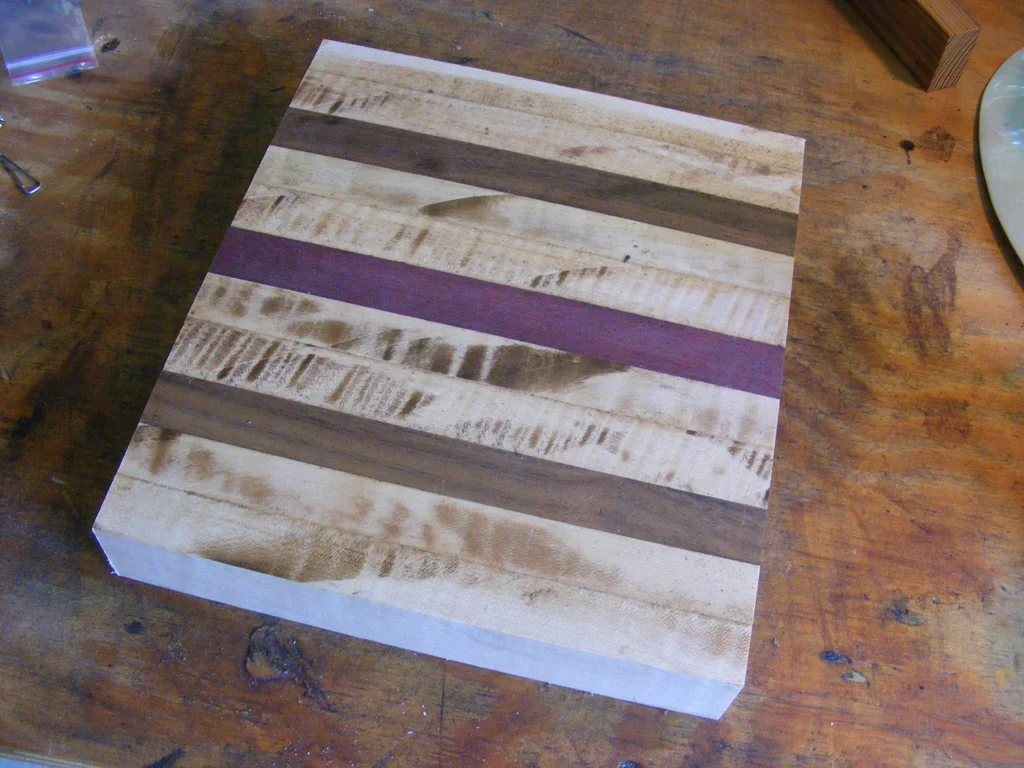
Step 5: Square Up the Cutting Board
After leaving the Titebond III glue to set up overnight, I squared up the glued-up cutting board by running it through my tablesaw. Use a square to check your cuts and ensure they’re at 90 degrees. Check out the last 3 pictures to see the progress of the cutting board for this instructable. Note that the first two pictures show a different cutting board I was previously working on.
Step 6: Cut Off the Corners
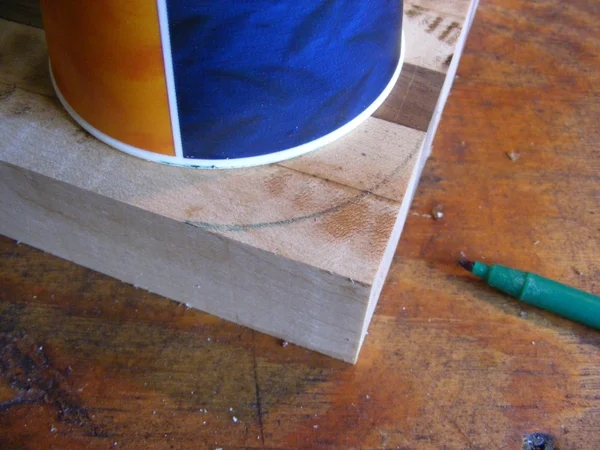
- This step is optional, but I thought making the corners curved would give the cutting board an added touch. I used a cup and a pencil to make some marks for my cuts. You can use any round object to make these curved marks.
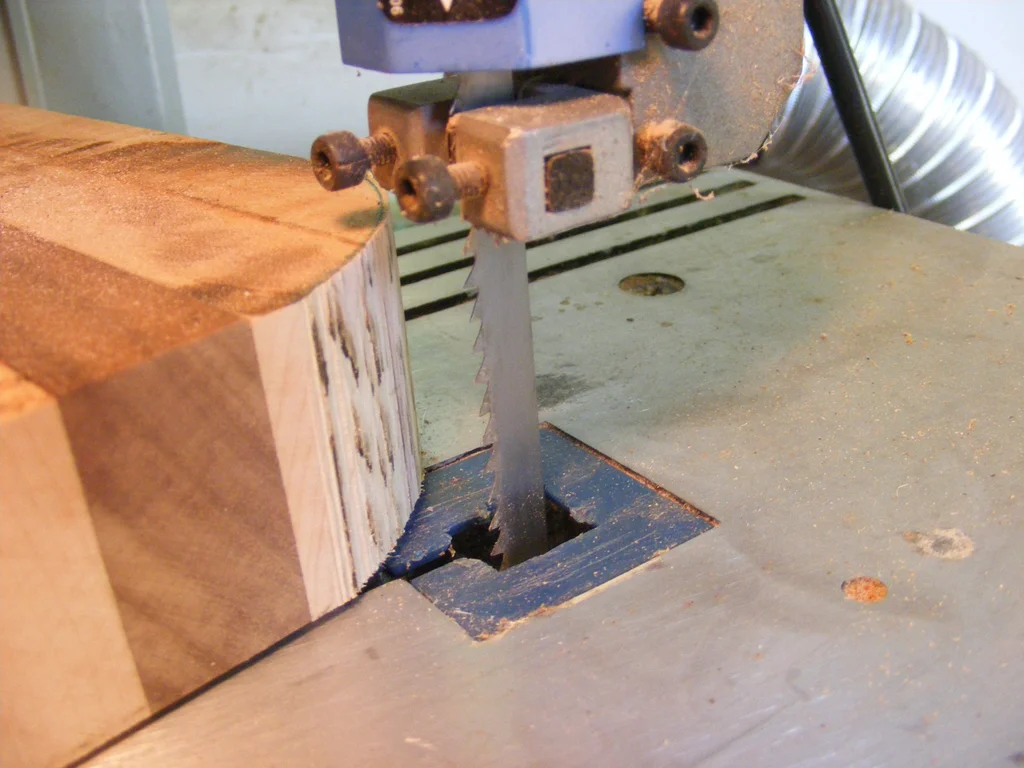
- I used a bandsaw to make my cuts. You could also use a jig saw. Read the operating instructions for your cutting tools and make sure the blades are sharp and everything is in good working order.
Step 7: Sand the Cutting Board
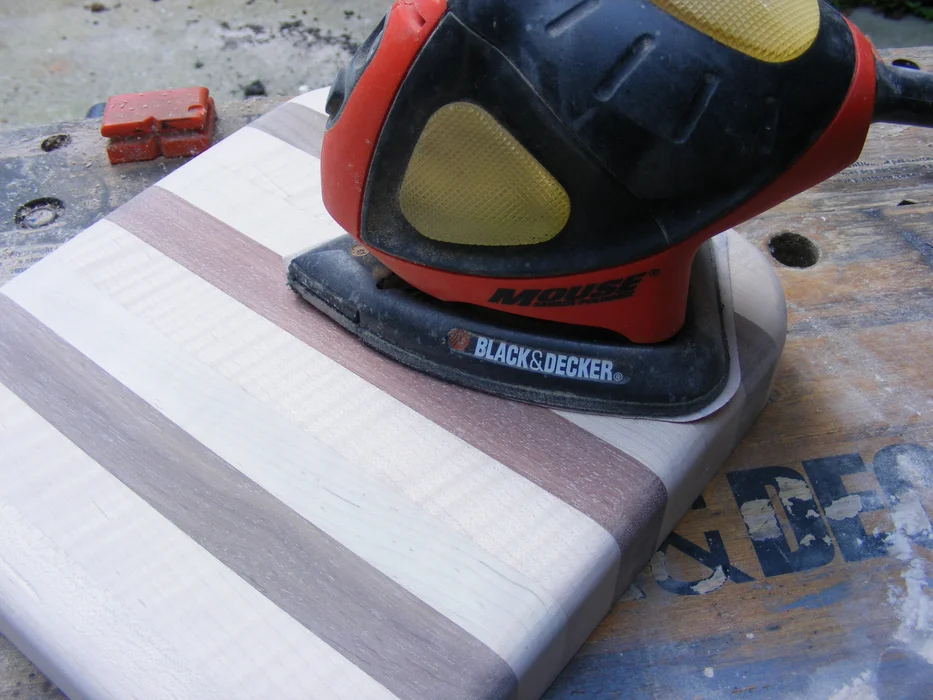
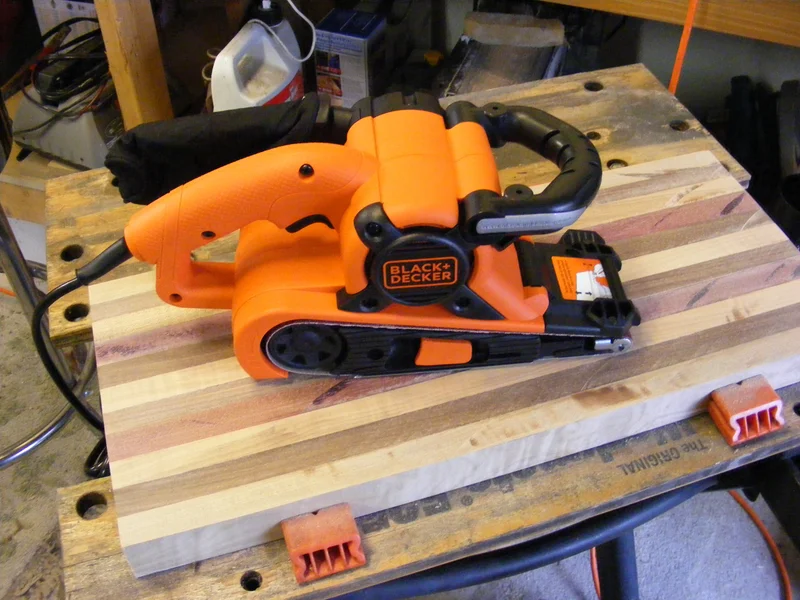
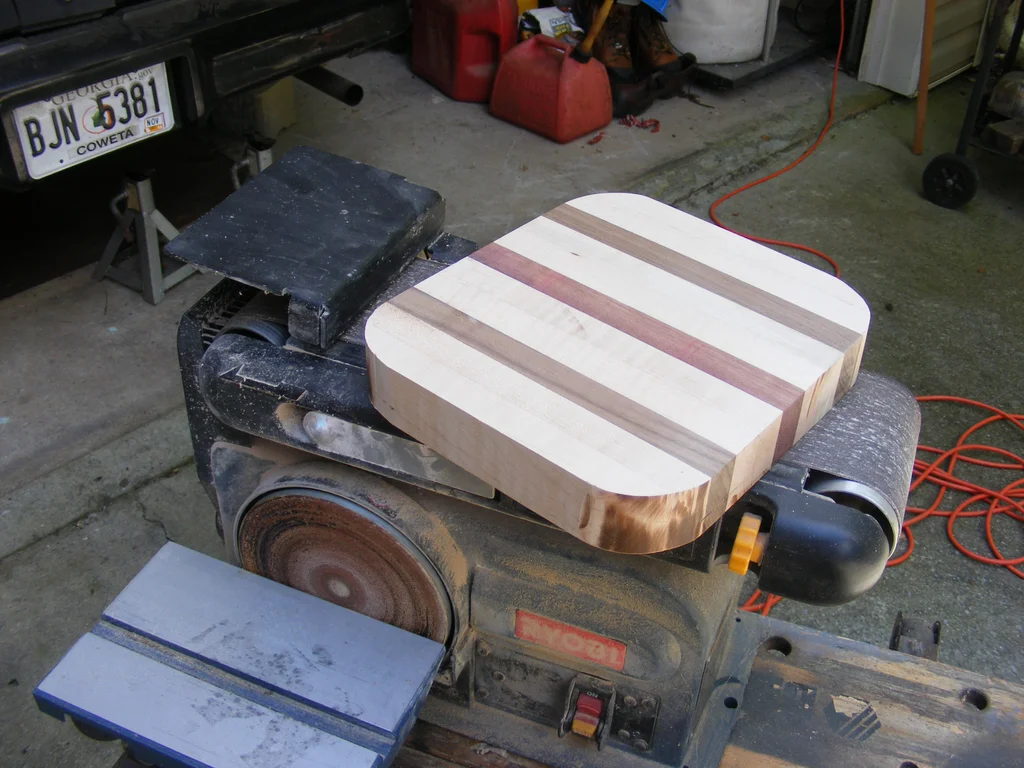
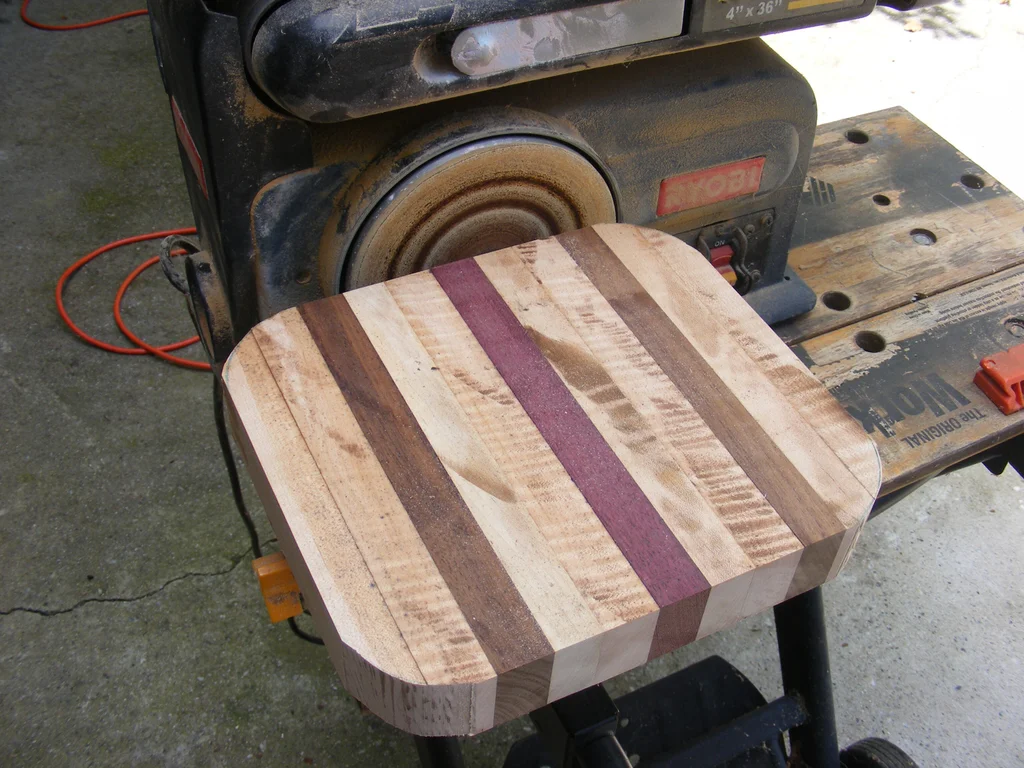
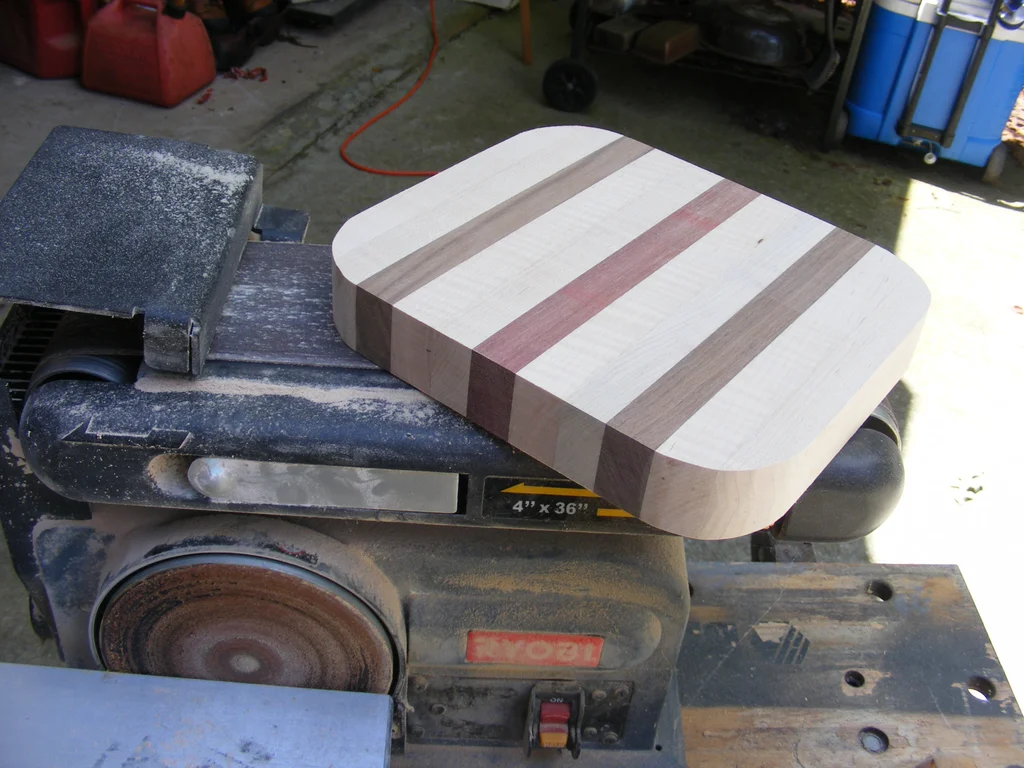
- Other tutorials use a planer to level cutting board surfaces, but these machines can be expensive. Instead, I opted to use an affordable belt sander, such as my portable Black & Decker or Ryobi belt/disc sander.
- To avoid inhaling dust and to keep the work area clean, it’s a good idea to do the sanding step outside. When I work on cutting boards, I typically use my portable Workmate workbench to create a stable surface for my sanding tools. I’ve found that having a fan nearby to blow dust away from me can be helpful, as can using a dust collector if you have one available.
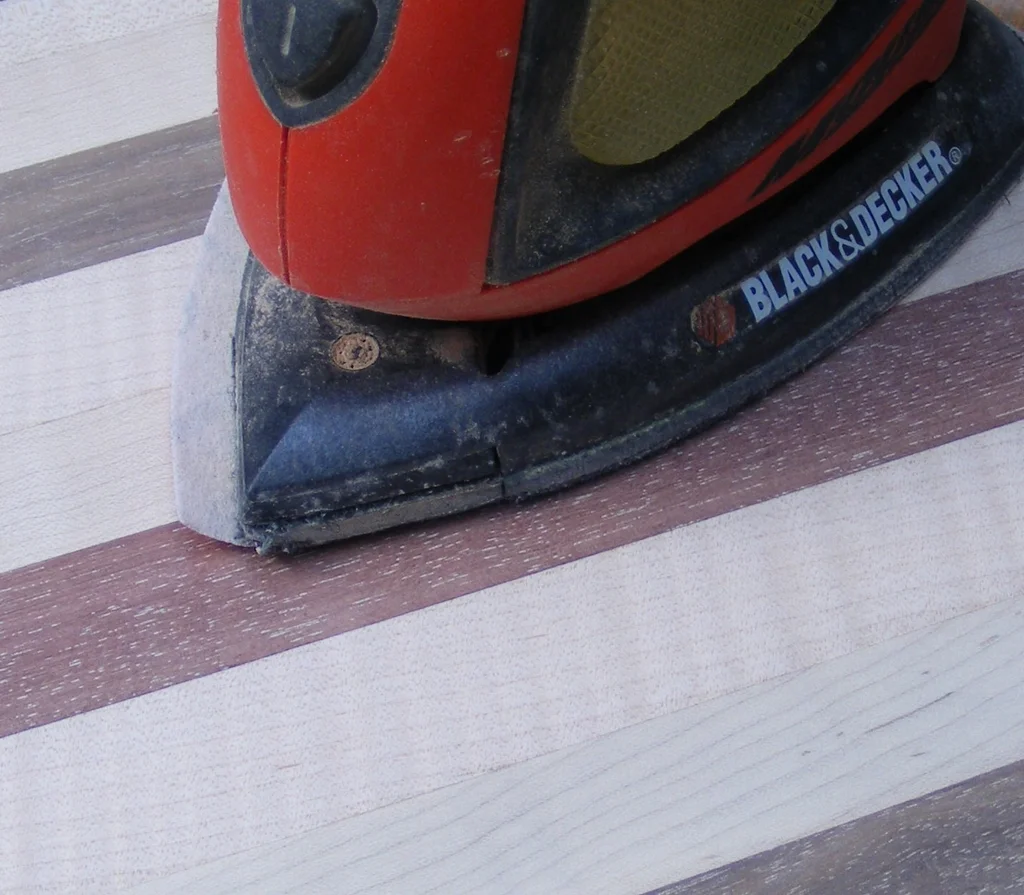
- Wear safety glasses and a dust mask before you start sanding. Your goal is to remove any cut marks and achieve a smooth, level surface. Once you’ve finished rough sanding, switch to an orbital sander and use 120 grit, 220 grit, and 320 grit sandpaper to refine the surface. Between sandings, wipe the wood with denatured alcohol and a paper towel to remove excess dust and raise the grain for better sanding results.
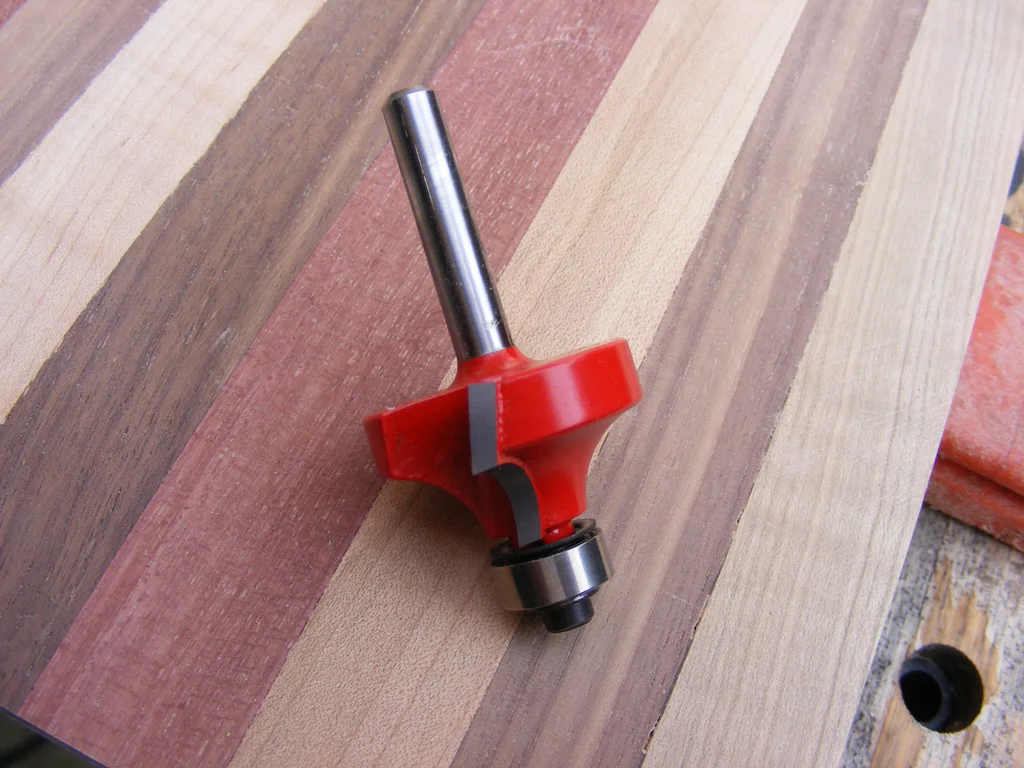
Step 8: Use Router to Round Off Edges
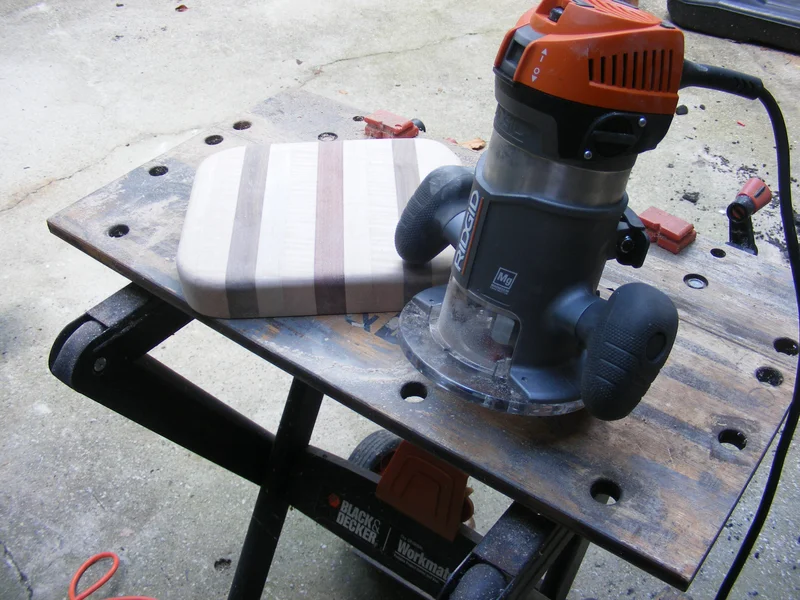
Rounding the edges of the cutting board is an optional step. I used a portable router with a rounding bit for this purpose. However, if you don’t have a router, you may skip this step or sand the edges instead. Choose the option that suits your budget and preference. In my case, I only rounded the edges on the top surface of the board.
If you have a router and decide to use it, make sure you read the operating instructions and know how to use it.
Step 9: Finish Sanding
If you performed the router step, you will probably need to go back over the board with your orbital sander and eliminate any cut marks left from the router bit. Get the board as smooth as you possibly can, but don’t get too carried away. Remember—it is going to be a cutting board.
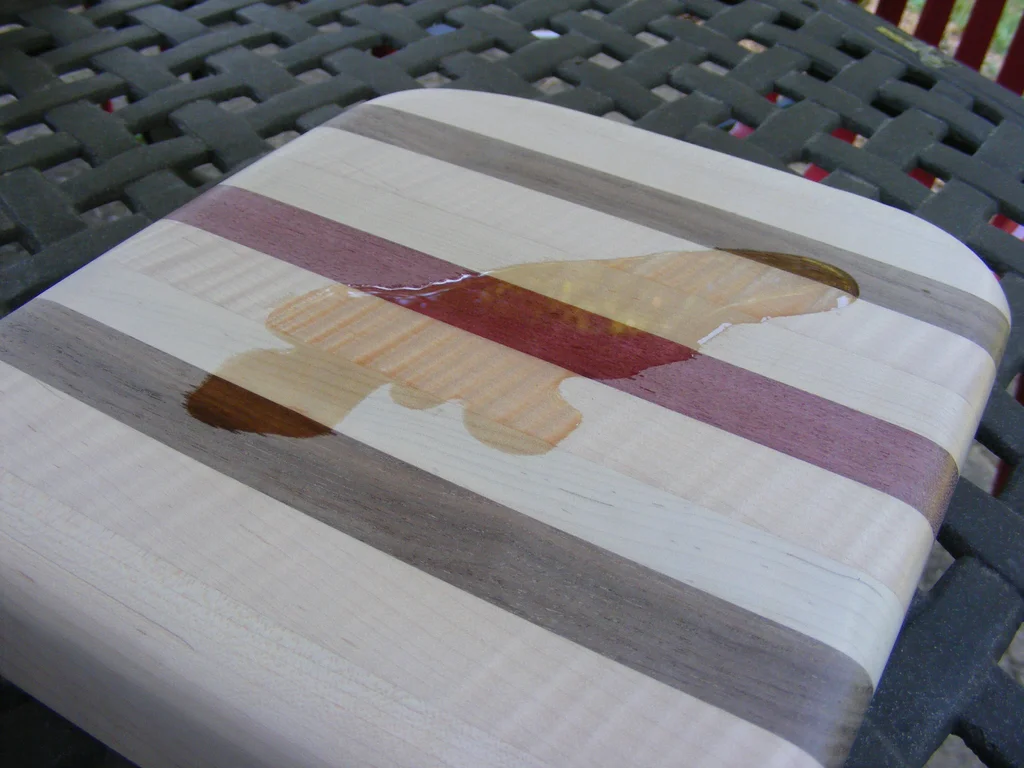
Step 10: Apply Mineral Oil
- After finishing the sanding in the previous step, clean the board with a damp rag or denatured alcohol. Make sure to let the board dry completely. Then, apply food-safe mineral oil with another rag. You can buy this from retailers like Home Depot or Bed, Bath, and Beyond. Apply a generous amount of oil and allow it to soak into the wood for 30 minutes. Repeat this process 2 or 3 more times until the wood stops absorbing oil.
- Remove excess oil and let the cutting board sit overnight before first use to allow the mineral oil to protect the board and enhance the wood’s natural colors.

Step 11: Caring for Your Cutting Board
- To ensure the longevity of your cutting board, there are a few maintenance tips you can follow. When cleaning the board, you can wash it with soapy water, but make sure not to let it soak. Additionally, it’s a good idea to reapply mineral oil every few uses to keep the wood protected and looking its best. By taking these steps, your cutting board should remain in great condition for years to come.
- If you find that your cutting board has developed cut marks over time, you can use the sanding steps outlined in this tutorial to restore it to its original condition. Simply take it out to the sander and follow the same steps to eliminate the cut marks and make your board look like new again.
- If you want to preserve the pristine look of your cutting board, you could consider leaving one surface untouched. This way, you’ll always have a surface that looks as good as new and can be displayed in your kitchen.

Best of luck with your cutting board project! I hope this tutorial has provided you with useful information and guidance.