
DIY Tips
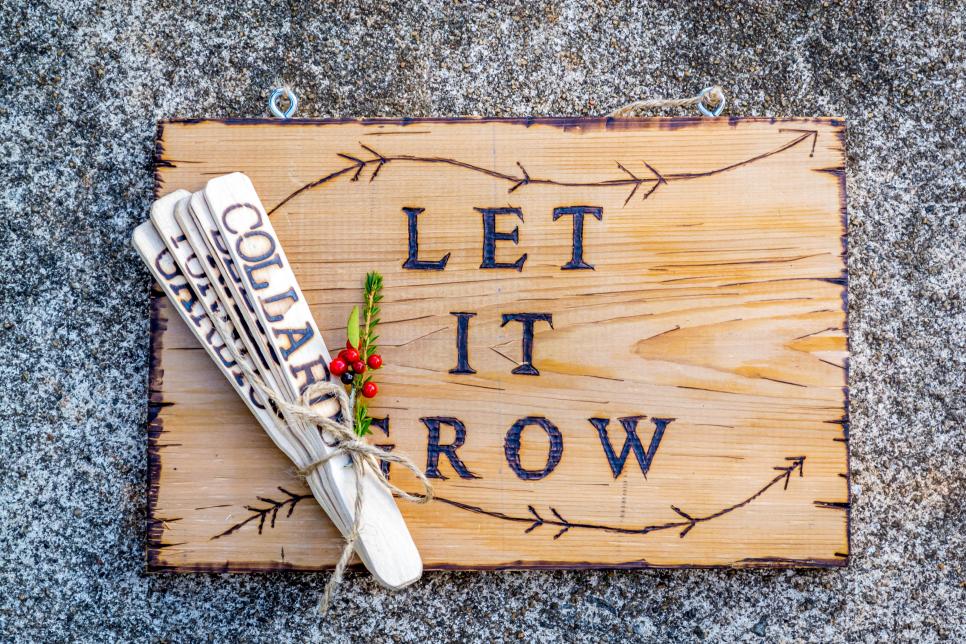
DIY: How to Make a Homemade Garden Sign and Plant Labels
May
Are you looking for a fun and creative way to add a personal touch to your garden? Making your own garden sign and plant labels can be a great way to show off your personality and creativity while helping you keep track of your plants. Whether you’re an experienced gardener or just starting out, homemade garden signs and labels can be a fun and easy DIY project. With a few basic materials and some creativity, you can create unique signs and labels that add character and style to your garden. So why not try your hand at making your own garden signs and labels?
Supplies You’ll Need To Get Started
- A wood board
- Large popsicle sticks or wood shims
- A wood burning tool
- Metal stamps (optional)
- Ruler
- Pencil
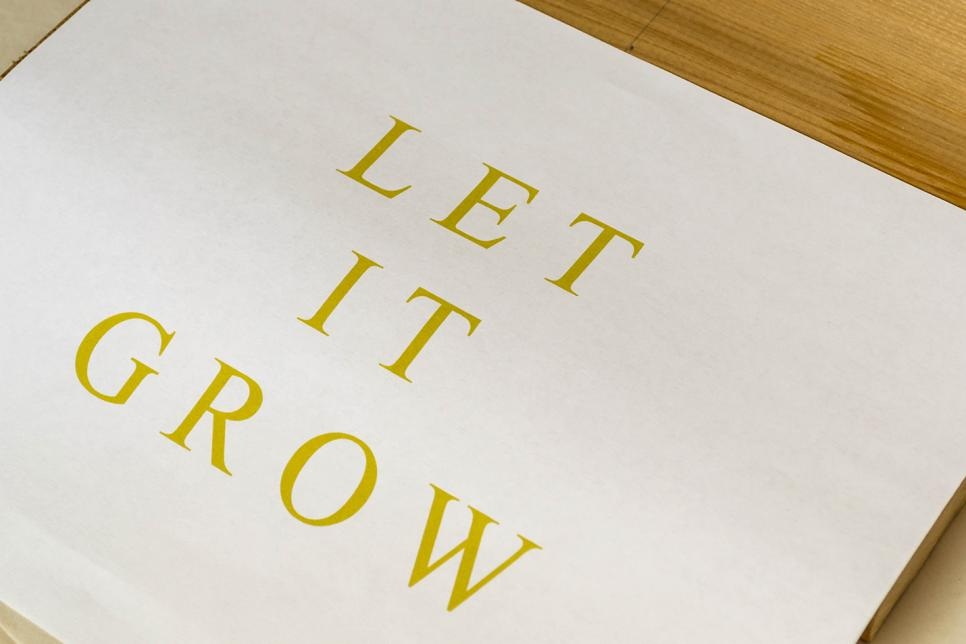
- A printed template.
- To begin, use a word processing program to design the wording of your sign. Pick a font that is simple, this will make it easier to trace.
Instructions
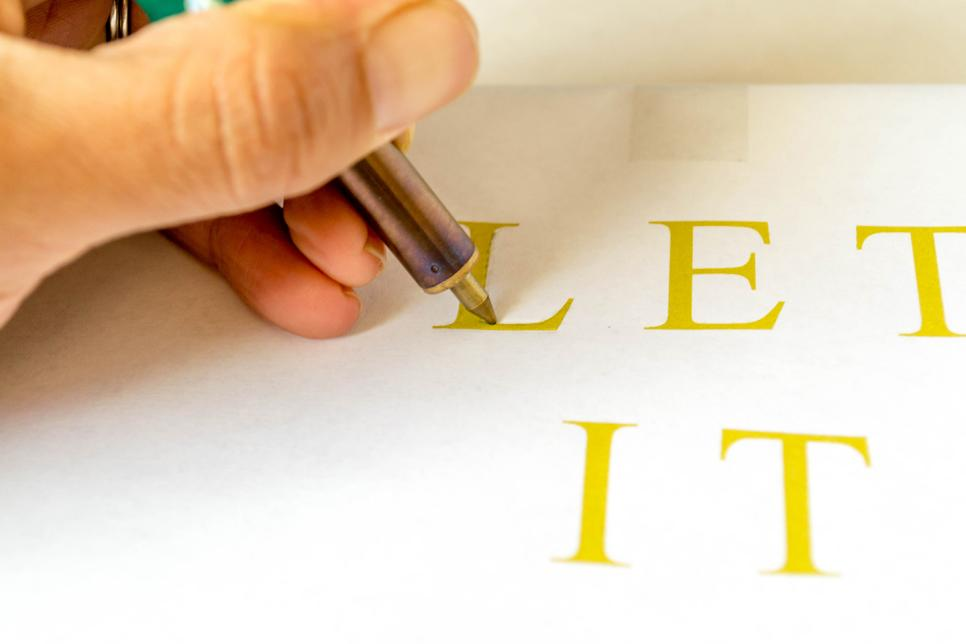
Step 1: Center and Trace
Use the ruler to find the midpoint of the wood board and draw a line down the center. This will help you line up the template. Lay the paper template over the top of the board, making sure its in the desired position. Use a metal fork (or in my case, the pencil tip that was included in my woodburning kit) to trace around the letters on the template. Press down firmly. You want to leave an impression in the wood.
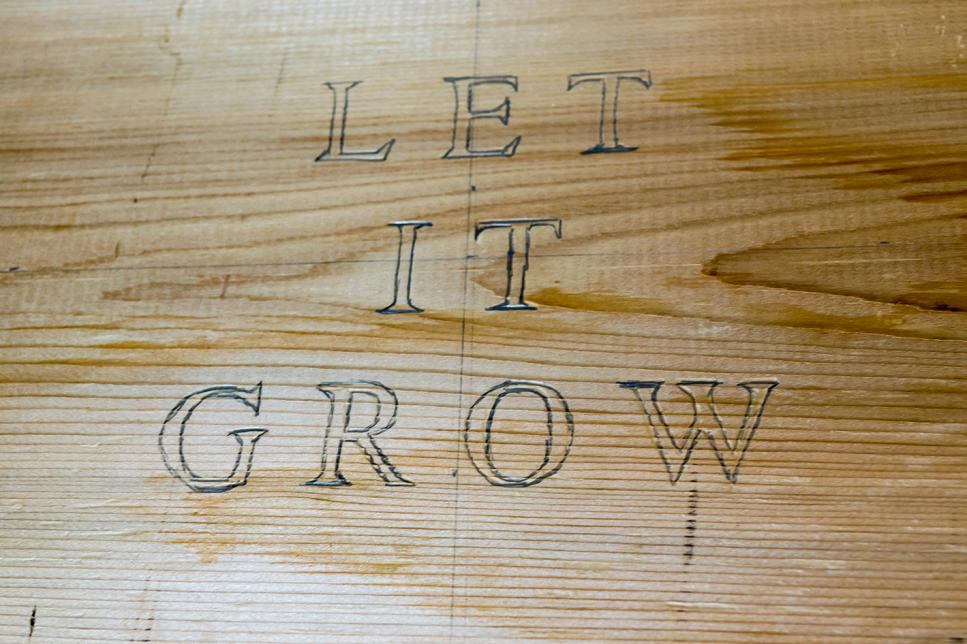
Step 2: Trace With Pencil
Trace along the impressed letters on the wood board with a pencil. This is going to help you see better when you start to burn the wood.
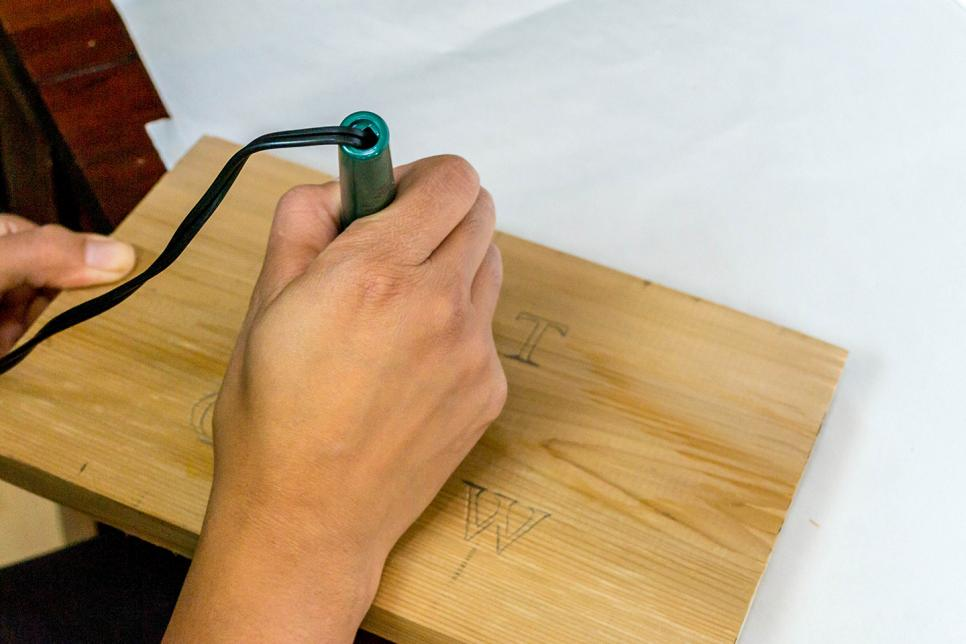
Step 3: Start Burning
Put the chiseled tip onto your woodburner and turn it on. It takes about 2-3 minutes for it to heat up. The woodburner is extremely hot. So, make sure your work area is protected. Trace the outline of the letters first. Small, quick movements work the best. If you hold the tool in one place for too long, it can burn pretty deep. Go lightly at first. You can always go back. Turn off the woodburner and allow it to cool for a few minutes. Remove the chisel tip with the pliers and add the rounded tip. Turn the woodburner back on and let it heat up. Fill in the letters.
Step 4: Add Designs and Measure
Once you are finished with the letters, feel free to add some freehand designs around the edges and middle of the sign. For a simple embellishment, lightly burn along the grain of the wood. At this point, you can stain the sign or treat it with a waterproof stain. I used cedar, so it does not require weatherproofing. Measure 2 inches from the edge on top of the sign. Do this on the opposite end as well.
Step 5: Add The Eye Screws
Drill pilot holes at the measured points. Twist in the eye screws.
Step 6: Add a Hanger
Cut a length of twine or wire. Tie it onto each end of the eye screws.
Step 7: Plant Labels
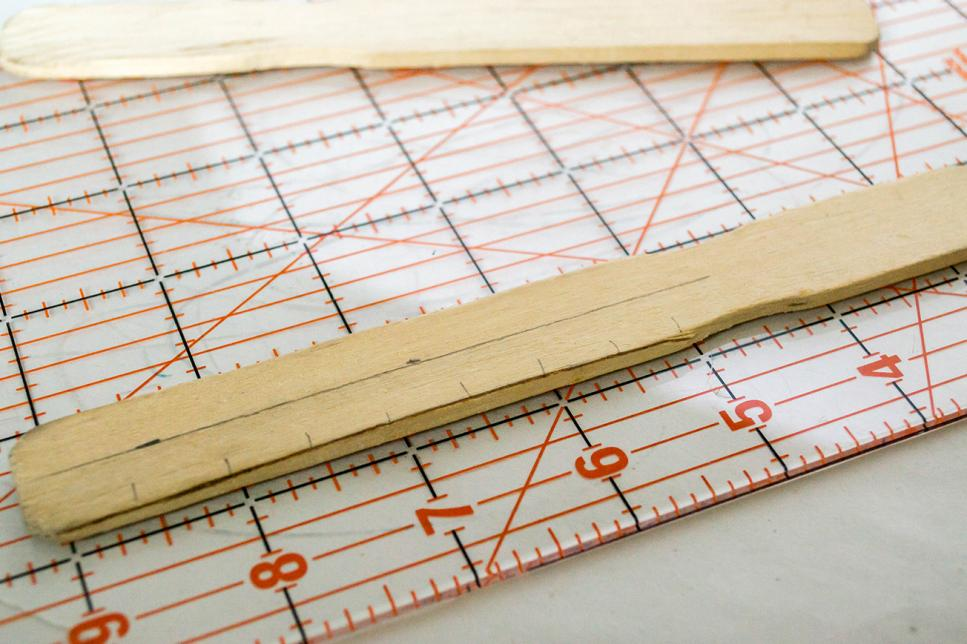
To help line up the words, I measured the center line of each popsicle stick.
Step 8: Plan Out the Letters
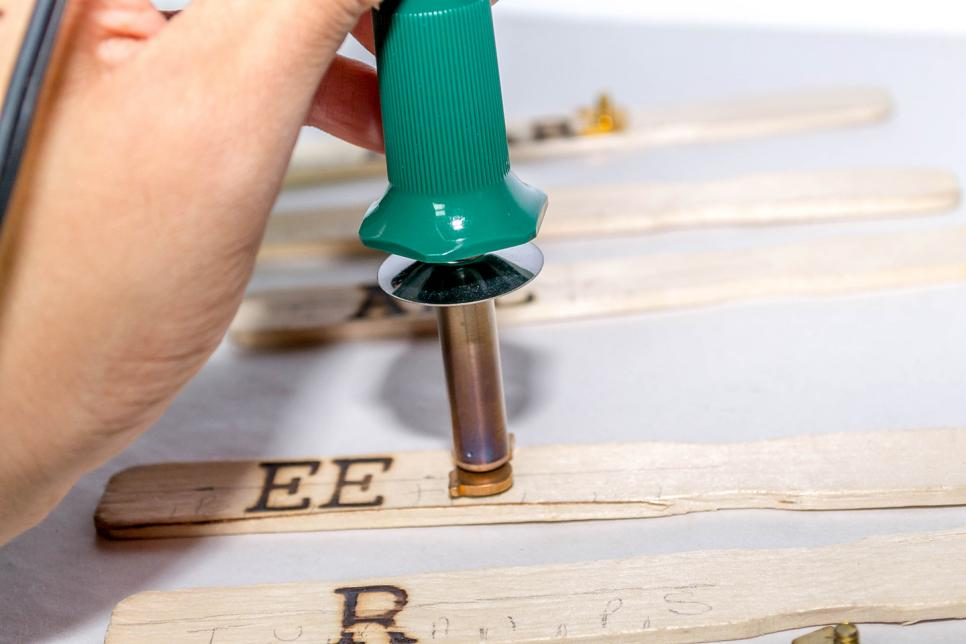
Since I am using metal stamps and have to switch out individual letters, I planned out the words before I started burning for efficiency. Lightly write the name of the plant on each stick and line them up. That way, when you start stamping you can do all the “a” letters first, then all the “b” letters, etc. When you switch out the stamps, remember to turn off the woodburner and allow it to cool for a few minutes and then remove with the pliers.
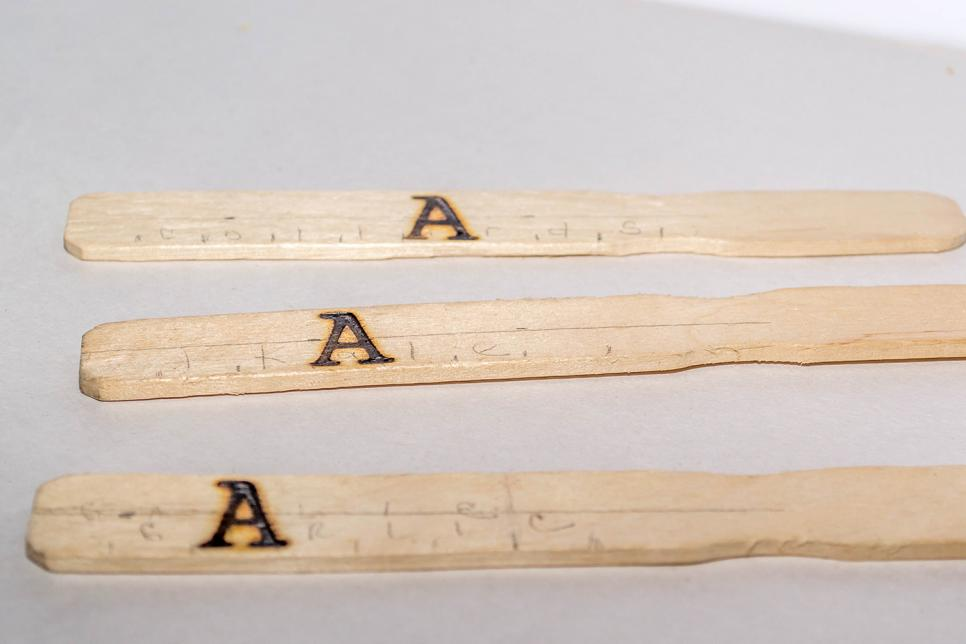
Step 9: Continue to Stamp
Use even pressure when stamping. Do not leave the stamp in contact with the wood for too long.
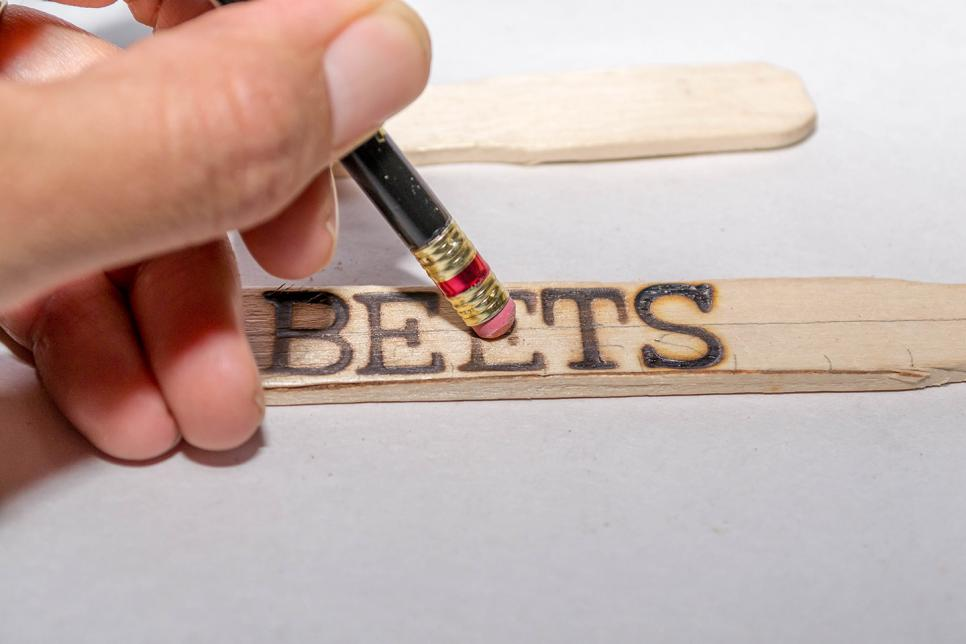
Step 10: Erase
Erase all the extra pencil marks.
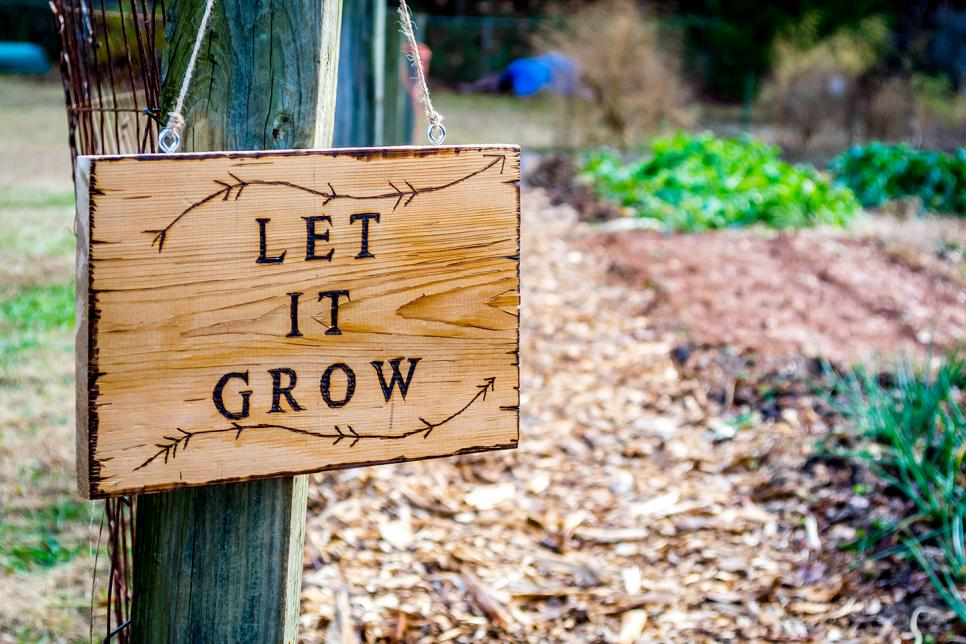
Display
Hang your sign at the entrance to your garden! Or, wrap it up and give it to a friend.
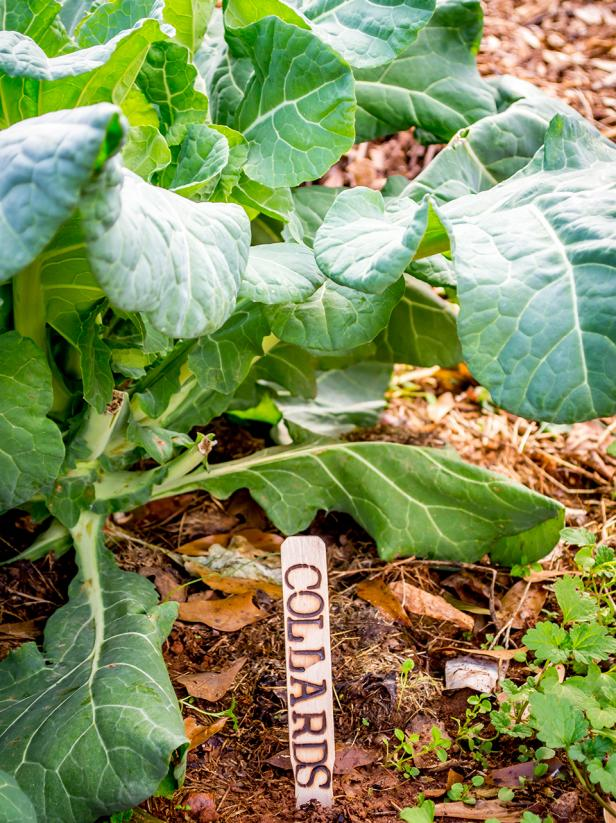
Wood Burn Plant Labels
Wood burned plant labels stand up well in harsh weather conditions.
We hope that this article has provided you with some useful tips and inspiration for creating your own DIY garden sign and plant labels. Whether you are an experienced gardener or just starting out, personalized signs and labels can add a charming touch to your garden and make it easier to keep track of your plants. With a little creativity and some basic materials, you can create custom designs that reflect your style and personality. We encourage you to experiment with different fonts, colors, and materials to find the perfect look for your garden. Thank you for taking the time to read our article, and happy crafting!