
DIY Tips
DIY Doormats With Cricut: Step-by-Step Guide

Jun
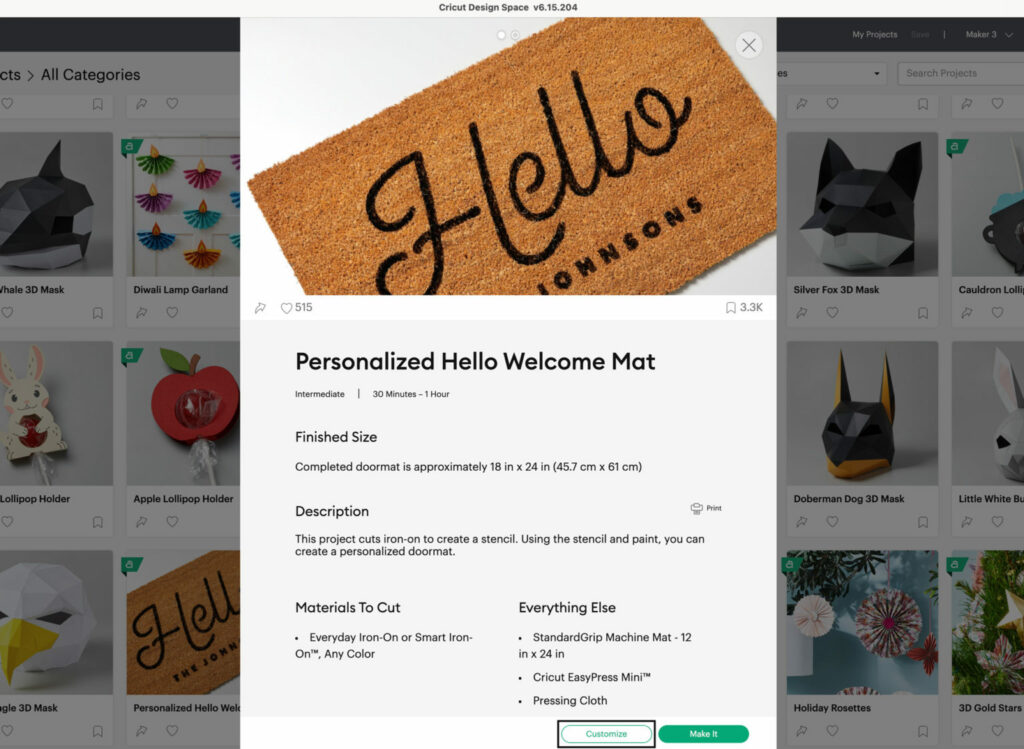
Welcome guests to your home with a personalized touch by creating your own custom doormats using your Cricut machine. Say goodbye to generic designs and hello to unique and eye-catching doormats that reflect your style and personality. Whether you want to display a witty quote, a vibrant pattern, or a monogram, the possibilities are endless. In this guide, we’ll walk you through the steps to create beautiful and durable doormats that will leave a lasting impression on anyone who crosses your threshold. Let’s get started and transform your entrance into a welcoming masterpiece.
Supplies You’ll Need To Get Started
- Cricut Explore 3
- Cricut EasyPress 2
- Smart Iron-On, White
- Weeding Tool
- Material Trimmer
- Sisal Door Mat
- Black Paint
- Bristle Paint Brush
Instructions
Step 1
- Once you’ve opened the project, click “Customize” in the bottom right-hand corner to edit the name.
Step 2
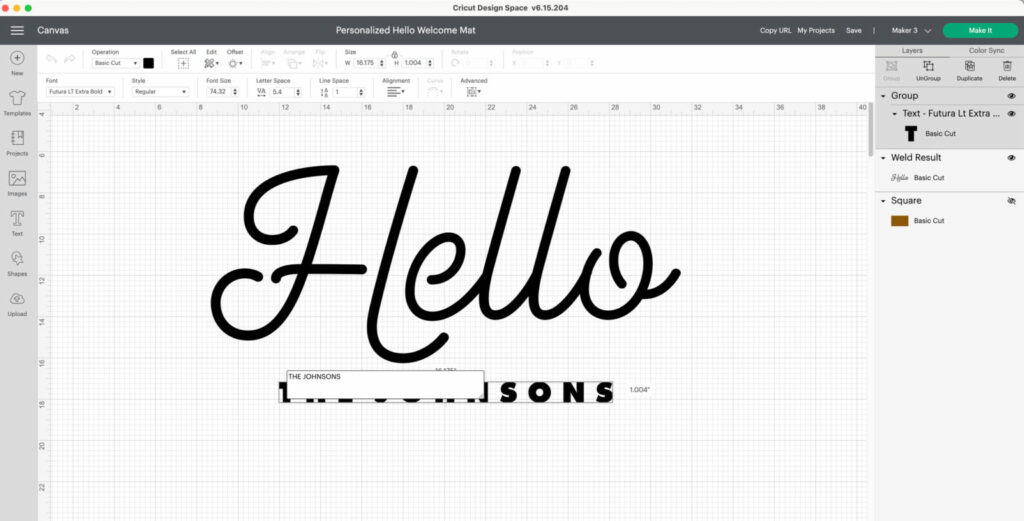
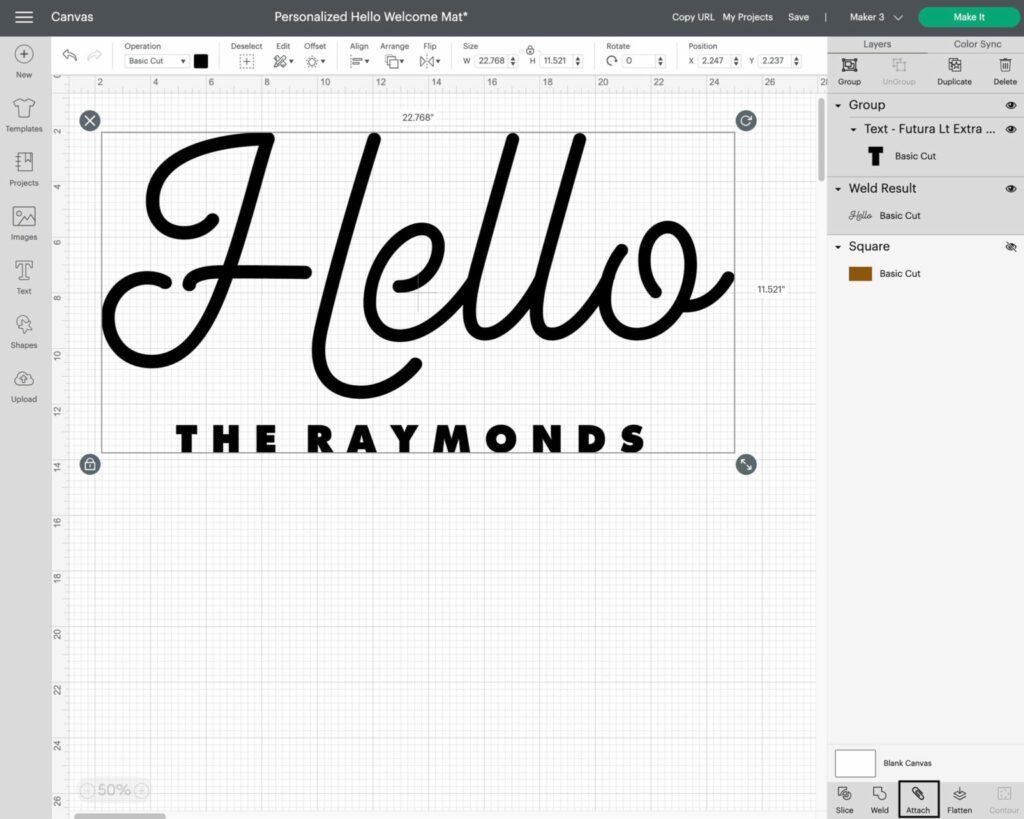
- The project will open to the canvas where you will see the project in an editable form. Double click on “The Johnsons” and you will see a text box pop open. Type in your name here.
Step 3
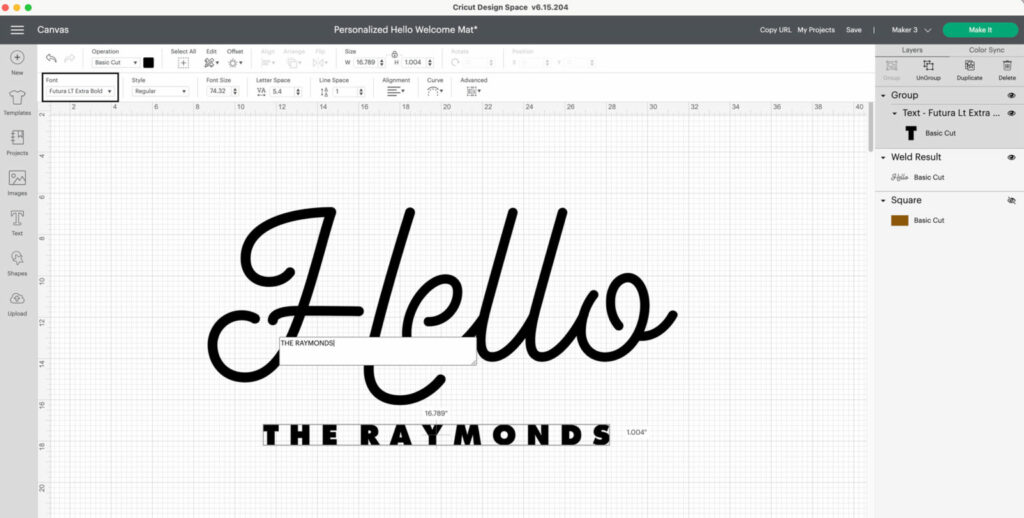
- The Hello text is an image, so the font cannot be changed, but if you’d like to change the font of the surname below Hello, click the dropdown menu at the top of the screen that says, “font.”
Step 4
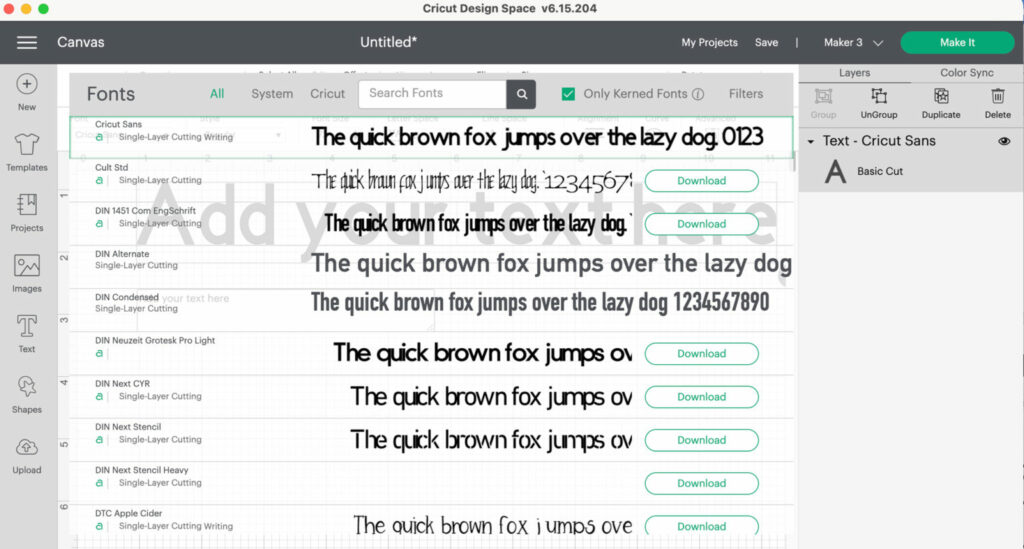
- You’ll now be able to search through the hundreds of fonts available in the Cricut library.
Step 5
- Choose whichever font you like the best or stick with Futura Lt Extra Bold which is the one we used in the original design.
- You can also reposition your name if you’d like. Once you’re happy with your design, select both Hello and your text and click “attach.” By clicking “attach” you are telling the software that you want the machine to cut everything exactly how you see it on the canvas.
Step 6
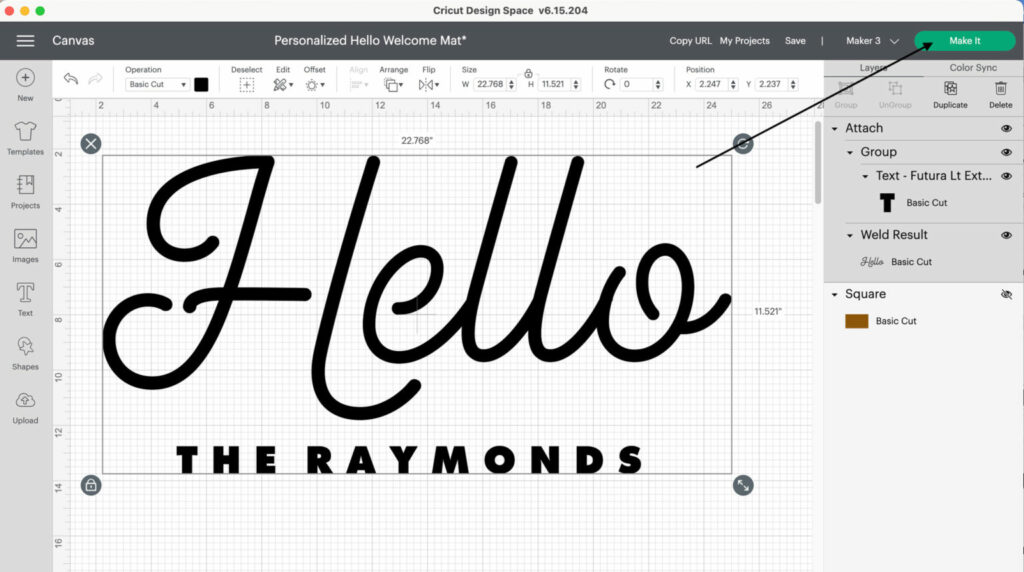
- Yay! You’re now ready to cut. Click “Make it” in the top right-hand corner to continue.
Step 7
- The software will send the information from Design Space to your Cricut machine. Follow the prompts to continue to cut. Make sure you select “mirror” on the cut screen since you are using iron-on for the stencil.
Step 8
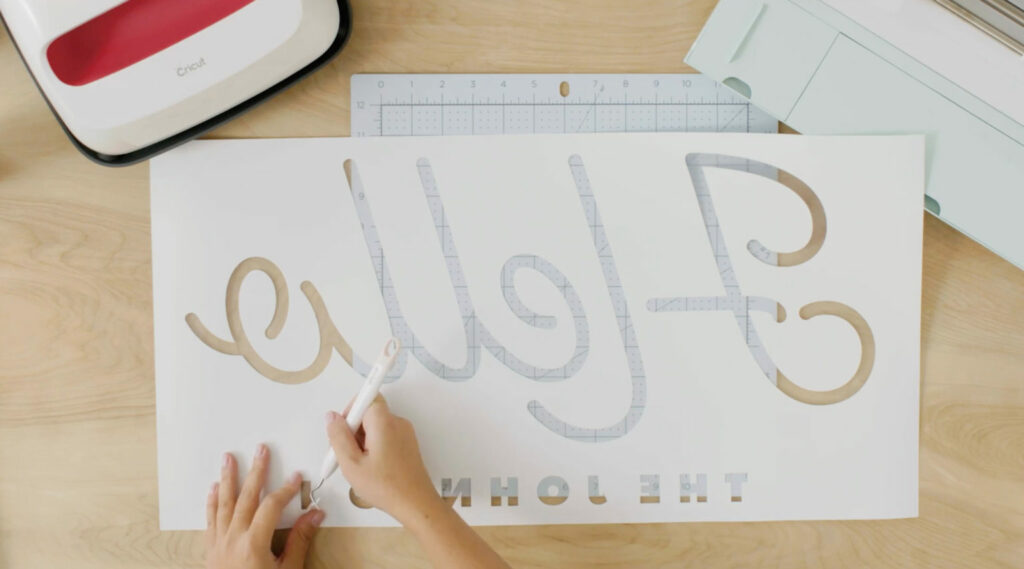
- Once cut, unload your material and remove the excess iron-on from around the letters. We call this process, “weeding.” Since we are making a stencil, we will remove the areas where we want paint to go onto our mat. In this instance, that means we will remove the words.
Step 9
- Now it’s time to apply the iron-on to the sisal mat with a heat press. Lay your iron-on down onto the mat and use low heat while moving the Cricut EasyPress across the surface.

Step 10
- We are breaking the rules a bit here. Normally with iron-on, you want it to fully adhere to the surface, so it’s best to follow the Cricut Heat Guide. However, since we are using iron-on as a stencil and will be removing it after we paint, we are only going to adhere it enough for us to get nice crisp lines.

Step 11
- This process will take a bit of time. Expect a few cycles of heat-then-peel to remove backer.

Step 12
- When the backer is removed, now it’s time to paint! Squeeze your paint right onto the surface of the open areas on the mat where the text will be. Use a bristle paint brush in up and down movements to get the paint down into the fibers of the mat. Continue until you’re satisfied with the color!

Step 13
- Allow to dry and then remove the iron-on stencil. Look at those crisp lines! We love using iron-on as a stencil on this type of surface. We wouldn’t recommend using iron-on as a stencil on any kind of base where the iron-on would fully adhere.

Congratulations! You now have the knowledge and skills to create stunning doormats using paint and your Cricut machine. It’s time to unleash your creativity and enjoy the process of crafting. Get ready to design and personalize doormats that will add a unique touch to your home and make a statement to all who enter. Get ready to impress yourself and others with your DIY doormat creations. Happy crafting!