
DIY Tips
How To Create A DIY Wine Bag With Cricut

Jun
Are you looking for a creative way to elevate your wine gifting? With the help of Cricut, you can easily design and make a custom wine bag that will impress any recipient. Whether it’s for a special occasion, a holiday gift, or simply to add a personal touch to your own wine collection, this DIY project is both fun and rewarding. In this guide, we’ll show you step-by-step how to use your Cricut machine to create a beautiful and personalized wine bag that will make your gift stand out from the rest. Get ready to unleash your creativity and make a statement with a custom wine bag designed just for you.
Supplies You’ll Need To Get Started
- Laptop Or Connected Device With Design Space
- Cricut Easy Press
- Cricut Explore 3
- Standard Grip Mat
- Cricut Infusible Ink
- Butcher Paper
- Cricut Heat Mat
- Wine Bag Blank
- Accessories
Instructions
Step 1
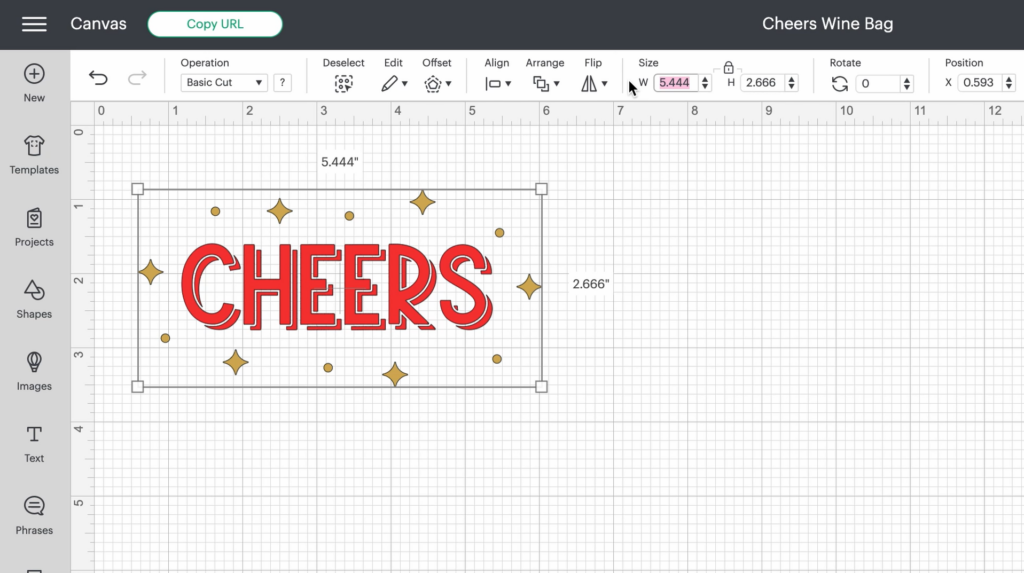
- Go to Design Space and pick out the design you want to use. Select your entire design and resize to the size you want. Grayson chose to make the width of his design eight and a half inches. And since he is using green infusible ink, he changed “cheers” from red to green, just to give a preview of what his finished design will look like. Once you are satisfied with your design, you can click make it.
Step 2
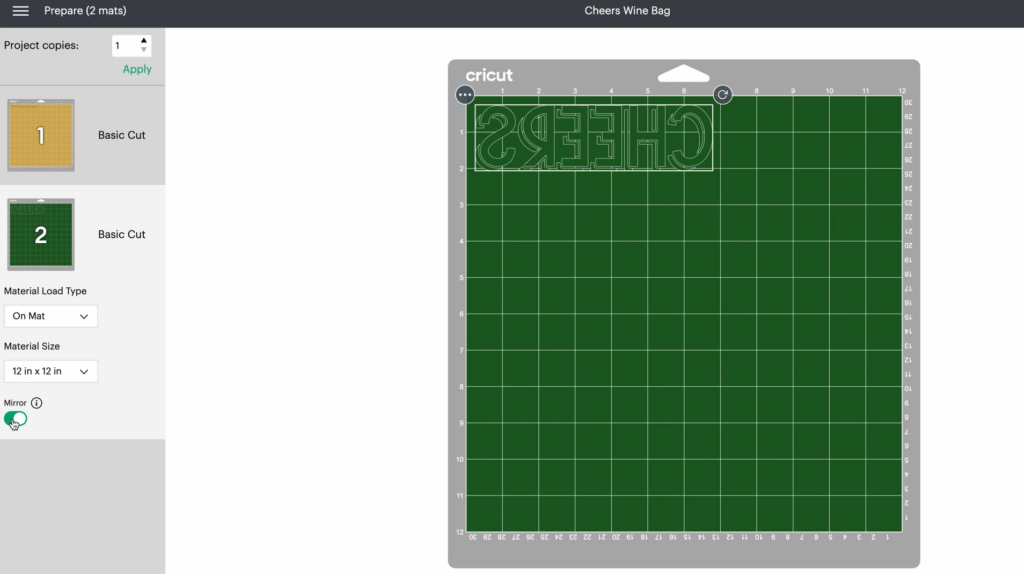
- On the next screen, you can see that the stars and circles moved to be in a line. Grayson chose not to attach the stars and “cheers” together, so that he wouldn’t waste his material. Because of that, he will manually be placing the stars and circles on the wine bag. Grayson is also using infusible ink, so he will toggle the “mirror” button. You want to click the mirror button with infusible ink so that your machine cuts on the material side (not the shiny backer), and won’t be backwards when you press your design. Grayson also moved the “cheers” to be more in the middle of the mat, so that he has room to manually place the stars later on.
Step 3
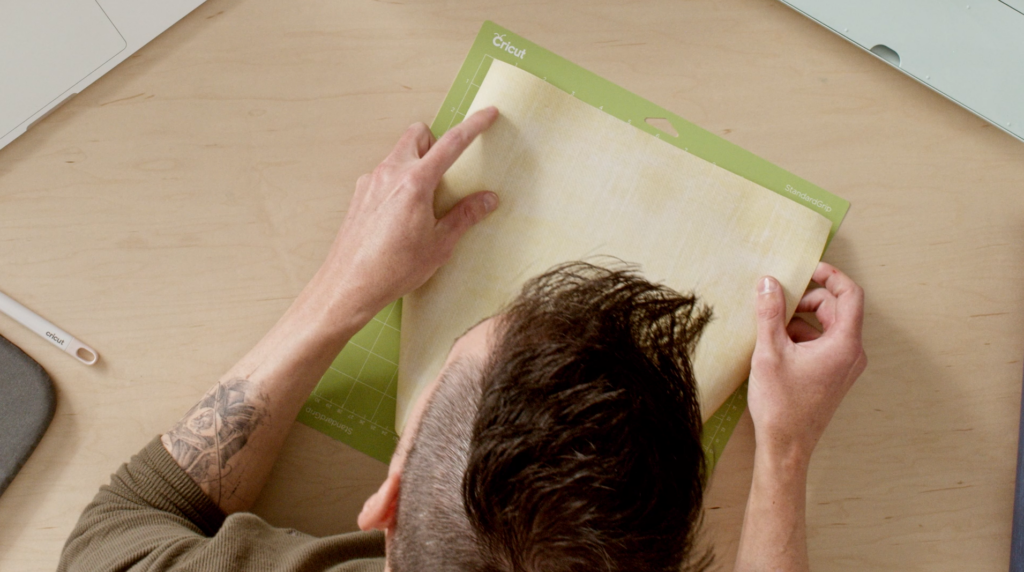
- Next, you will select your material. Grayson is using infusible ink, so that is what he selected. As soon as you select infusible ink, Design Space will prompt you to mirror your image, just in case you haven’t done that yet. You will then load your material onto your mat, making sure the shiny side (liner) is facing down, and the material side is facing up. Then load your material into the machine, making sure your mat is under the guides on the side. Once the go button is blinking, press it, and your machine will cut everything for you. Once the machine is done, unload the material, and repeat the process above for the next color.
Step 4
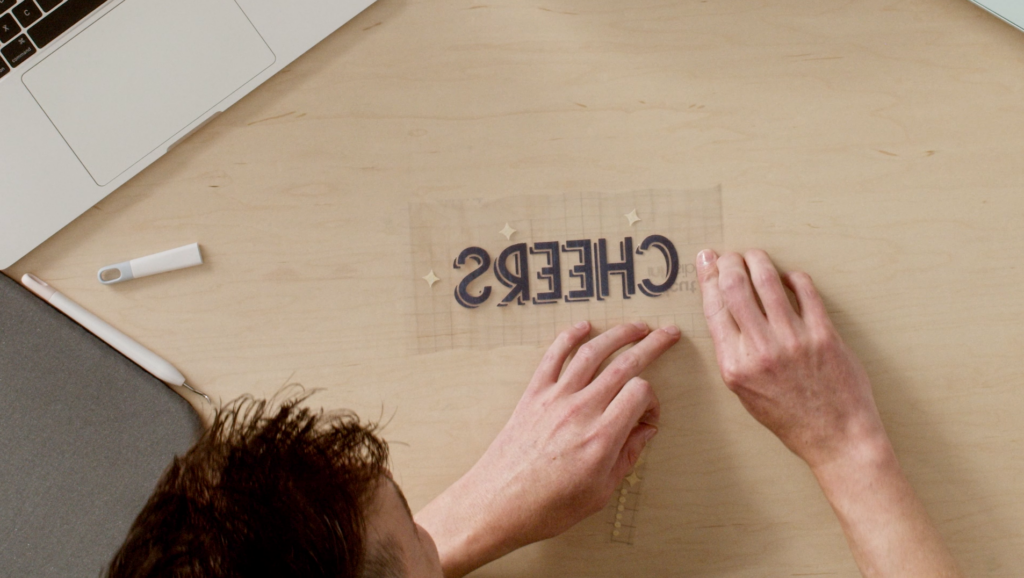
- Unload the material from your machine by peeling the mat from the material (this helps decrease the material from curling). Then trim or cut your material, making sure to leave a little space around the word cheers to place the circles and stars. Once you have everything trimmed, remove the material you don’t want in your design using your weeding tool. Once you’ve weeded your design, place the stars and circles around the word “cheers” and then turn on your heat press.
Step 5
- Once your heat press beeps, it is ready to go. Place your wine bag on the heat press mat, and put butcher paper on the inside. This acts as a liner and makes sure that the infusible ink doesn’t bleed through the other side. Clean your bag with a lint roller to get any specs off, and then preheat your material for 15 seconds. Place your design color side down (shiny side up), and place a few pieces of Cricut’s heat tape to keep the design down.
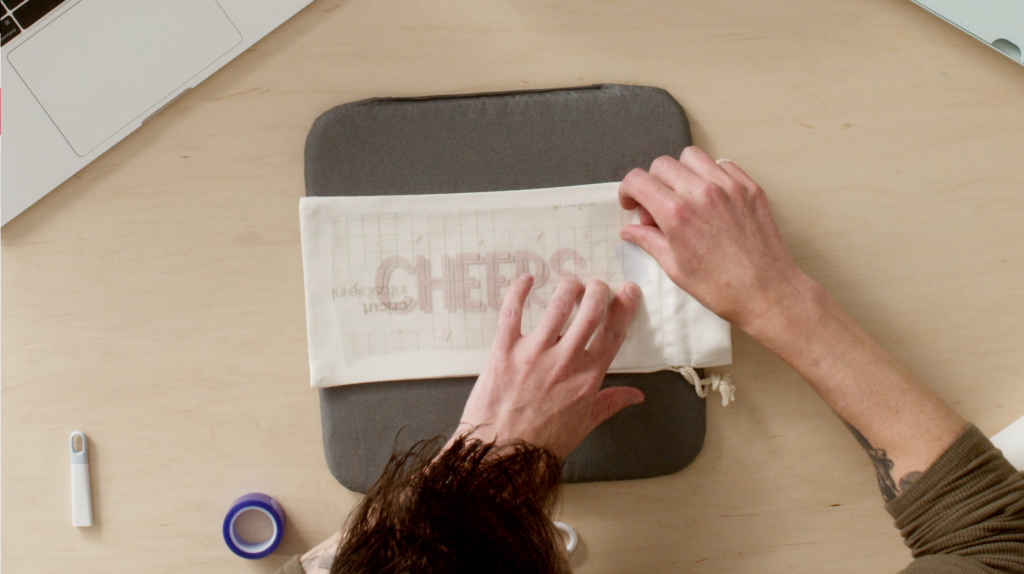
Step 6
- Then put a layer of butcher paper on top of your design, to protect your heat press. Press your design for 1 minute, using both hand to apply pressure. Remove the heat press after one minute, and wait to remove the design until it cools.
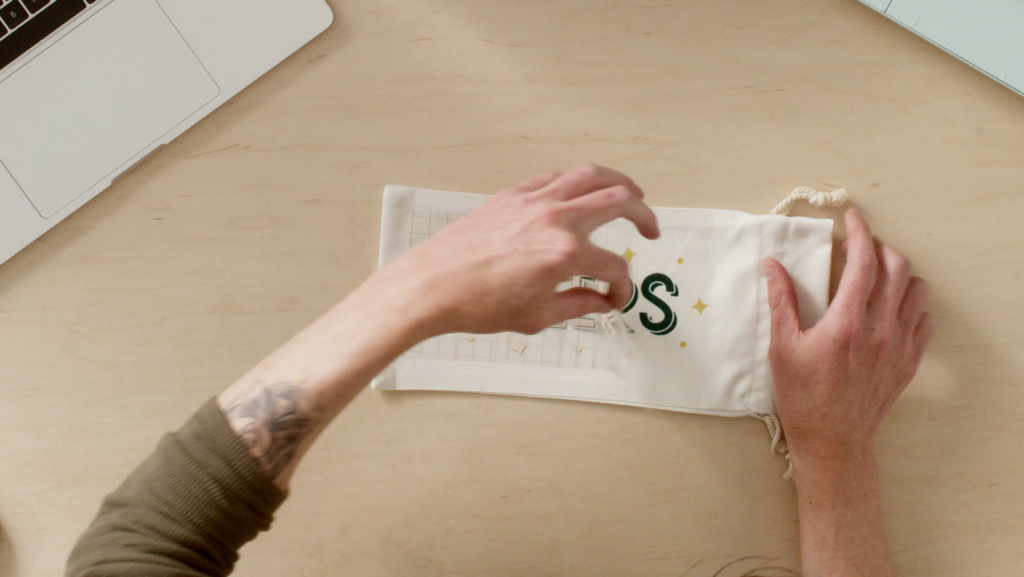
Now, it’s time to sit back, relax, and enjoy your custom wine bag creation! This DIY project is not only enjoyable to make, but it’s also incredibly satisfying to see the vibrant colors and unique design come to life. Whether you’re gifting this wine bag as a heartfelt thank you gesture or as a centerpiece for a special event, rest assured that the recipient will be thrilled with your thoughtful creation. So, grab a glass of your favorite wine, raise a toast to your crafting skills, and let the joy of crafting and sharing shine through. Happy crafting!