
DIY Tips
DIY Birdhouse: Create Your Own Bird Sanctuary
May
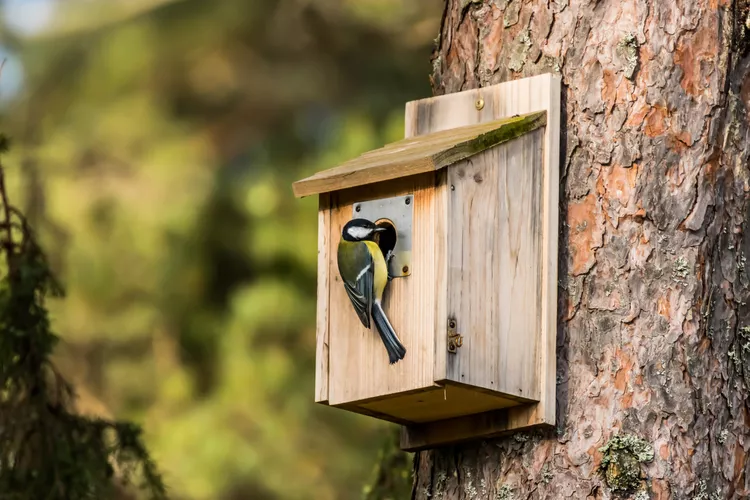
Making a birdhouse is a fun and rewarding project that can also provide a cozy home for our feathered friends. Whether you’re an experienced woodworker or a beginner, building a birdhouse is a great way to hone your skills and create something beautiful for your garden. With just a few basic tools and materials, you can create a custom birdhouse that will attract a variety of birds to your backyard. In this article, we will go through the steps of making a DIY birdhouse, from choosing the right materials to assembling the pieces and adding finishing touches. So, let’s get started on creating a cozy and inviting home for the birds!
Supplies You’ll Need To Get Started
Tools/Supplies
- Measuring tape
- Carpenter pencil
- Miter or circular saw
- Drill
- ¼-inch drill bit
- ⅛-inch drill bit (optional)
- Circular hole saw drill bit or jigsaw
- Ladder, if necessary for mounting
Materials
- Plank(s) of wood ¾ inches thick and six inches wide totaling at least four feet in length
- 15 to 20 galvanized screws about 1 ½ inches long
- 4 galvanized screws about two inches long
- Small bag of wood chips
- 6 ½-inch strip of rubber or roofing felt
- Predator guard (optional)
Instructions
Step 1: Choose A Wood Type
Pine, cedar, and cypress are great options for birdhouses because they’re weather resistant, well-insulated, and durable. While it’s great to use reclaimed wood, it should be untreated and unpainted. Otherwise, this kind of wood can be bought in planks at your local lumberyard. If possible, purchase FSC-certified wood.
Step 2: Measure And Cut Panels
Measure the dimensions for each of your panels, marking each piece with a carpenter pencil. Each piece is rectangular, except the sides, which have two oblique angles (to accommodate the sloping roof).
- Base/floor: 5″ x 4 ½”
- Front: 5″ x 7 ½”
- Back: 5″ x 12″
- Roof: 6 ½” x 6″
- Sides: 6″ (bottom) x 7 ⅕” (edge No. 1) x 9 ½” (edge No. 2); repeat for two identical side panels
Use a miter or circular saw to safely cut the wood.
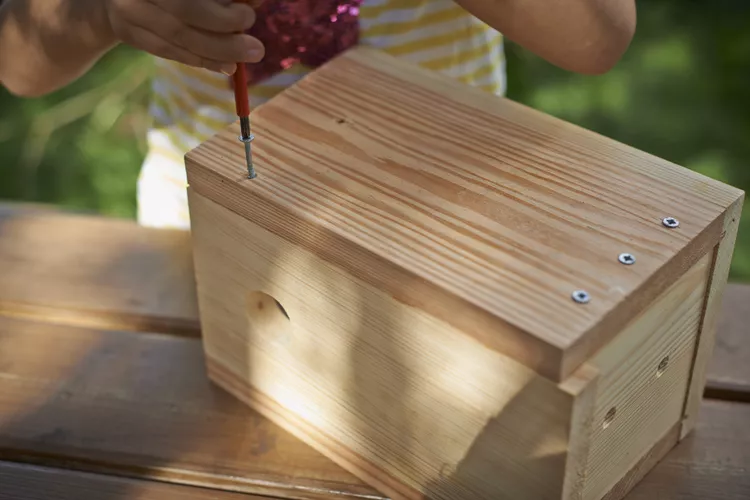
Step 3: Assemble The Walls
- Assemble your birdhouse from the bottom. Screw the side panels to the base, leaving ¾ inch on either side to compensate for the thickness of the front and back panels. Screw the front panel onto the base and side panels, then repeat with the back panel, lining it up with the top edge and leaving several inches of exposed wood on the underside. This makes it easier to mount the birdhouse.
- Nails also work, but screws are stronger and stay put for longer.
Step 4: Drill Ventilation And Drainage Holes
Using a ¼-inch bit, drill four holes near each corner of the floor panel for drainage. Then, using a ¼-inch or ⅛-inch bit, drill two holes near the top (roof) edge of each side panel. These are for ventilation, to prevent chicks from overheating.
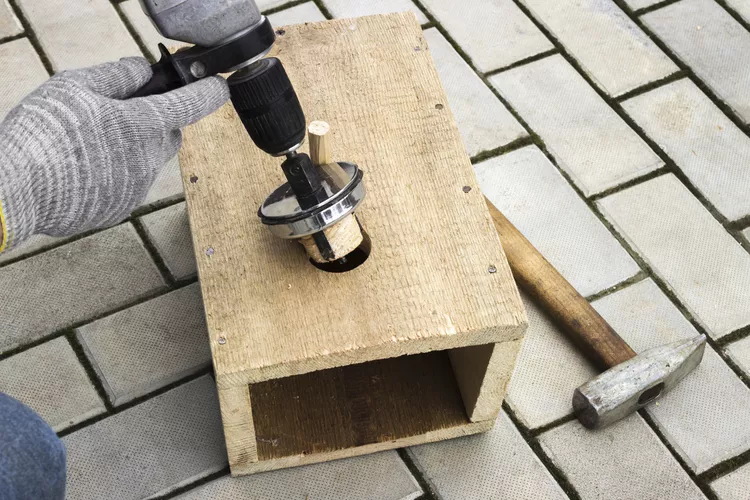
Step 5: Cut Entrance Hole
- The size of your entrance hole is very important. If you aim to attract small birds like chickadees and wrens, the key is to prevent the bigger house sparrow, which can fit through a 1 ¼-inch opening, from getting in. House sparrows are invasive and “detrimental” to chickadees and bluebirds. They are extremely common and widespread throughout the U.S. except in densely wooded areas.
- Mark a 1 ⅛-inch hole—which will fit nuthatches, titmice, warblers, and anything smaller—about five inches from the bottom. A circular drill bit, aka “hole saw,” works best for cutting such a small and precise circle, but those with steady hands might also find success with a thin-bladed jigsaw.
Step 6: Install the Roof
You want a hinged roof so that you can lift the “lid” and clean out your birdhouse. A strip of flexible rubber or roofing felt works better than actual hinges for this because it’s waterproof and provides an extra bit of insulation. Screw the rubber right into the underside of the roof and on the inside of the back panel.
Step 7: Add Wood Chips
Adding a thin layer of wood chips to the bottom of your birdhouse creates the feel of a freshly dug cavity. It will help draw birds to your nesting box and make them more comfortable. A handful or two is probably plenty, but use your discretion.
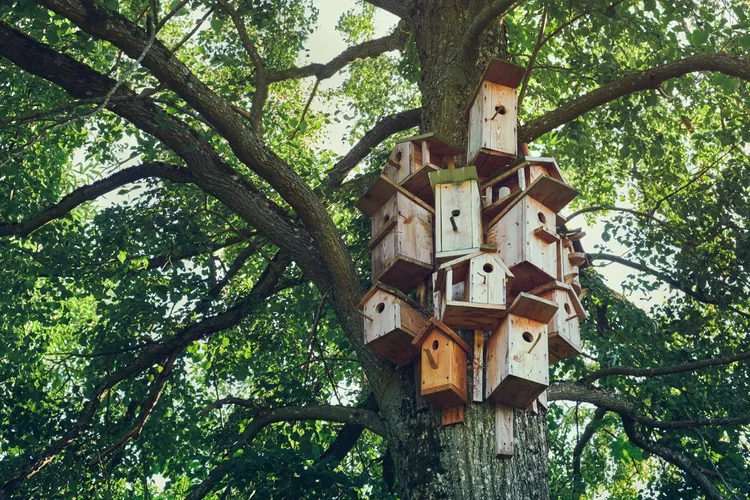
Step 8: Mount Your Birdhouse
A multispecies birdhouse such as this can be mounted anywhere from four to 20 feet high. You can hang the birdhouse on a tree (living or dead), a fence, or a house, but attaching it to its own post or pole allows you to keep other critters out with a guard such as a stovepipe or collar. Screw the back panel right into said pole using your longer screws.
We hope that this article has provided you with valuable insights and tips on how to create your own DIY birdhouses. By following the steps outlined here, you can create a functional and attractive birdhouse that will be the perfect addition to your backyard or garden. So don’t hesitate to get started on your project, and remember to have fun while you’re at it! We wish you the best of luck with your DIY birdhouses and thank you for taking the time to read our article.