How To
How to Create a Lomo Effect in Photoshop
If you’re considering adding an intense and high-contrast look to your images, the lomography photo effect might be just what you need. The lomo effect can create stunning visuals with its distinctive and artistic style. In this article, we will guide you through the process of creating a lomo effect in Adobe Photoshop. You’ll learn how to adjust colors, contrast, and vignetting to achieve the characteristic lomo aesthetic. Whether you want to infuse your photos with a sense of nostalgia, create eye-catching visuals, or experiment with new creative possibilities, this tutorial will equip you with the necessary steps to create a beautiful lomo effect in Photoshop. Let’s dive in and unleash your artistic potential with this striking photo effect!
Adding a Lomo Effect to Images
First thing you need to do is open your image in Photoshop.
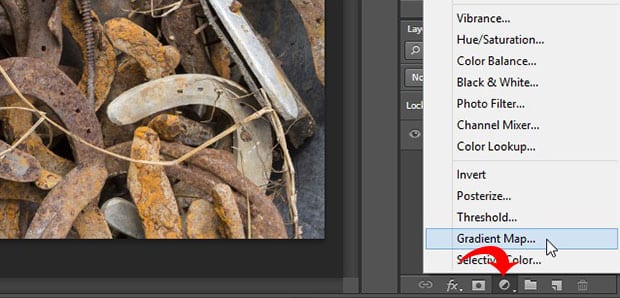
Now go to the Adjustment Layer icon (half-filled circle) at the bottom right corner of your Photoshop screen, and select Gradient Map.
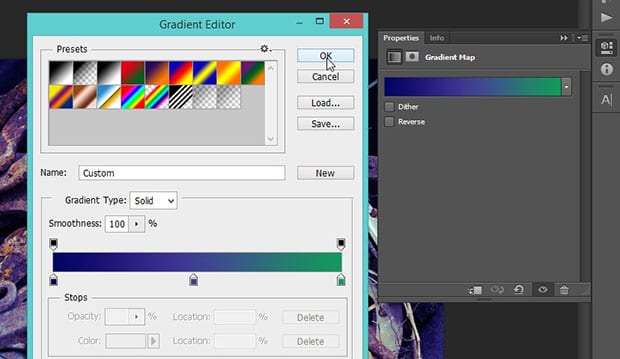
You should select a Blue color on the left and a Green color on the right inside the Gradient Editor, as shown below:
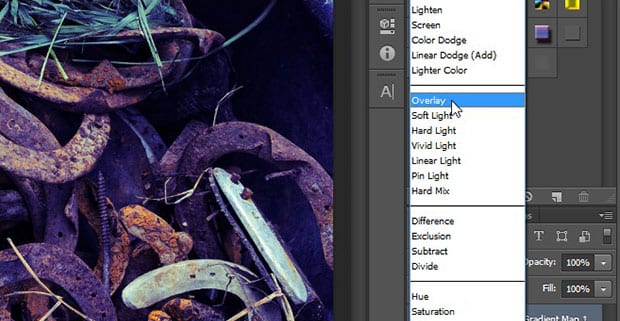
To make the colors blend beautifully with your photo, simply change the blend mode of the adjustment layer to Overlay (it’s set to Normal by default).
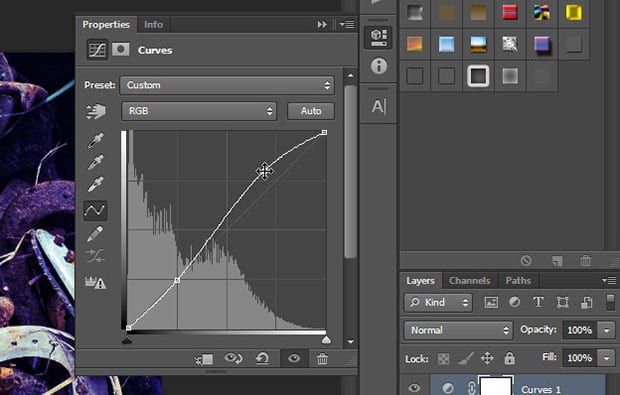
Next, go ahead and add another Adjustment Layer, this time for the Curves.
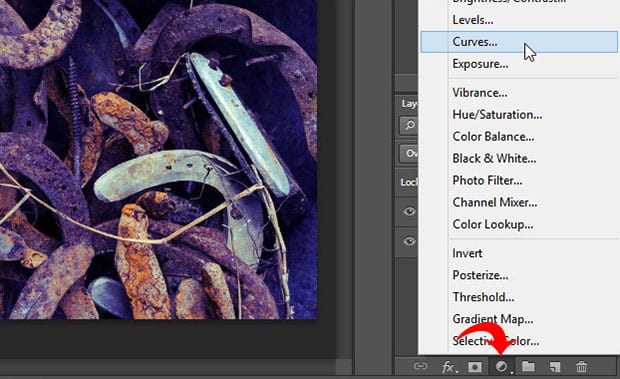
In the Curves settings, you’ll need to lift up the curve to brighten the dark notes of photo, as shown in the image below:
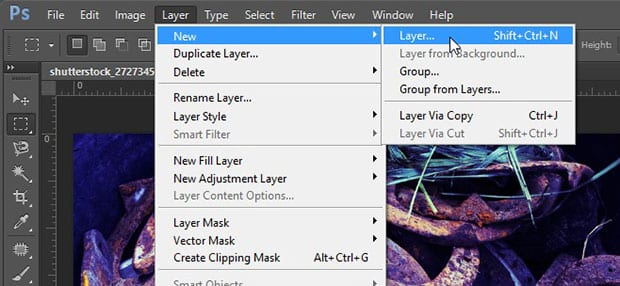
After setting the Curves, add a new layer (go to Layer » New » Layer…), and fill it with a black color using the Paint Bucket Tool.
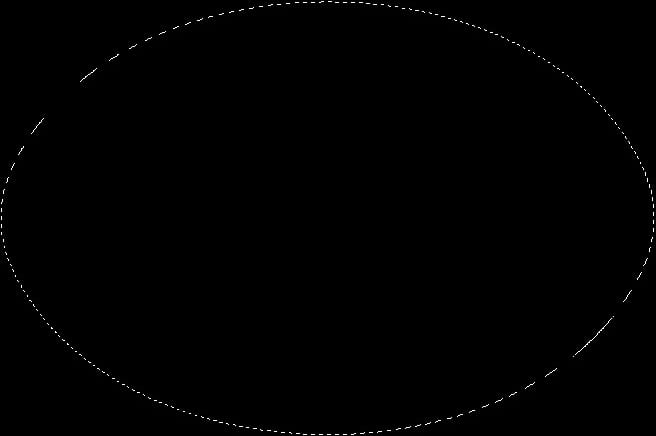
Then, draw a selection using the Elliptical Marque Tool so it touches the edges of the image, as shown below:
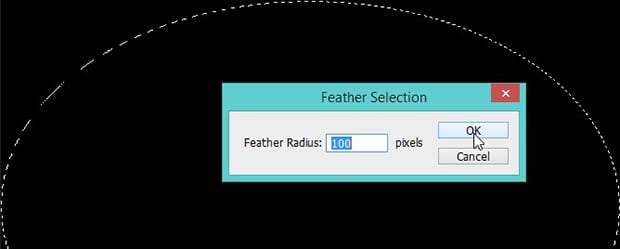
Now go to Select » Modify » Feather… and set Feather Radius to 100.
After that, simply press the Delete button from your keyboard and change the blend mode to Multiply. Also, you should reduce the Opacity to 80%.
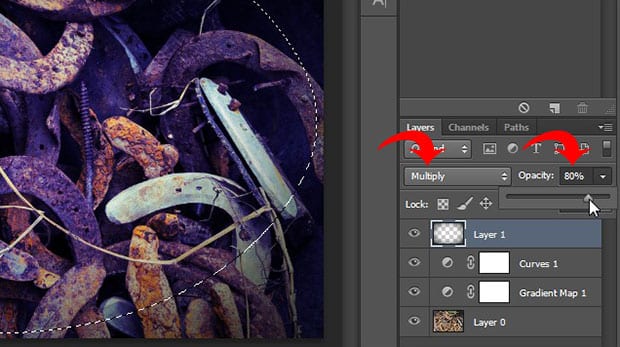
Next, press Ctrl + A to select all. Then, press Shift + Ctrl + C to copy the merged layers.
Now create a new layer from Layer » New » Layer…, and simply press Ctrl + V to paste the merged layers.
In the next step, go to Filter » Blur » Gaussian Blur… and set the Radius to 3.0.
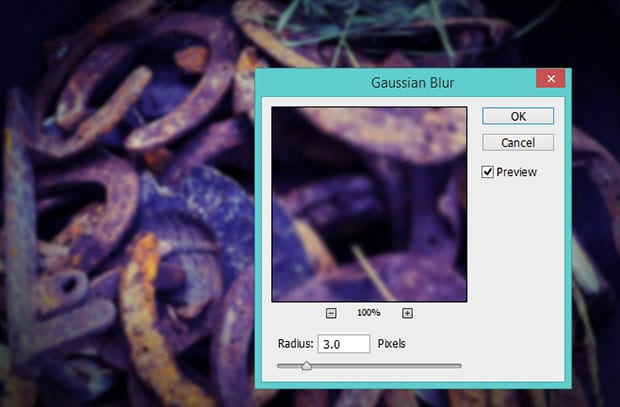
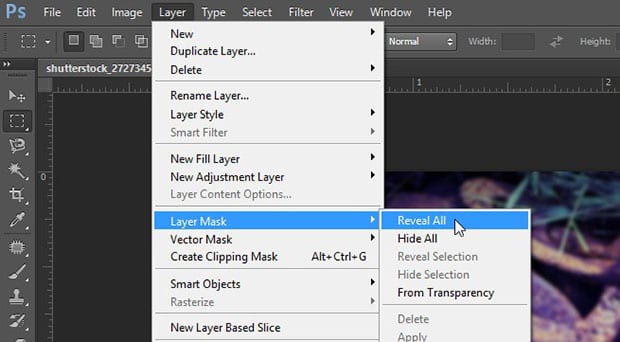
We don’t need to blur the entire photo, just the edges. To fix this, go to Layer » Layer Mask » Reveal All.
Then create a selection in the middle using the Elliptical Marque Tool.
Set Feather Radius to 100, and fill the selection with the black color using the Paint Bucket Tool. This will remove the blur from the middle.
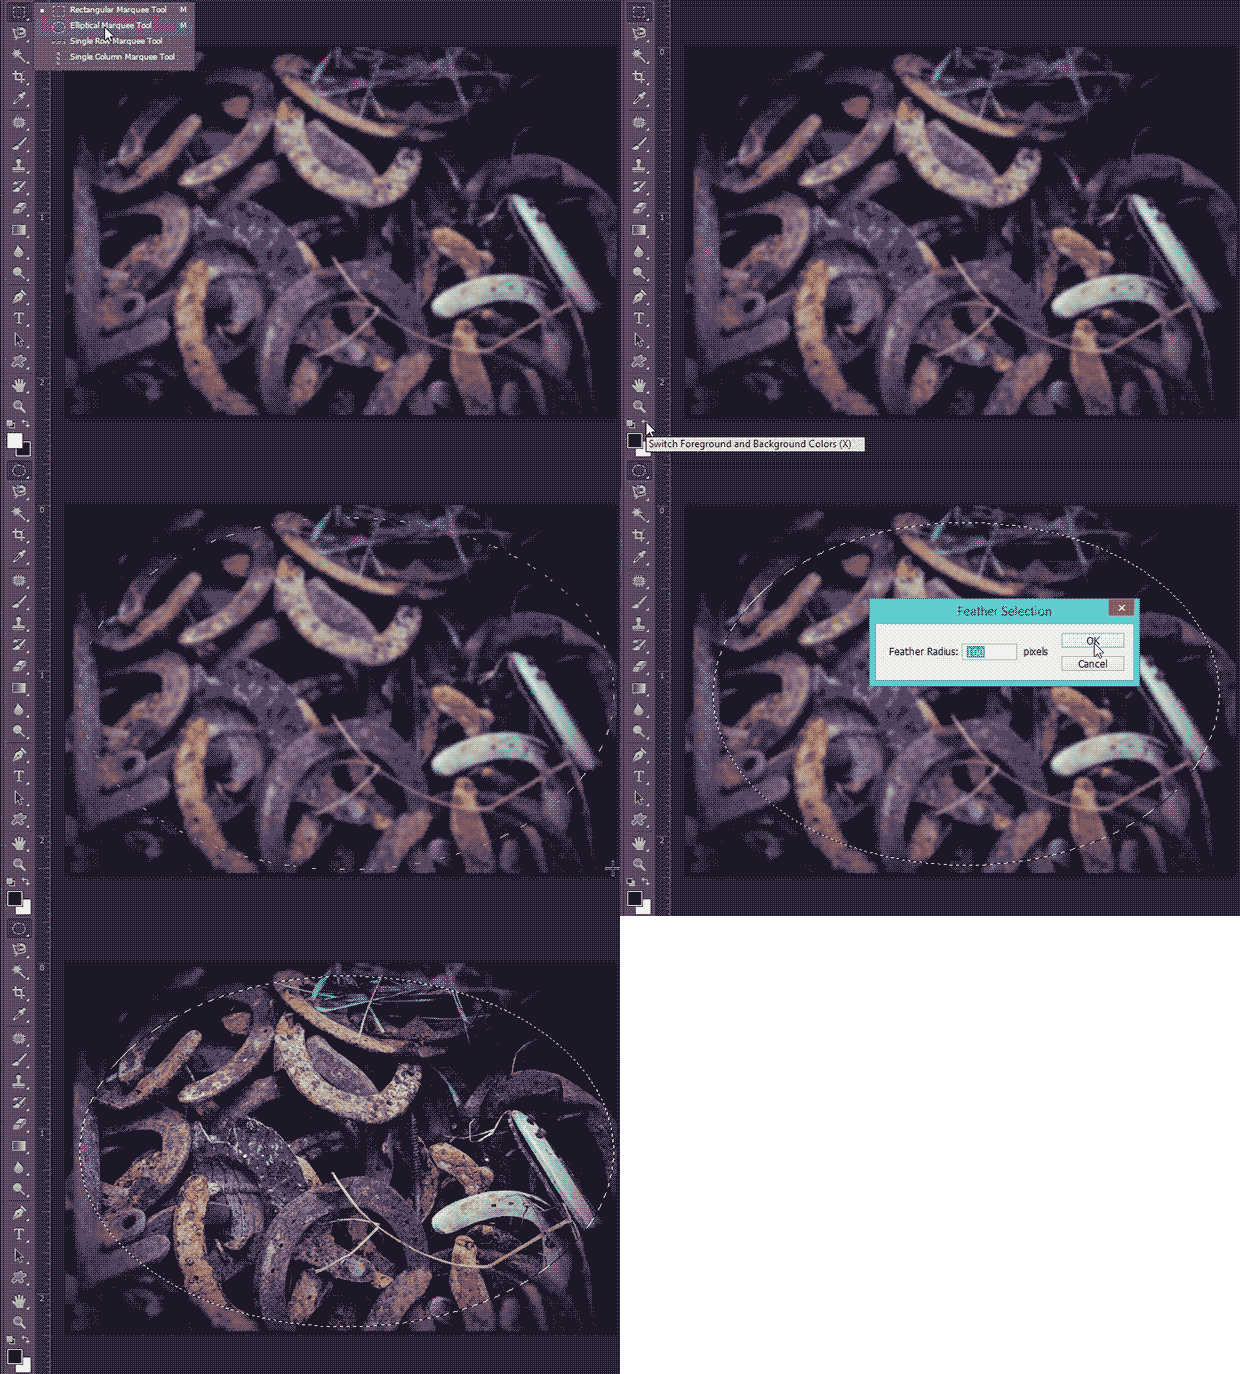
That’s all. See this before and after image below.

