
Svg editor
How to edit an SVG file in Cricut Design Space

Oct
Cricut Design Space is a powerful software that allows users to create and edit designs for their Cricut cutting machines. If you have an SVG file that you want to edit in Cricut Design Space, here is a step-by-step guide to help you.
Why modify an SVG file?
There are several reasons that may lead us to want to modify a cut file. Often, not all elements are on separate layers and are therefore “attached” together.
In this image, each colour represents a layer.
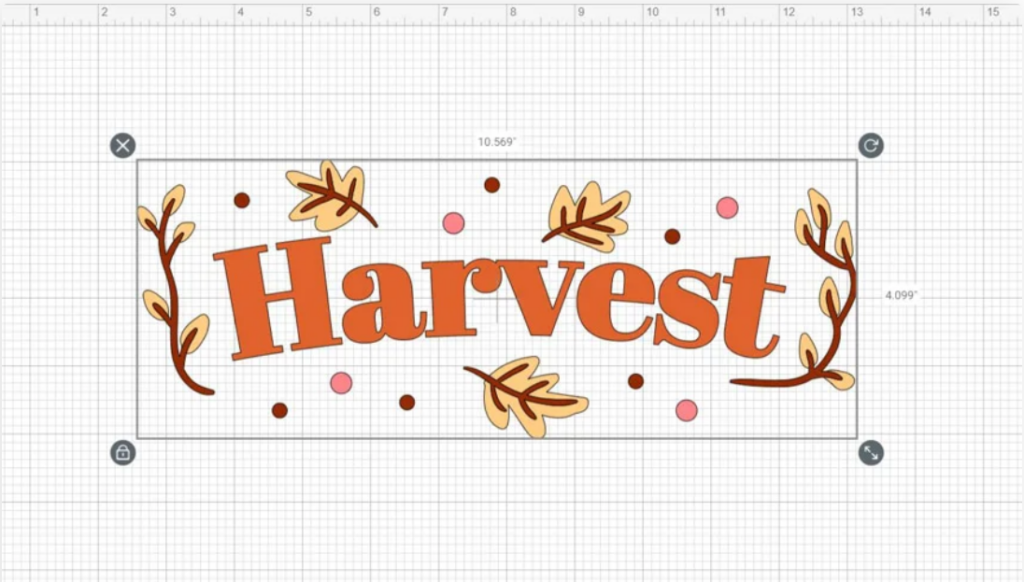
Thus, the branches of the trees and the small dots of the same colour are on the same layer.
One might want to customize this design by removing or adding elements like this:

One could modify the cutting file to use part of the design, like this:

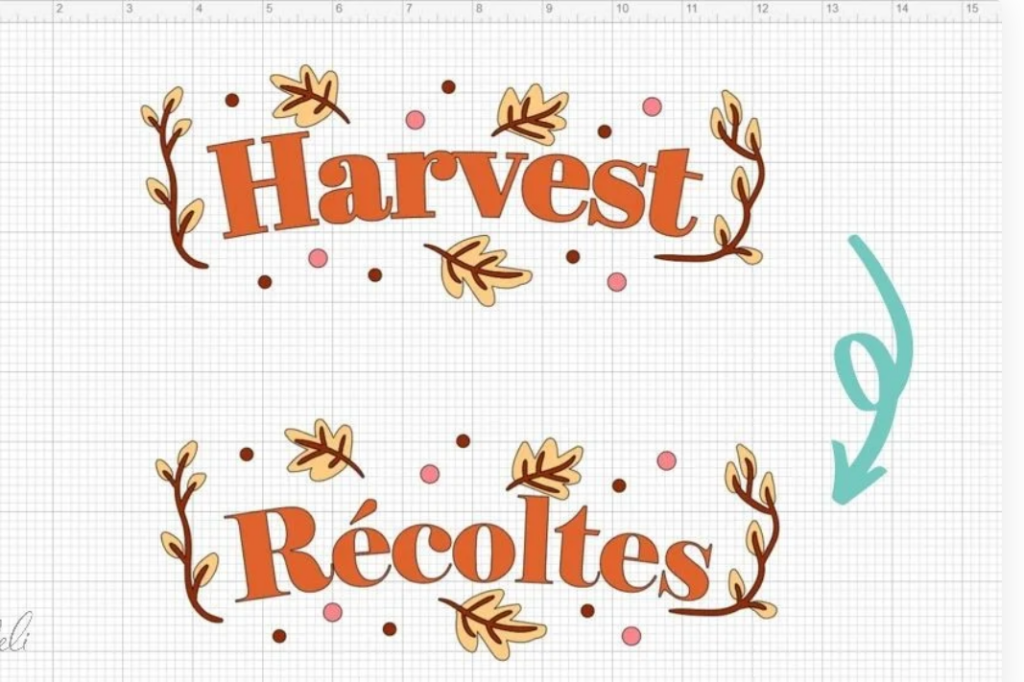
And what is most interesting is to change the text by something else entirely (in this case, I changed it from English to French)!
One might want to modify the image to change its colours (and thus cut it into several colours or materials).
In fact, for whatever reason, the ability to edit an SVG file and make it to your taste opens up a bunch of possibilities.
And the most interesting thing is that it is possible to edit an SVG file directly in Cricut Design Space!
Two main ways to edit an SVG file in Cricut Design Space
Want to edit a file, but some elements are on the same layer and you can’t separate them? Here are two ways to easily edit an image in Cricut Design Space.
Edit SVG file with the “Slice” function
The “Slice” function can be used when what you want to remove from the image (or keep) can easily be covered with one of the shapes available in Design Space.
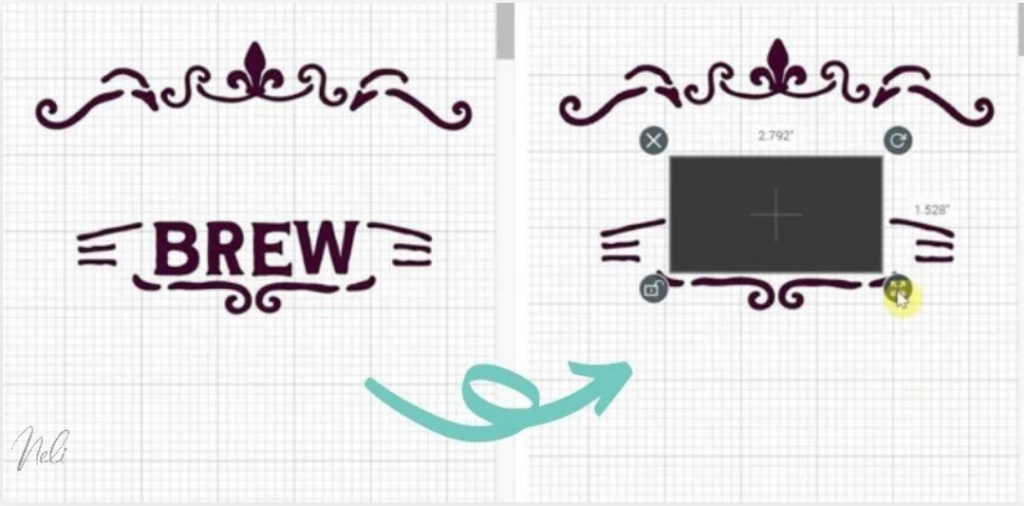
For that, we select the shape and image and press “Slice”.
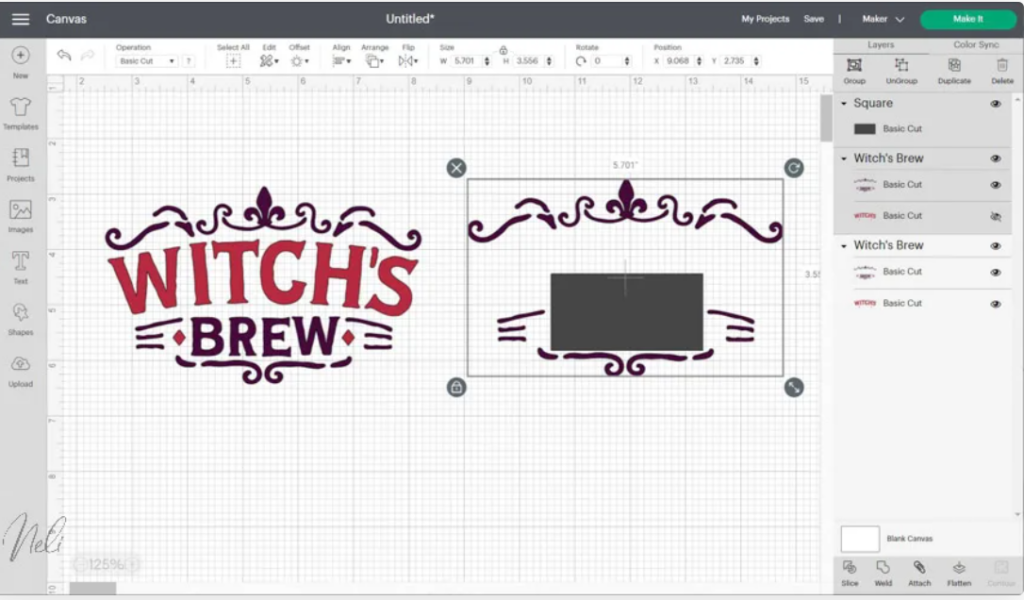
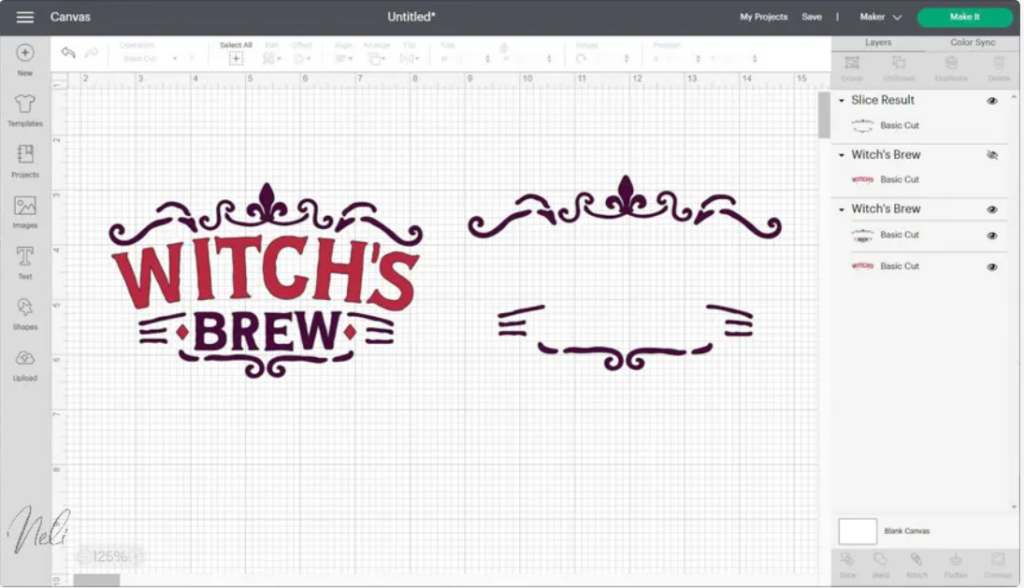
We then end up with four layers.
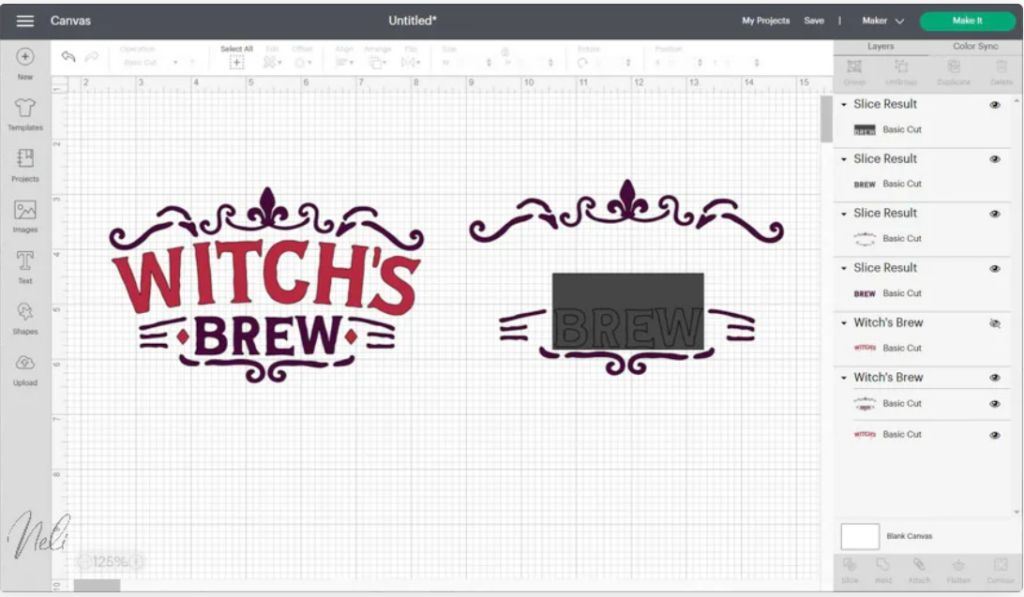
You only need to delete the ones you don’t want to keep.
It is important to note that only two layers can be cut at once. But, I do have a trick to help you go faster.
Select all the layers you want to slice (except the shape that will be used to slice). Click on “Weld” so that all the elements end up on a single layer! All you have to do next is select this layer and the basic shape and use Slice.
Edit a cut file with the “Contour” tool
The “Contour” tool is super convenient, but I must admit that it is very confusing.
Grey, pale grey, medium grey, selected, not selected ??, I often have difficulty seeing clearly!!!
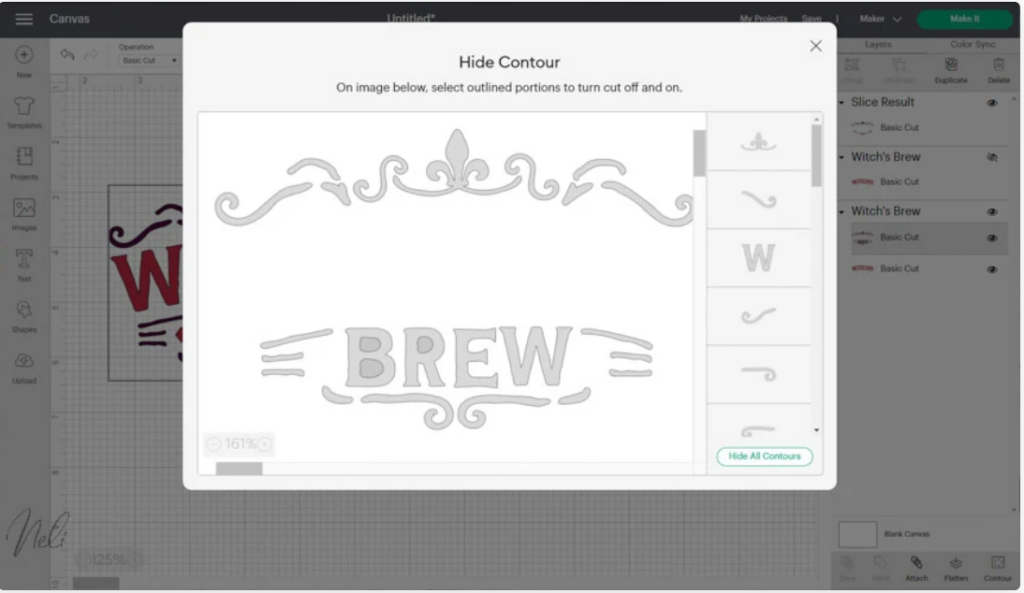
The idea is to remove everything you don’t want (hide the contours) by selecting the elements to remove.