
Svg editor
How to Turn a Picture Into an SVG for Cricut
Oct
If you’re eager to transform an image into an SVG for Cricut, your search ends here! This tutorial will delve into the concept of SVG file types and the compelling reasons for opting for SVG files in your Cricut projects.
What Are SVG Files for Cricut?
SVG stands for Scalable Vector Graphics. This is a graphics format made for the web which holds vector information. This means that the graphics in an SVG file can be scaled to any size without a loss in quality. It can also contain raster information, although this won’t be scalable. As SVGs were made for the web, they’re also easy to share online. You can load SVG files in your browser, and they will load in just the same way as other formats such as JPG, GIF, and PNG.
Using vector art is essential when working with projects with variable sizes. This gives you the freedom to create artwork at any size and then change the size as needed!
So you can create vector artwork and share it in its original lossless form! SVG is a pretty handy file type that any illustrator can make good use of.
Why Use SVG Files in Cricut?
As SVG files can be changed to fit any size, they are very useful when it comes to Cricut projects. For example, if you have a T-shirt project, you will need to adjust the artwork’s size so that it fits the shirt. Well, if your artwork is saved as an SVG file type, you can simply adjust it based on the size of the T-shirt you are working with.
Another great benefit of using SVG files in Cricut is that SVG files retain layer data, including transparent backgrounds. This means that your artwork doesn’t require any extra work once you import it. It’s all cut up and ready to go.
How to Upload an SVG to Cricut Design Space
Step 1
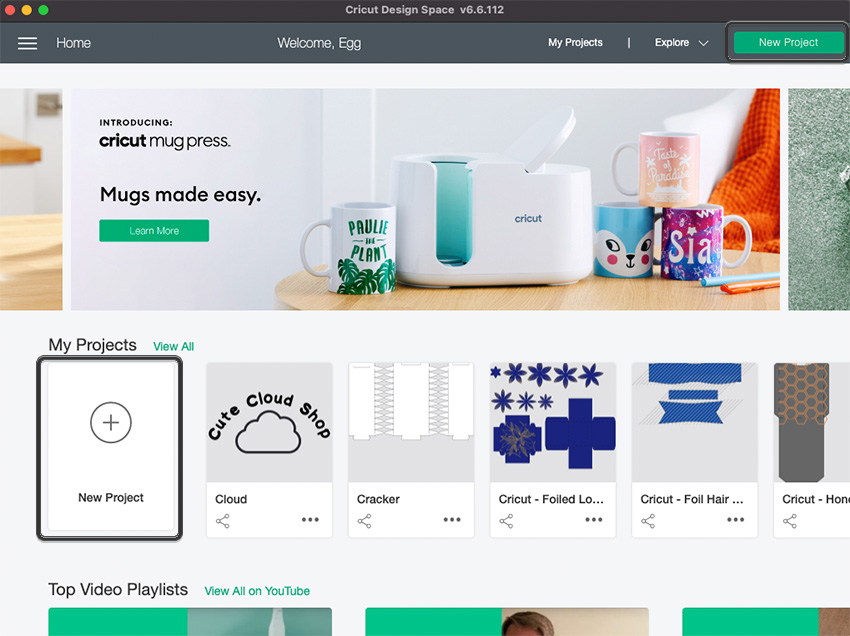
Open up Cricut Design Space and select New Project from either the bottom left or top right.
Cricut Design Space is free software which comes with your Cricut machine. You’ll need this software to control all of your Cricut Projects.
Step 2
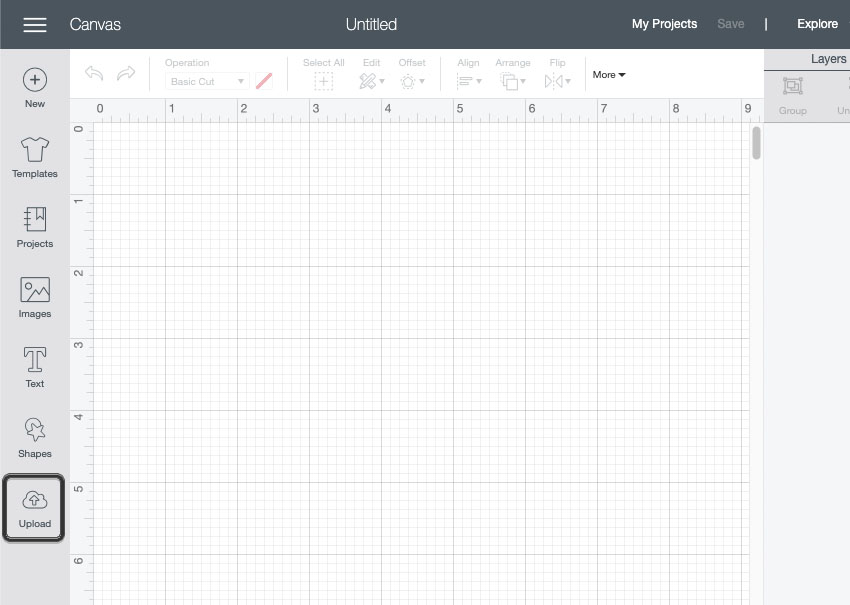
From the project stage, click on Upload on the bottom left of the toolbar.
Step 3
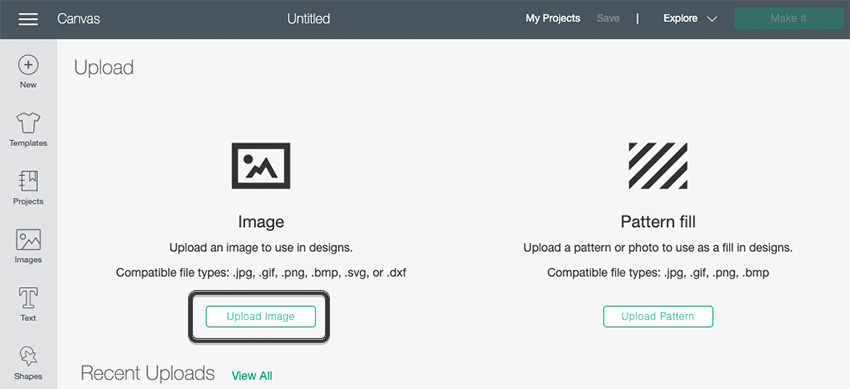
Then click on Upload Image.
Step 4
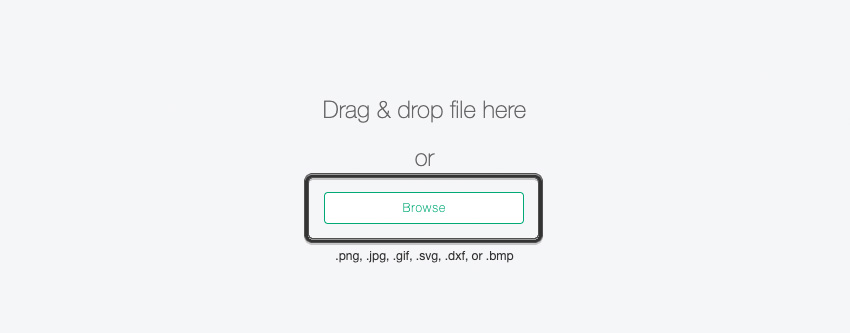
From here, click Browse. Navigate your desktop and select the SVG file. We used flower-15.svg for this example.
Step 5
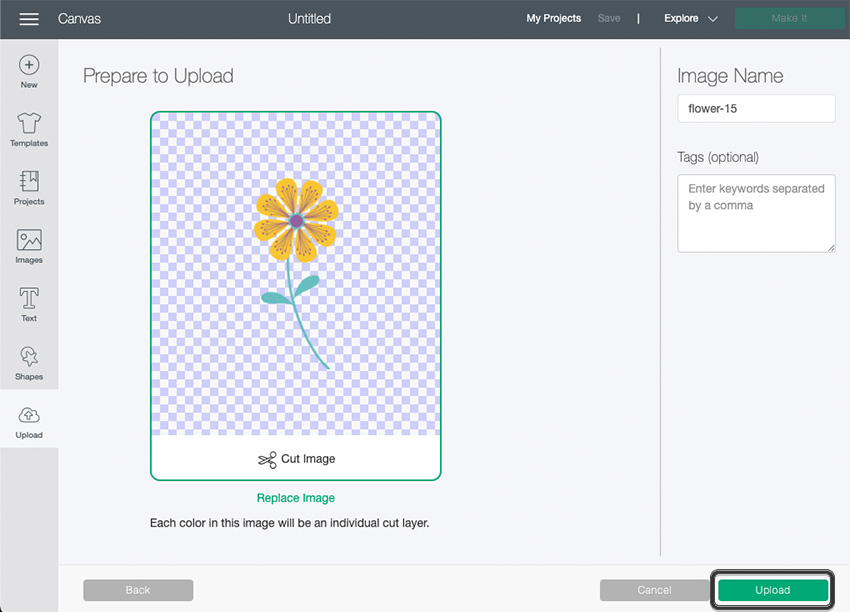
As you can see, the image is already cut for us! Go ahead and click on Upload on the bottom right.
Step 6
From here, we need to insert this into our project. Click on the image we uploaded, and then click Insert Images on the bottom right.
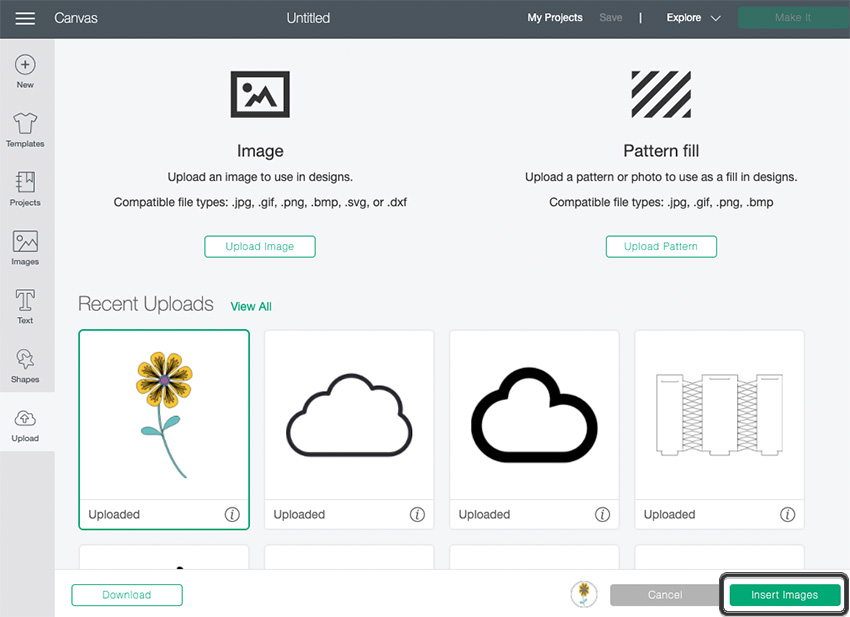
There you go, an image that’s ready to use for your project needs. From here, you can combine the shapes to form a single cut, or cut out all the individual shapes.
How to Turn a Picture Into an SVG for Cricut
Now you know how to upload an SVG to Cricut Design Space. So how do we create our own Cricut SVG files? Well, there are a lot of answers to that question! The answer will depend on what your goals are for the design project. You may be simply looking to convert JPG to SVG for Cricut, or perhaps you have a vector project ready to go that needs to be saved as a Cricut SVG.
Luckily, you can use many design programs to turn a picture into a Cricut SVG image. So let’s look at how to create SVG files for Cricut using several popular methods!
1. How to Make SVG Files for Cricut in Illustrator
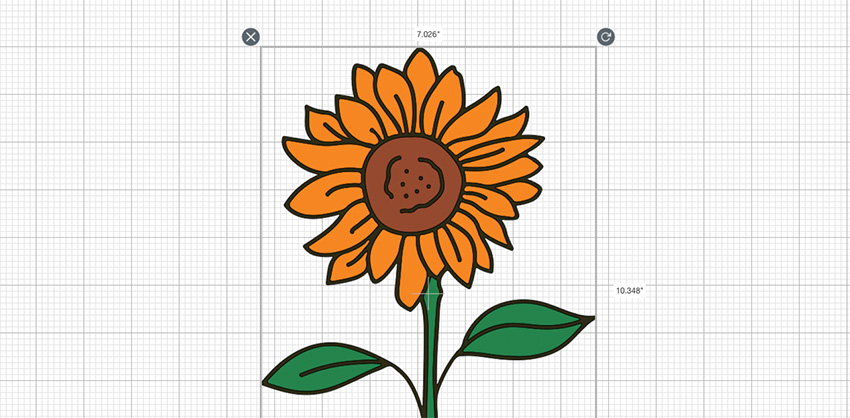
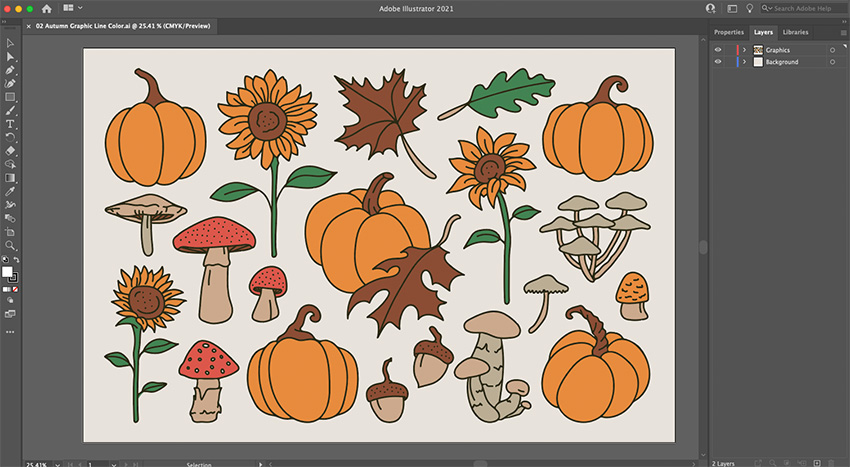
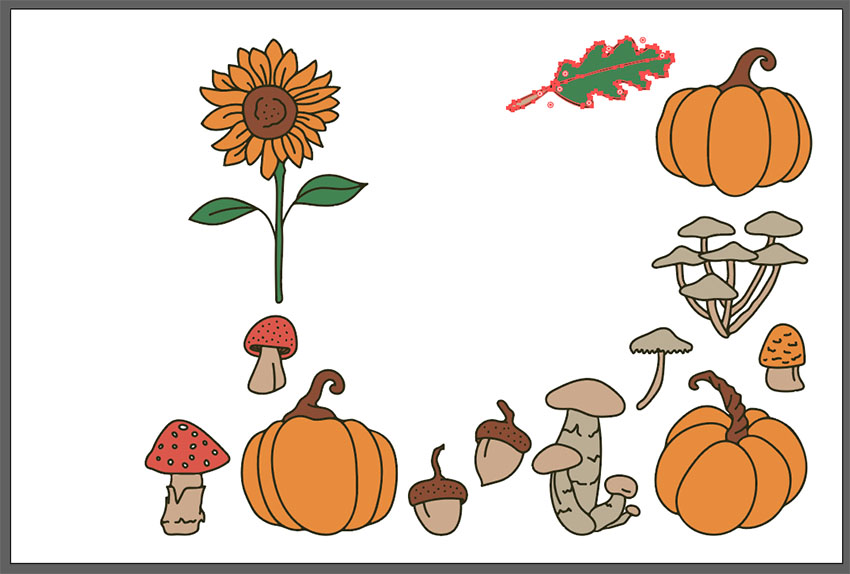
Adobe Illustrator is a great option for creating SVG files. Illustrator specializes in vector graphics. Illustrator also has a special set of tools to help turn images into vector art. For this, we’ll be using the sunflower from the Autumn Vector Set from Envato Elements. You are free to use any vector projects you are working on too!
Step 1
Open up the AI file for your project.
Step 2
In our case, we only want to use the sunflower. You can go ahead and delete all the unneeded elements by simply clicking each one and pressing Delete.
Step 3
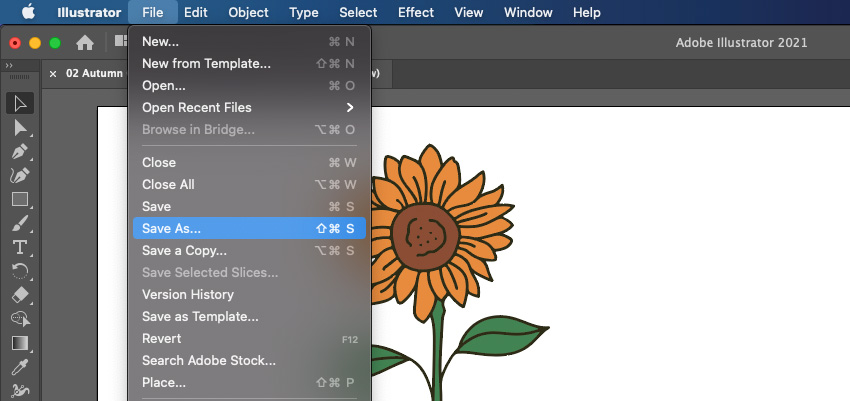
Now that we have the sunflower isolated, we can now save this as an SVG. To do this, go to File > Save As…
Step 4
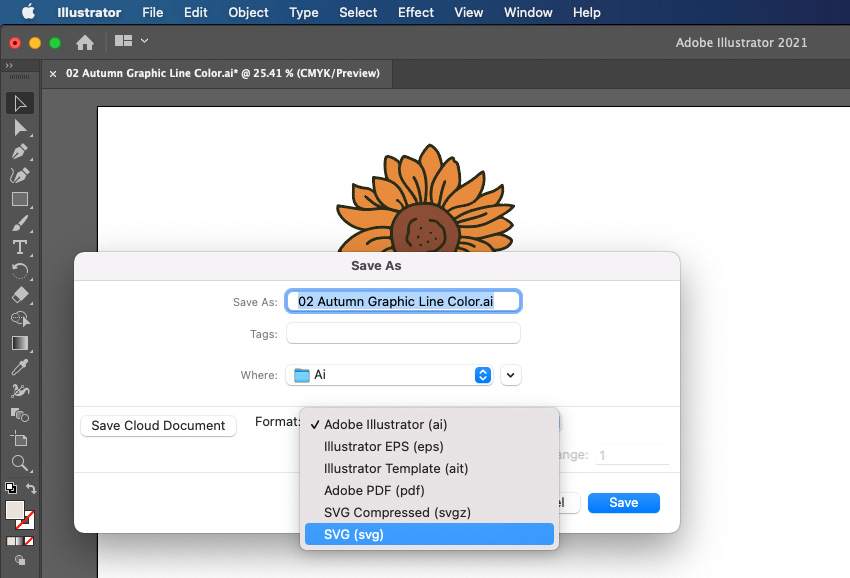
Select SVG from the format dropdown, and then select Save.
Step 5
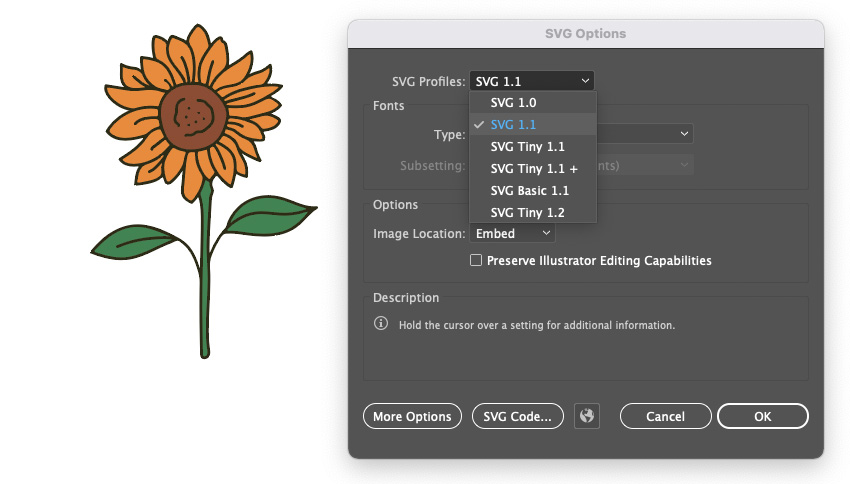
You will now be presented with the SVG Options. For SVG Profiles, SVG 1.1 is a good starting point.
Step 6
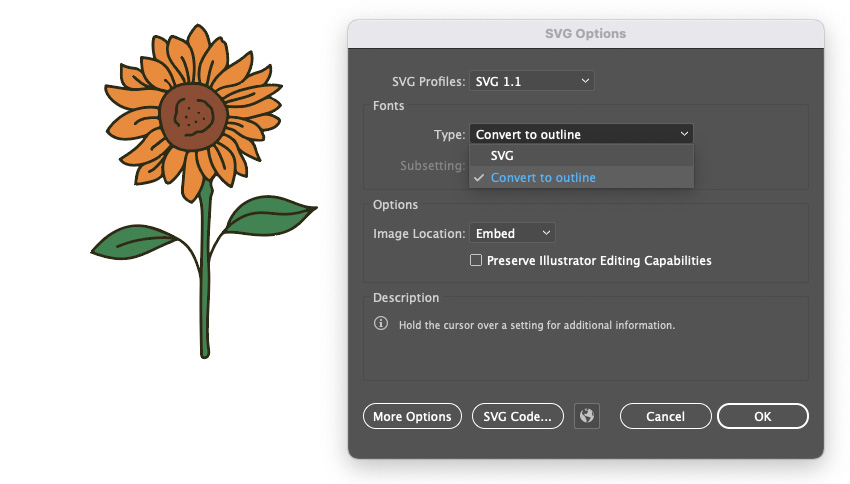
If your artwork contains any typography, you will want to select Convert to outline. This will ensure that people can view your fonts in your SVG file even if they don’t have them on their device.
Select Convert to outline from the dropdown.
Step 7
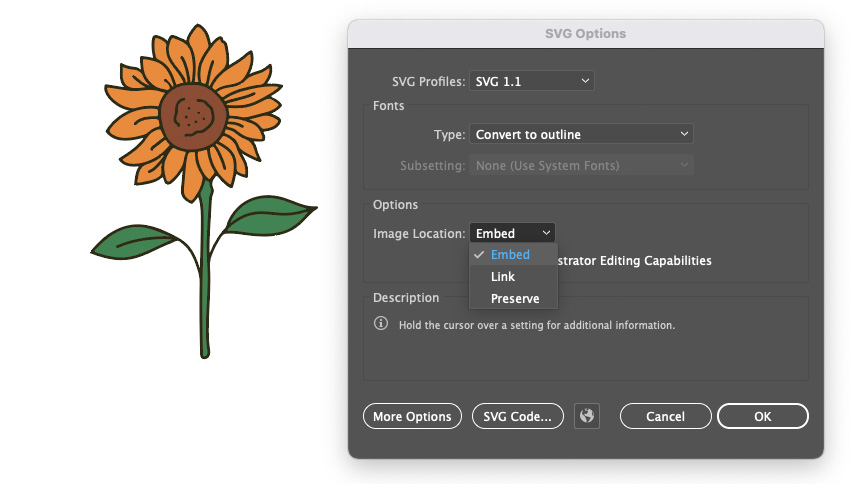
For Image Location, select Embed from the dropdown. This will ensure that any external images you used will be included in a single file.
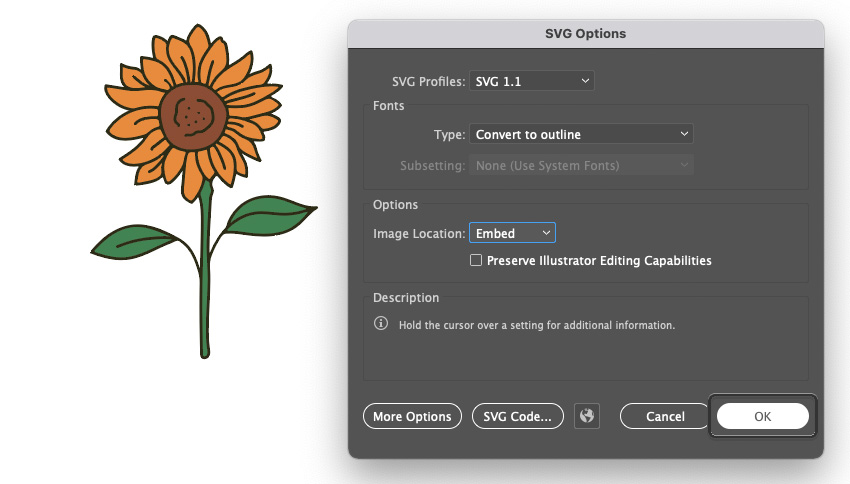
Step 8
Now go ahead and click OK.
You have now used Illustrator to export SVG files. Your image is now compatible to use with your Cricut Machine; SVGs from Illustrator will also benefit from free scaling providing the design elements are in vector form.
Nice work! Now you know how to convert an image to SVG in Illustrator! Using various techniques, it’s even possible to convert a PNG to SVG using Illustrator.
2. How to Make SVG Files for Cricut in Photoshop
Creating SVG files with Adobe Photoshop is pretty straightforward. Keep in mind, however, that if you have elements in your project which aren’t vector, you won’t be able to scale them freely without quality loss. That being said, this can still be a method which saves you some time when it comes to preparing your files.
Step 1
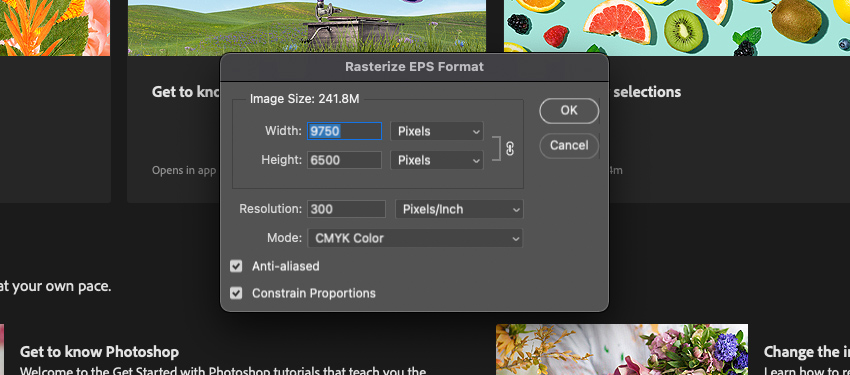
Open up your project file with Adobe Photoshop.
In our case, we are using an EPS file, and it will need to be rasterized. If you see this, go ahead and click OK.
Step 2
Now we need to prepare our image. While we won’t be retaining vector data with this image, we will want to isolate the elements we want and remove the ones we don’t.
Use the Selection Tools to remove all elements except the sunflower.

Step 3
Now use the Crop Tool to isolate your selection further.
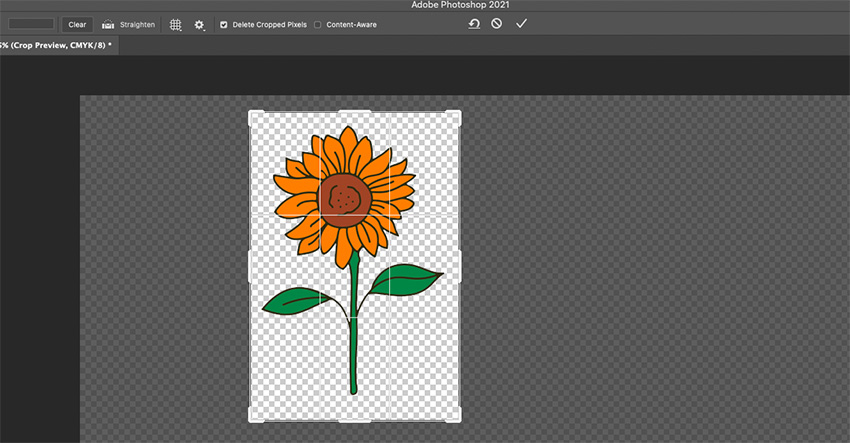
Step 4
Great! You now have your image ready to go, with a transparent background. Now go to File > Export As.
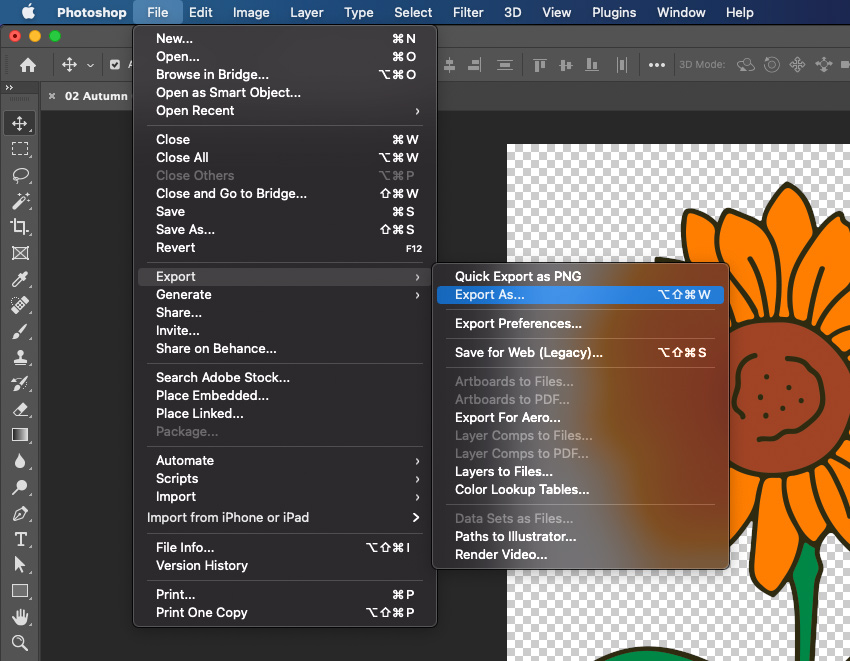
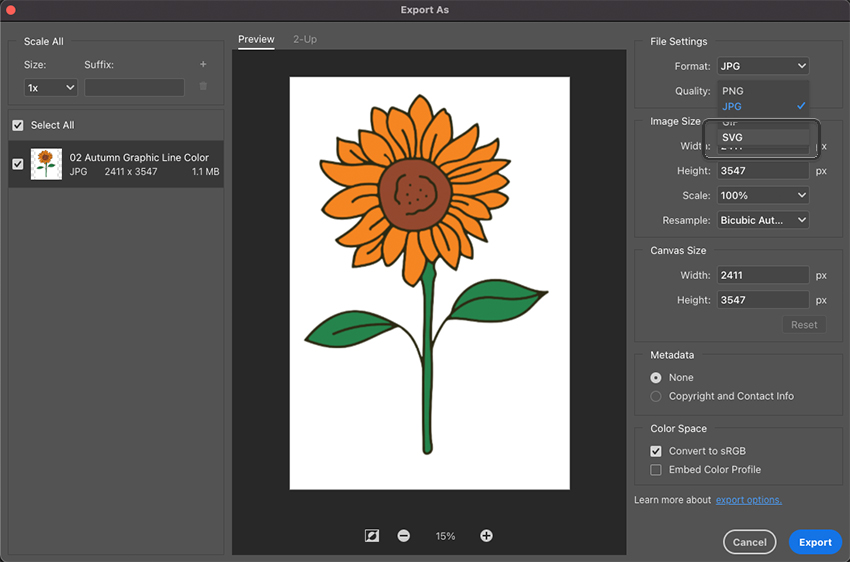
Step 5
This will bring up the Export As dialog window. From the Format selection dropdown, select SVG.
Step 6
Now go ahead and select Export to save your SVG file.
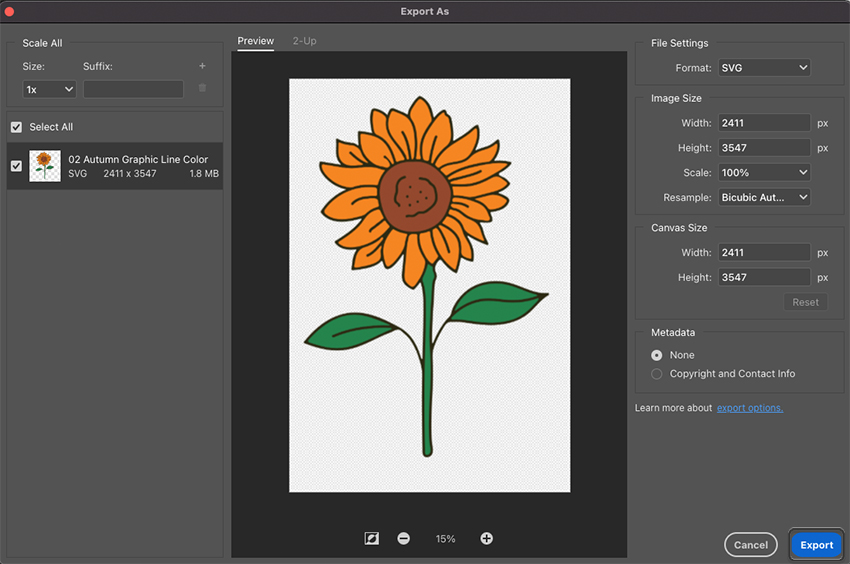
Nice work! You have created a flower SVG Cricut-compatible file in Photoshop. As mentioned before, you may not get all the benefits of vector files when creating SVG files this way. However, you could use this technique to convert a JPG to SVG for Cricut.