DIY Tips
How to Make DIY Personalized Acrylic Keychains
Welcome to our guide on making DIY personalized acrylic keychains! If you’re looking for a fun and creative way to express your style and add a personal touch to your everyday accessories, you’re in the right place. In this comprehensive tutorial, we will walk you through the step-by-step process of creating your own unique and customized acrylic keychains. From choosing the materials and designs to cutting, engraving, and assembling the keychains, you’ll learn all the techniques necessary to make personalized accessories that reflect your personality. Whether you want to create a heartfelt gift for a loved one or add a touch of uniqueness to your own keyring, this guide will provide you with the knowledge and inspiration to craft eye-catching keychains that are truly one-of-a-kind. Get ready to unlock your creativity and make a statement with DIY personalized acrylic keychains that are as unique as you are.
Supplies You’ll Need To Get Started
- Acrylic Keychain Blanks Kit (includes 30 each of blanks, chain, jump rings, tassels, and key rings)
- Cricut Joy (or Explore Air 2/Maker)
- Smart Vinyl, assorted colors
- Transfer Paper
- Basic Tool Kit
- Cricut Design Space App
- Pliers

Instructions
Step 1: Choose and size your design.
- Open the Design Space app, then browse the hundreds of images and phrases it contains to find the perfect one for the person who will receive your keychain! There really is a little bit of everything to choose from; just search by word, phrase, or topic, then pick your favorite and insert it onto your canvas. Of course, you can also upload or create your own images too! Then, size the image to fit your blanks. Mine needed to be no more than 1.5″ wide and tall.
Step 2: Cut the design.
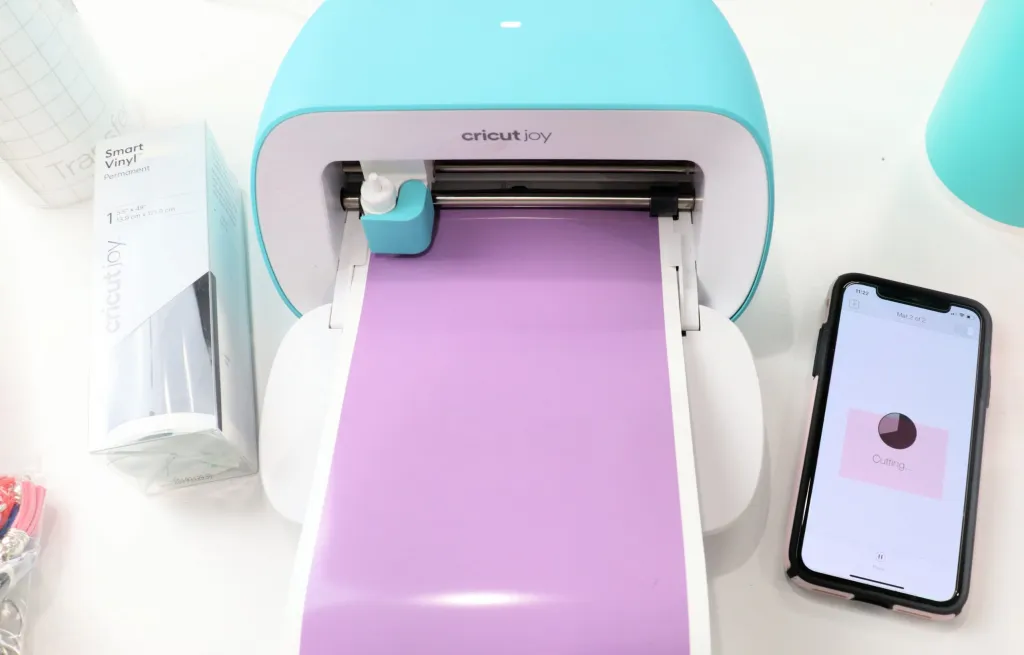
- Once you like what you see on the canvas, select “Make it” in your app, then follow the prompts to load the vinyl into the machine. You’ll be asked to choose what material you’re using, then prompted to load and unload the vinyl. If your design uses more than one color, no worries, the app will guide you through switching colors too.
Step 3: Weed your design.
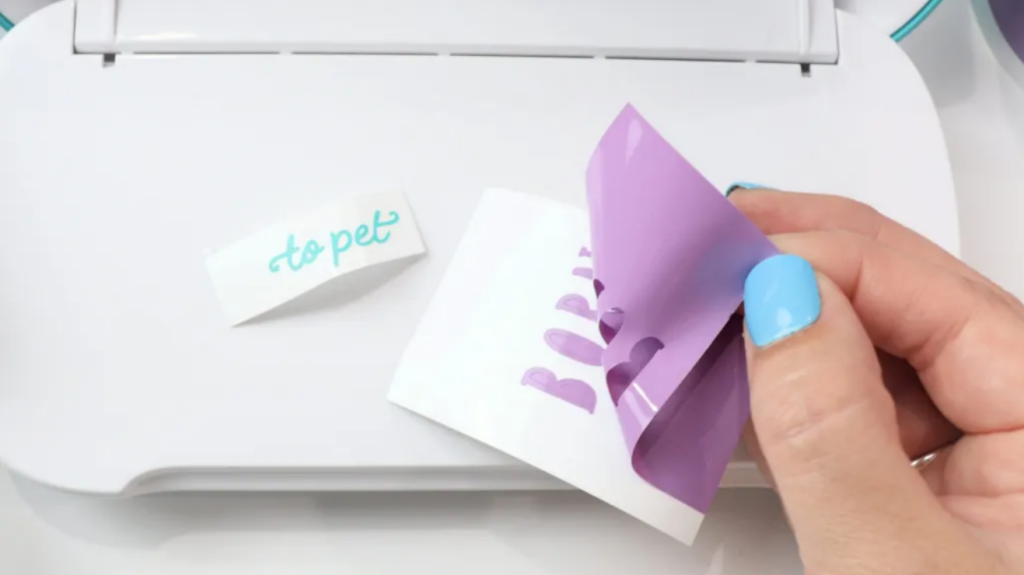
- Peel away all of the extra vinyl that isn’t part of your image/words. That includes the centers of closed letters like “o,” “a,” “e,” etc.
Step 4: Apply transfer paper.
- Cut a piece of adhesive, clear transfer paper, and apply it on top of your design. Use a burnishing tool to rub the transfer paper firmly and adhere the vinyl to it. Then, peel the transfer paper up and your design should come with it, leaving the white backing behind.

Step 5: Apply the design to the keychain blank.
- First, peel away the protective covering on both sides of the acrylic blank. Then, position the vinyl words and images where you want them to go. Rub firmly, then remove the transfer paper. Your vinyl will be adhered to the acrylic.

Step 6: Attach keyring and tassel.
- All that’s left is to use a pair of pliers to help you attach the keyring using the jump rings provided in the kit. Then, attach the tassel.
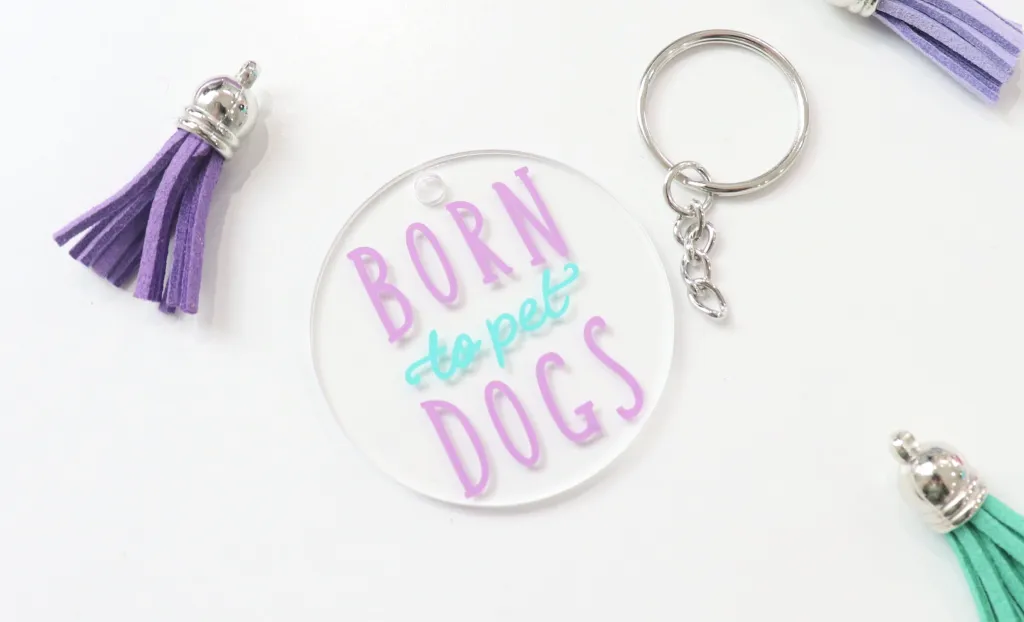
- Now, your keychain is finished and ready to give to that special person in your life! Although, I confess…this one is for me.
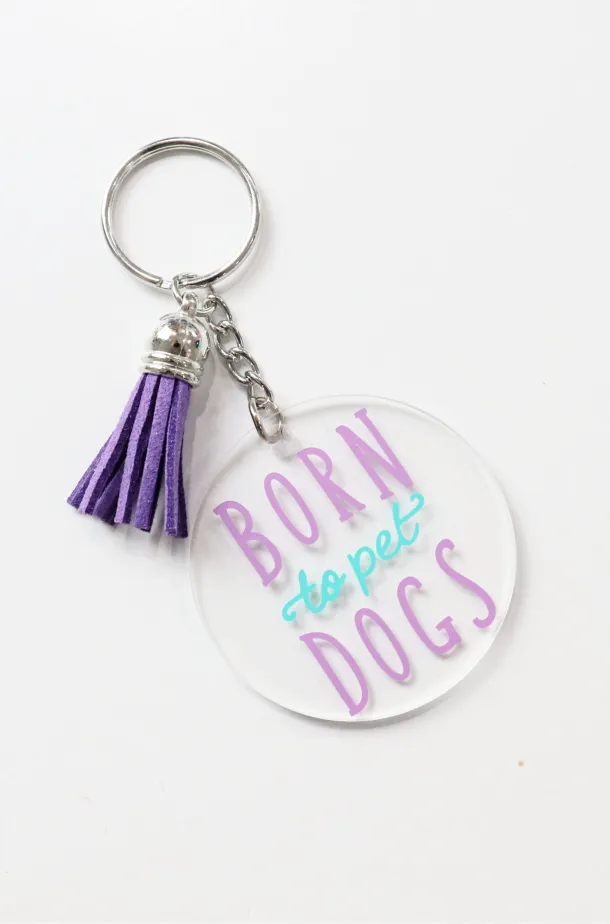
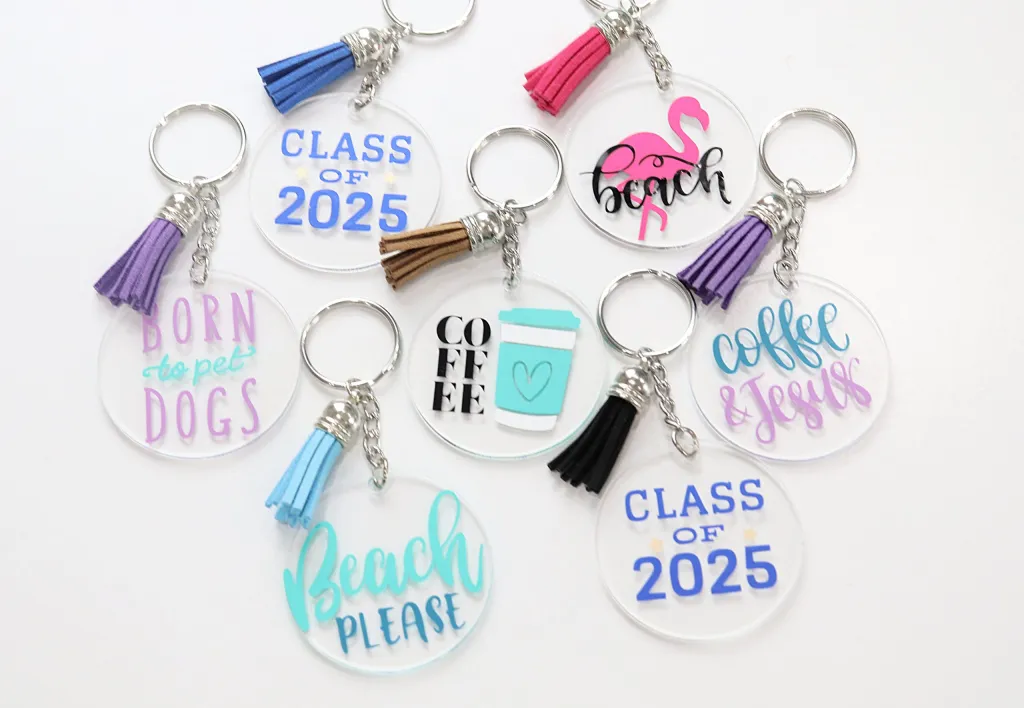
Take a glimpse at the other designs I created for my friends and family, each one beautifully unique and crafted with love. I am thrilled with how they turned out and wanted to share them with you. Below the image, you’ll find the specific image names, corresponding numbers used in Design Space, and the vinyl colors I utilized. This way, if you spot a design you adore, you can easily recreate it and add your personal touch.
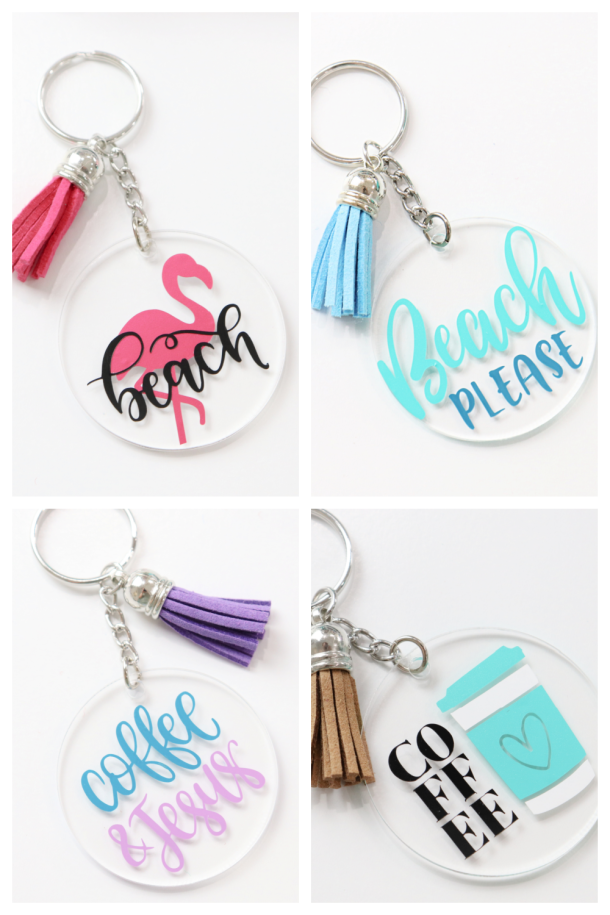

These are the simple steps to create DIY personalized acrylic keychains. Let’s embark on a creative journey and craft the most unique keychains for ourselves, friends, and family. These personalized keychains hold great meaning and serve as heartfelt gifts that are sure to be cherished. Let your imagination soar as you design and create keychains that reflect individual personalities and make a lasting impression. Get ready to unleash your creativity and bring joy to those who receive these meaningful and personalized accessories.

