
DIY Tips
How to Make DIY Vinyl Decals With Cricut

May
If you’re looking for a fun and easy way to create custom decals for your car, laptop, water bottles, or any other surface, using a Cricut machine is a great option. With the right tools and materials, cutting and making vinyl decals with a Cricut can be a breeze, even for beginners. In this guide, we’ll walk you through the steps of how to cut and make vinyl decals with a Cricut, from selecting your design to transferring the finished product onto your desired surface. Whether you’re looking to create decals for personal use or for your small business, this guide has got you covered. So let’s get started!
Supplies You’ll Need To Get Started
- A Cricut machine. I use the Cricut Explore Air 2
- Vinyl (Oracal 631 (matte/removable vinyl), Oracal 651 (glossy/semi-permanent), or Cricut Vinyl)
- Transfer tape
- A cutting mat (optional)
- Either a Cricut Tools Basic Set or Tweezers or A scraper to smooth/burnish your vinyl
Make Vinyl Decals
Step 1: Making the first cut
- In case you don’t have a design to import into Cricut Design Space, you may want to visit freesvgfilescricut.com, which offers a wide selection of designs to pick from.
- Place your vinyl on your cutting mat with the paper liner side towards the mat.
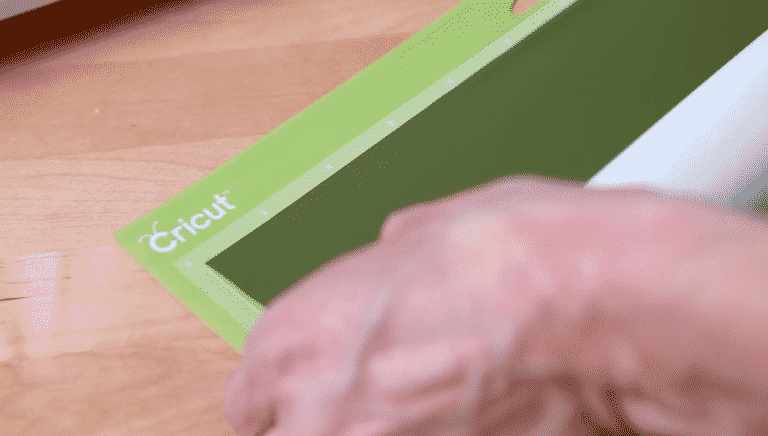
- Load the mat into your machine and turn the smart set dial to Vinyl. Your machine will be set to cut the vinyl but not the paper backing.
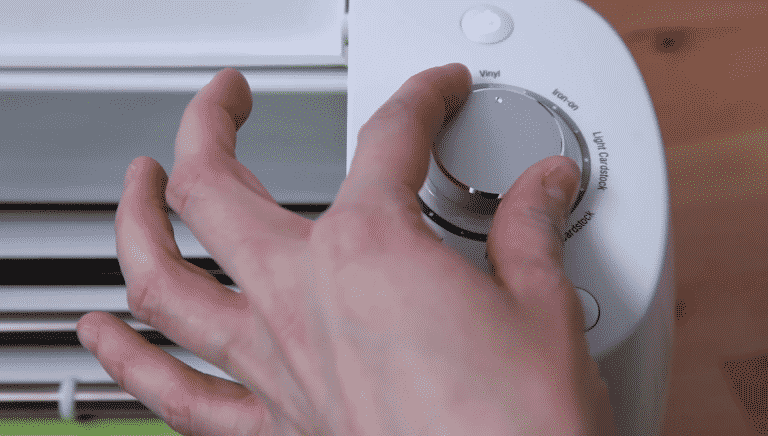
- Press go (the C icon underneath your dial).
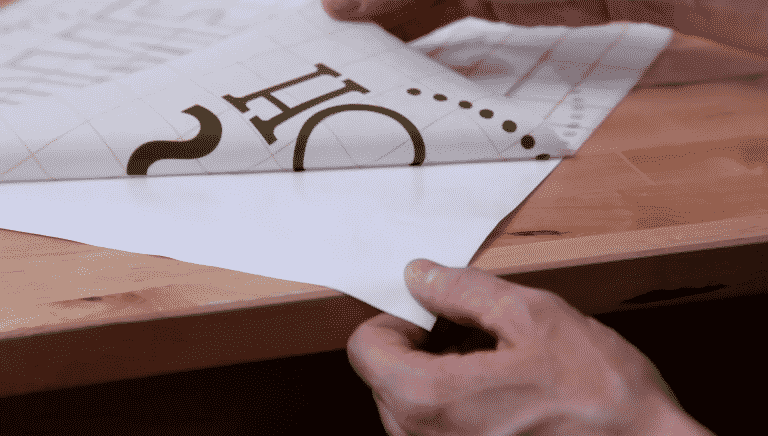
- Remove your vinyl from the mat once your cut is complete.
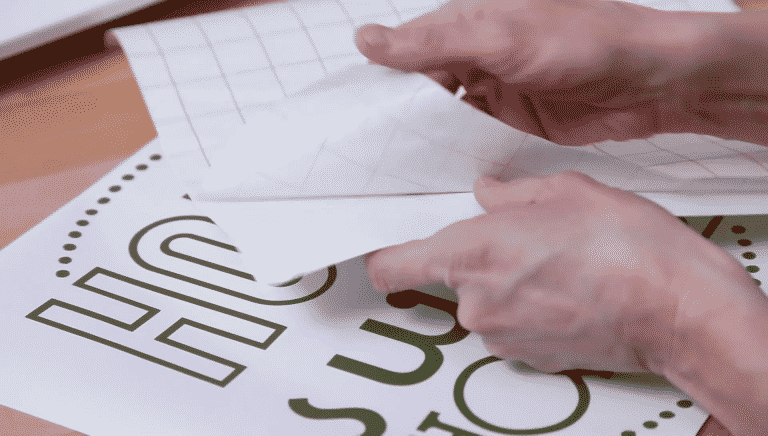
- Remove the leftover vinyl film from your image. This is known as weeding, we’re simply peeling off all of the parts of the image that we aren’t using. You can use either a pair of tweezers or a Silhouette/Cricut hook tool to make this simple.
Step 2: Applying your cut vinyl
- Completely clean and dry the smooth surface area where your vinyl will be placed.
- Mark the placement of your design. You can use a level if applying it to a wall.
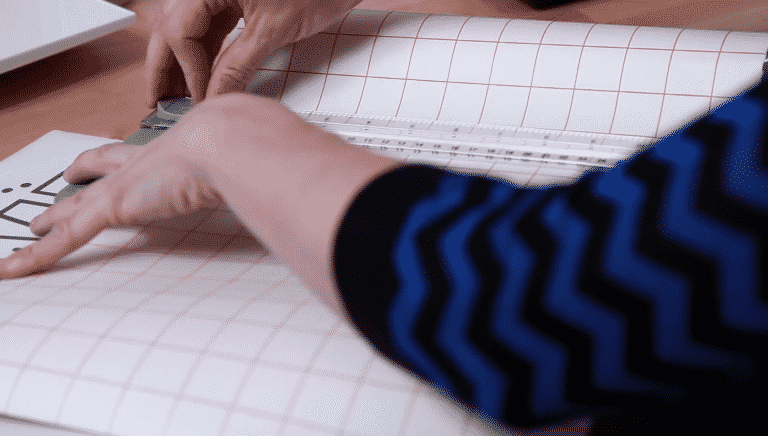
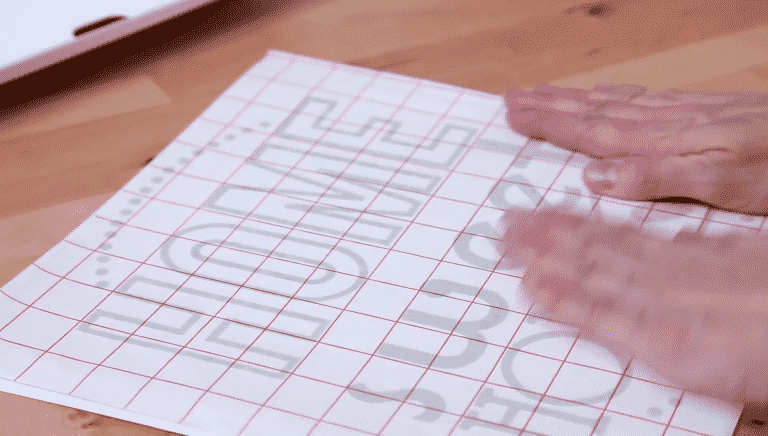
- Cut a piece of transfer tape the size of your image.
- Remove the liner from the transfer tape.
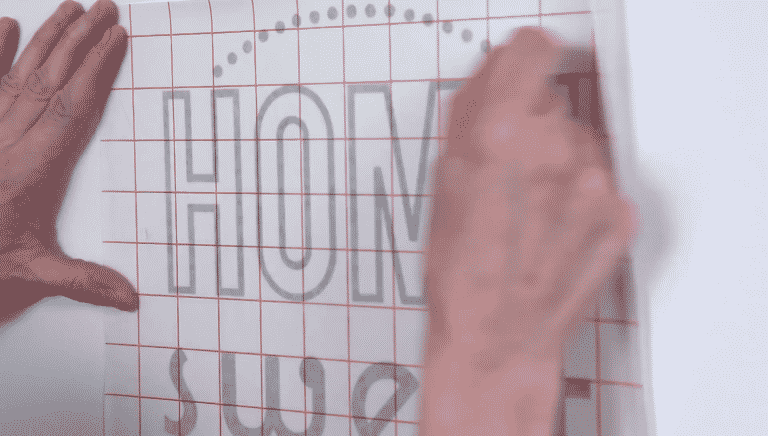
- Use the alignment grid to to lay the tape over your image.
- If there are any air bubbles, smooth them out.
- Now, peel the liner from your vinyl image. The vinyl will be held in place by the transfer tape
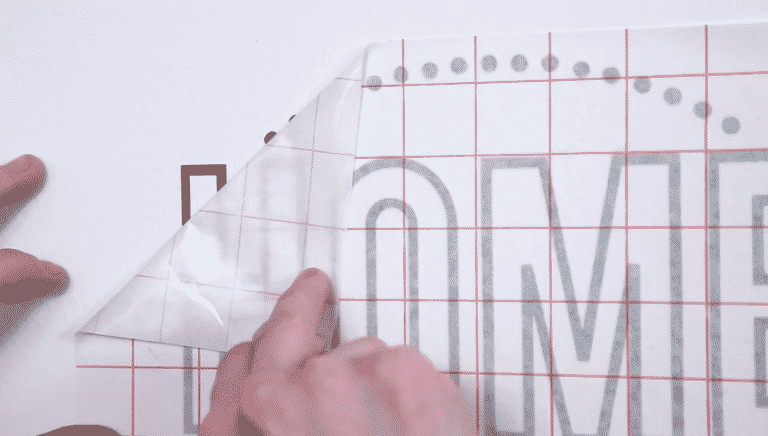
- Now place the transfer tape and image on the wall/item, line up the grid for careful placement.
- Working from the center to the edges, press down firmly on the image until it is completely smooth.
- Starting from a corner, slowly peel the transfer tape from the surface.
I hope that the detailed steps provided in this tutorial have given you a clear understanding of how to create your own custom vinyl decals using a Cricut machine. By following these steps, you can create unique designs that can be used to decorate a variety of surfaces, from walls to laptops to car windows. Whether you’re creating decals for personal use or to sell to others, these steps will help you achieve a professional-looking result. With a little bit of practice and experimentation, you can develop your skills and create even more intricate and elaborate designs that are truly one-of-a-kind. So, get started on your vinyl decal-making journey today and let your creativity soar!