
Svg editor
How to Upload a Cut Only SVG File to Cricut Design Space
Jul
Curious about the process of uploading SVG files to Cricut Design Space, whether they are purchased or free? Do not worry! In this tutorial, I will demonstrate how simple it is by giving you step-by-step instructions on how to do it.
Rest assured that these instructions apply to all Cricut cutters, including the Cricut Explore Air 2 or 3, the Cricut Maker, and the newest addition, the Cricut Joy.
Let’s start with the tutorial!
How to Upload a Cut Only SVG File to Cricut Design Space
Step 1: Download the File
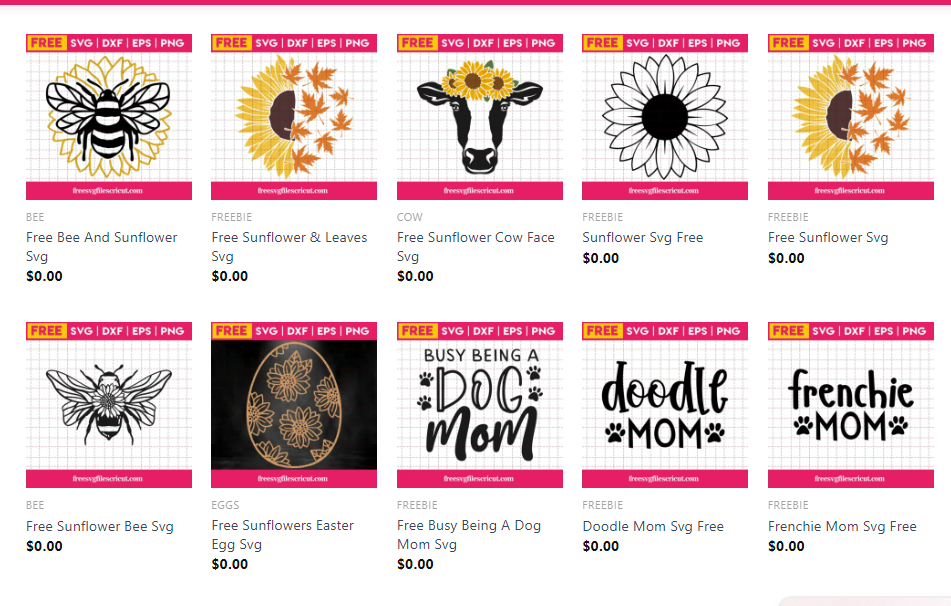
To begin, locate the specific SVG file that you wish to utilize for your project. As an example, I’ll be using a complimentary SVG file obtained from Freesvgfilescricut.
While we’re on the topic of free designs, I recommend visiting the following link to explore a wide selection of incredible and entirely free designs:https://freesvgfilescricut.com/freebie/
If your computer is set up anything like mine, it went to your downloads folder.
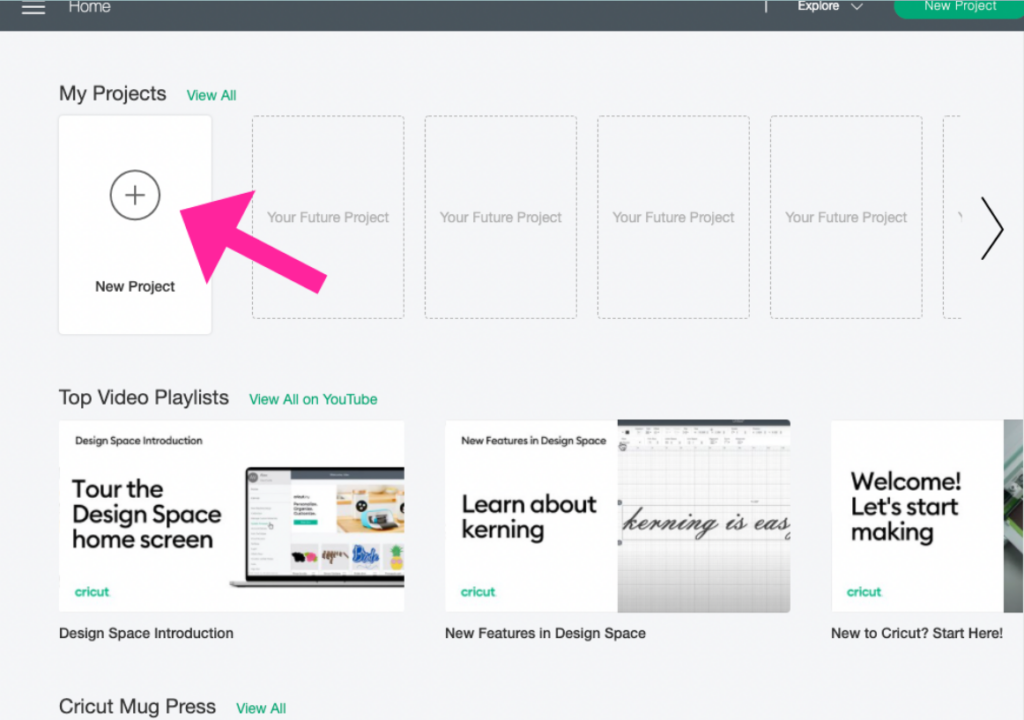
Step 2: Open up Cricut Design Space
Upon launching Cricut Design Space, you will encounter the initial screen where a plus sign is prominently displayed. As we are embarking on a new project, click on the plus sign to proceed.
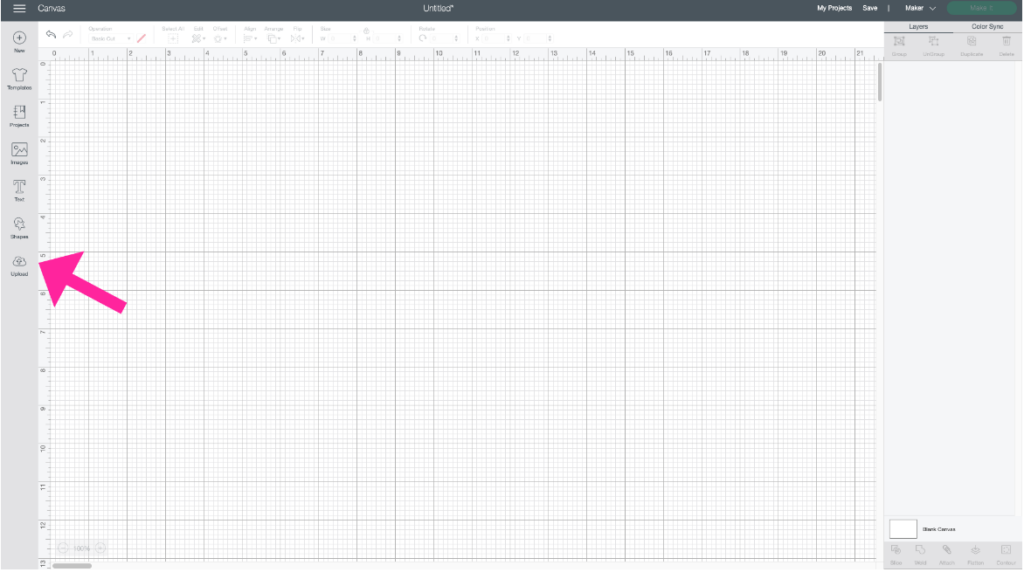
Here is what the next screen will look like, it’s a blank background. If you were going to design your own file you would start by drawing your shapes or typing your text out.
Step 3: Start the Upload Process for the SVG File
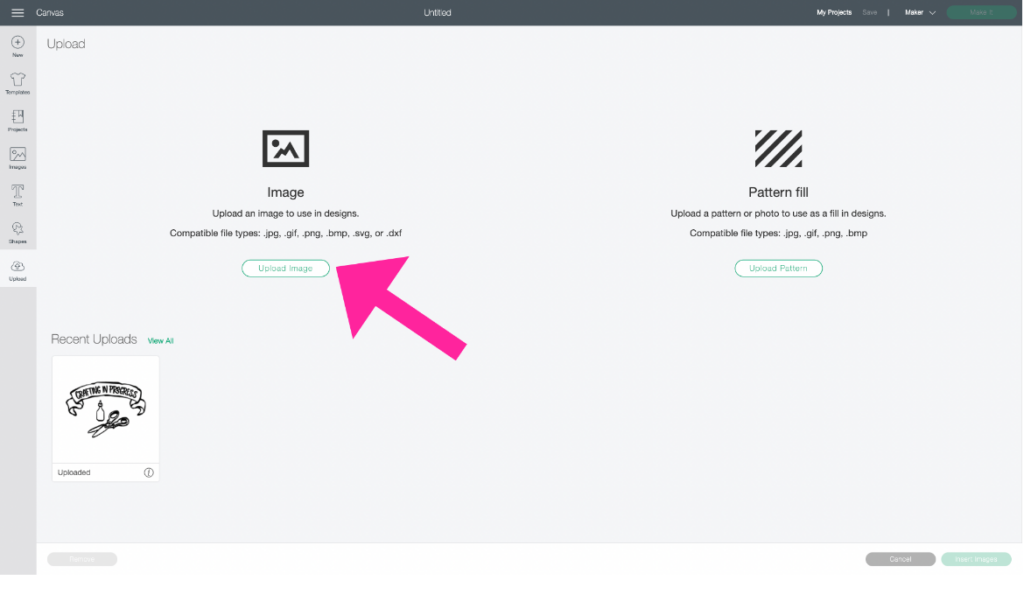
We are going to upload our new SVG file, so click on the upload button in the bottom left corner of the screen.
Cricut design space will now ask you what type of file you want to upload, the file for my example is an image so click on that.
Step 4: Find the File on your Computer
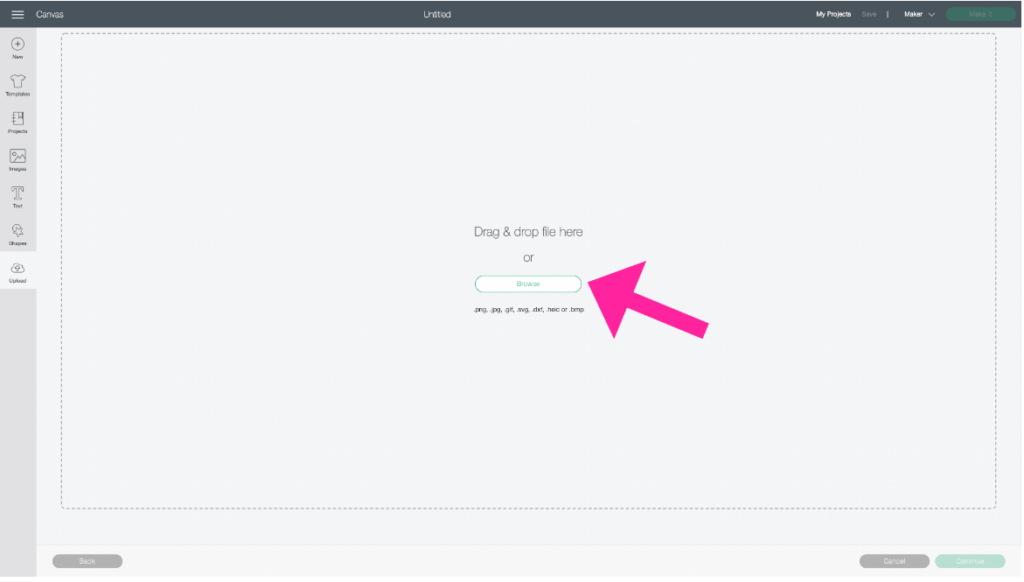
Now let’s click on browse to find that downloaded file.
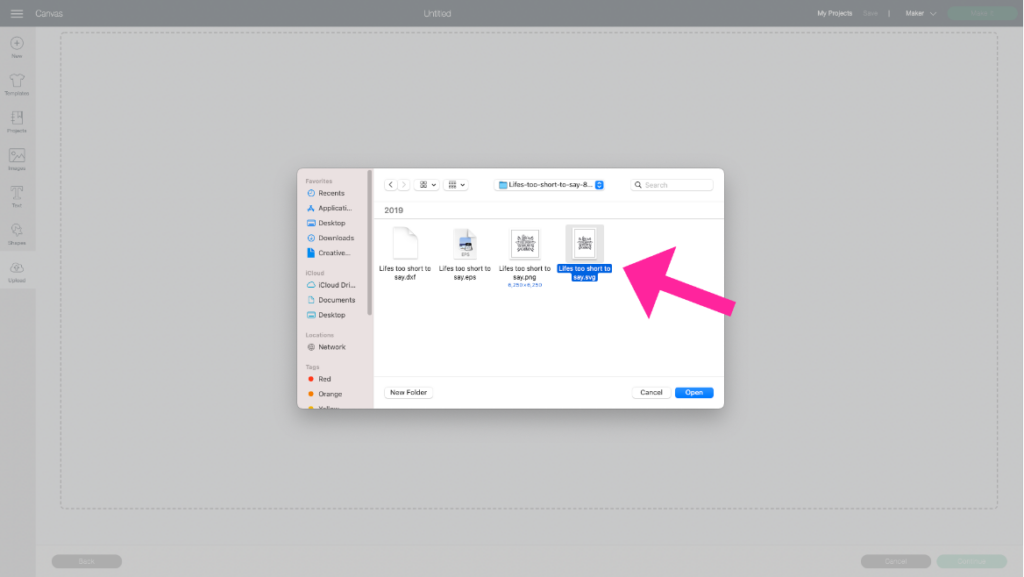
You’ll want to find your folder where it is saved, again most likely it’s your downloads folder. Make sure to click on the file that ends in .svg so we’re opening the correct file type.
Step 5: Upload the SVG file to Cricut Design Space
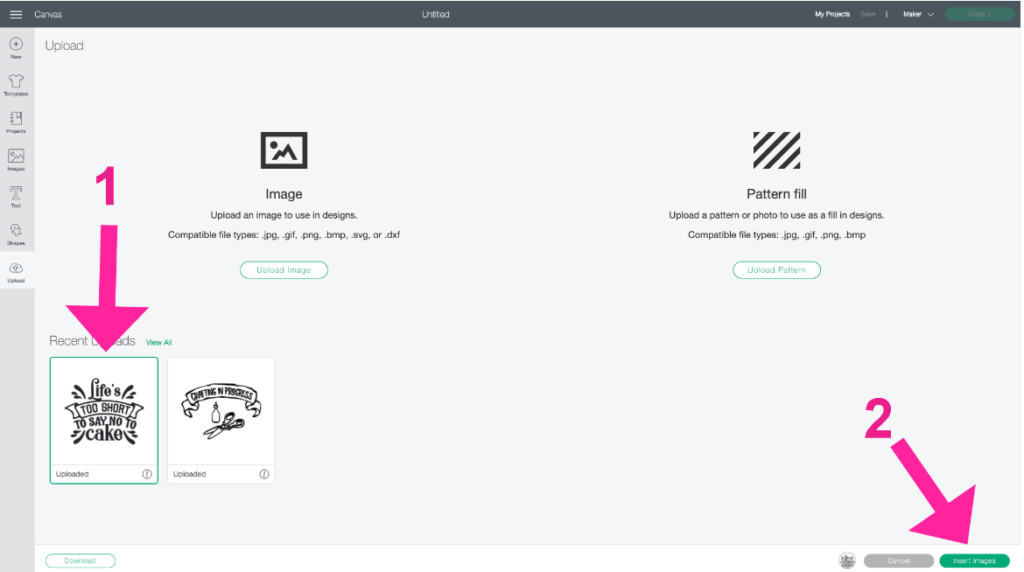
Once you’ve found your file and clicked open, this will be the next screen that comes up. You’ll want to double-check to make sure it’s the correct file you wanted to work with and then click upload.
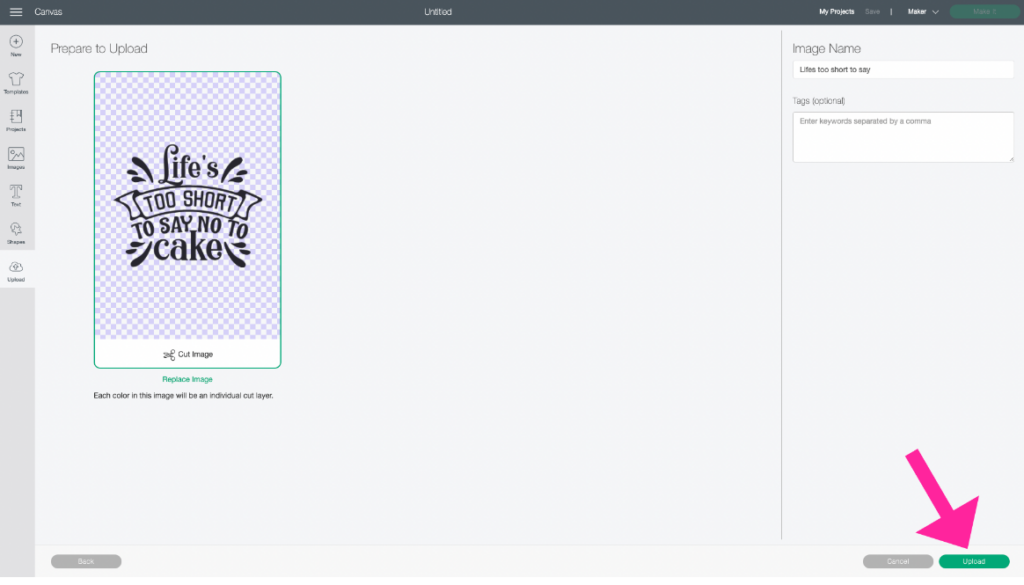
The SVG file has now been uploaded into your Cricut Design Space. To continue working with the file and to make the project you’ll want to first, select the design, and next, click insert images.
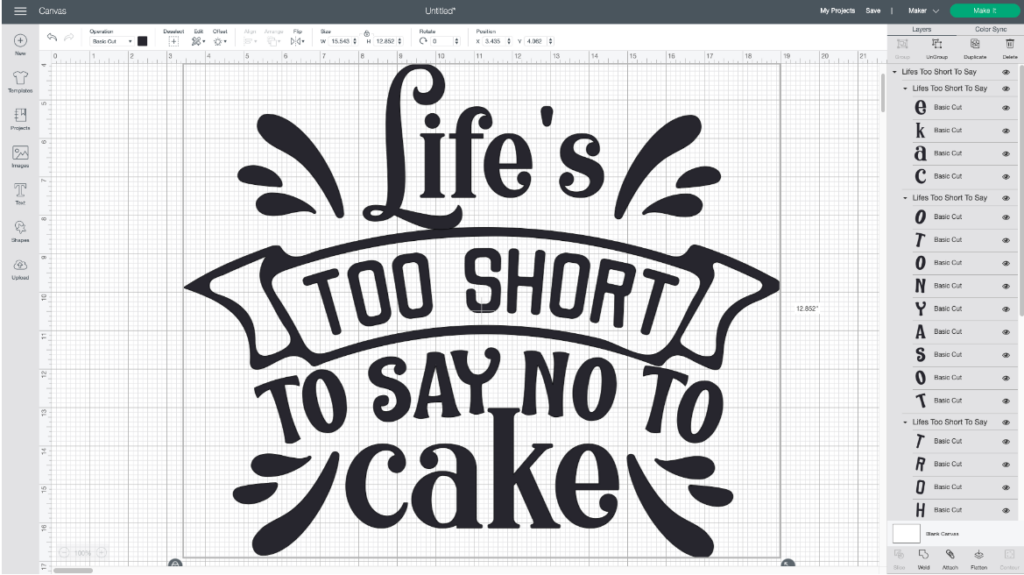
Step 6: Modify your Cut File as Needed
Congratulations! You’ve just opened your downloaded SVG file into Cricut Design Space! This is where you can resize it and make any modifications you want before cutting the design.
Above is a comprehensive guide on how to upload SVG files to Cricut Design Space. I hope this information has been helpful to you. If you have any further questions, feel free to ask. Have a wonderful day!