
DIY Tips
How to Sew on a Patch: A Step-by-Step Guide
May
Sewing patches onto clothes is a great way to add some personality and style to your wardrobe. Whether you’re repairing a tear or simply decorating a garment, sewing on a patch is a useful skill to have. However, if you’ve never done it before, it can be intimidating. That’s why we’ve put together a step-by-step guide to help you through the process. In this article, you’ll learn everything you need to know about how to sew on a patch, from selecting the right materials to stitching the patch in place. With our guide, you’ll be able to confidently sew on patches like a pro.
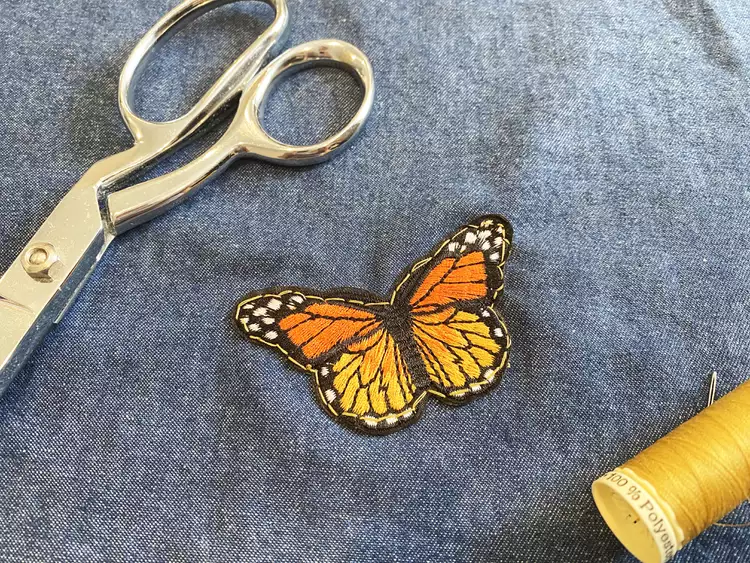
Supplies You’ll Need To Get Started
Equipment / Tools
- Sewing pins or Iron
- Sewing needle
- Scissors
Materials
- Patch (sew-on or iron-on)
- Piece of clothing, bag, or fabric
- Thread
Instructions
Step 1: Decide Where Your Patch Is Going
The first thing you want to do is decide exactly where you want your patch to go. Decide where you’d like to sew it on. If you are covering up a tear, this is a good time to make sure that the patch is large enough to cover the hole or rip.
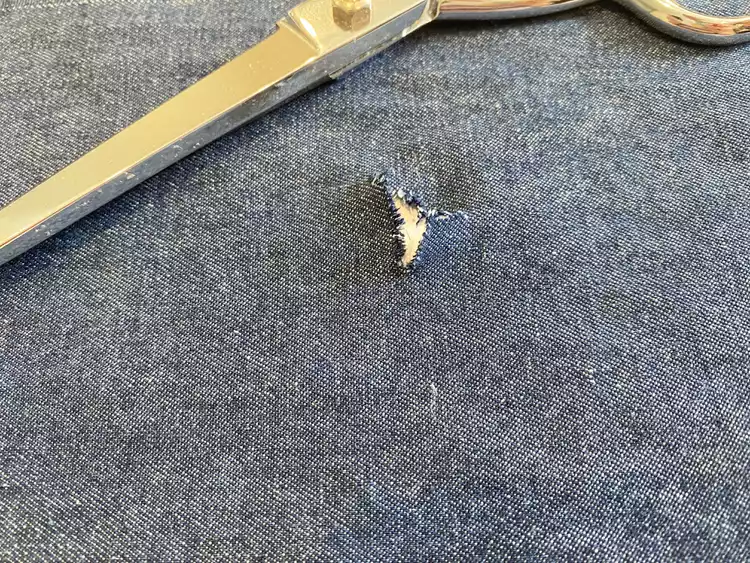
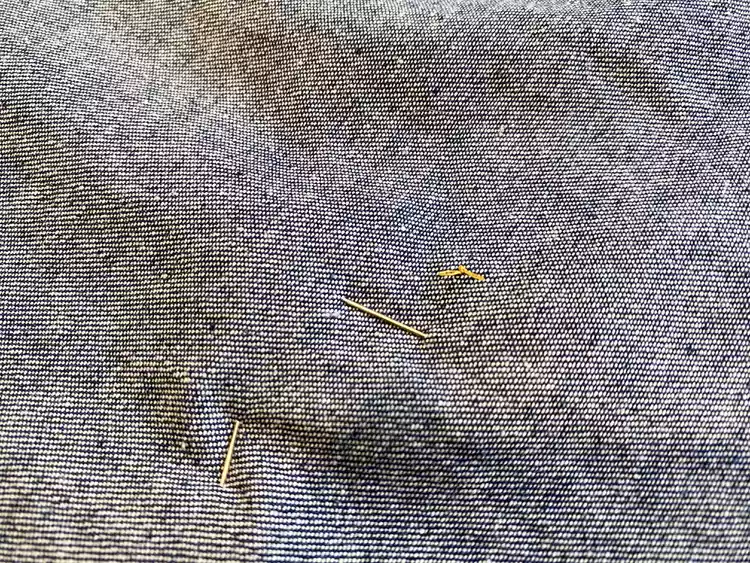
Step 2: Clean Up Tear
If you’re covering up a tear, you need to clean it up before you start to sew your patch on. Cut off any of the white threads and fluff that may appear around the tear.
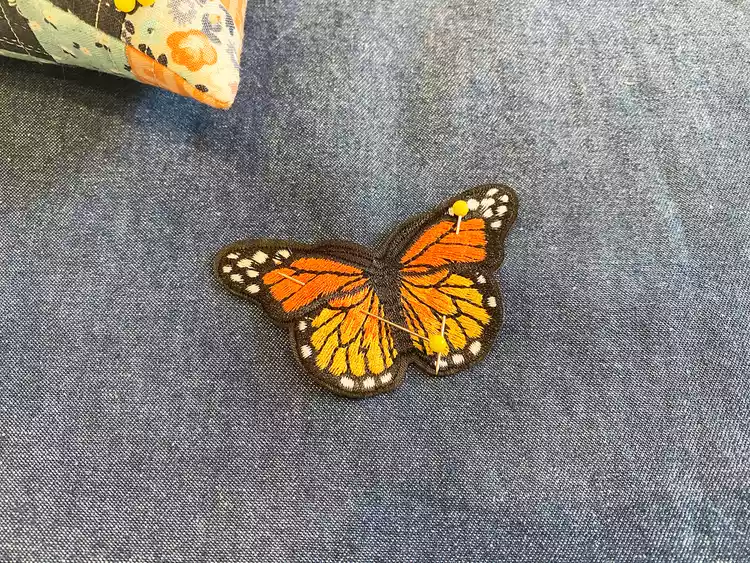
Step 3: Pin or Iron Down the Patch
Look at the back of your patch. If it looks shiny or has a thin paper covering it, it’s an iron-on patch. That means that, in theory, you can just iron on the patch and go. However, once you do laundry a few times, iron-on patches will come off. That’s why it’s a great idea to sew down even iron-on patches.
An iron-on patch is handy while you’re placing it for sewing. Follow the directions included with the patch and iron it on. This will hold it in place while you sew it on for extra durability.
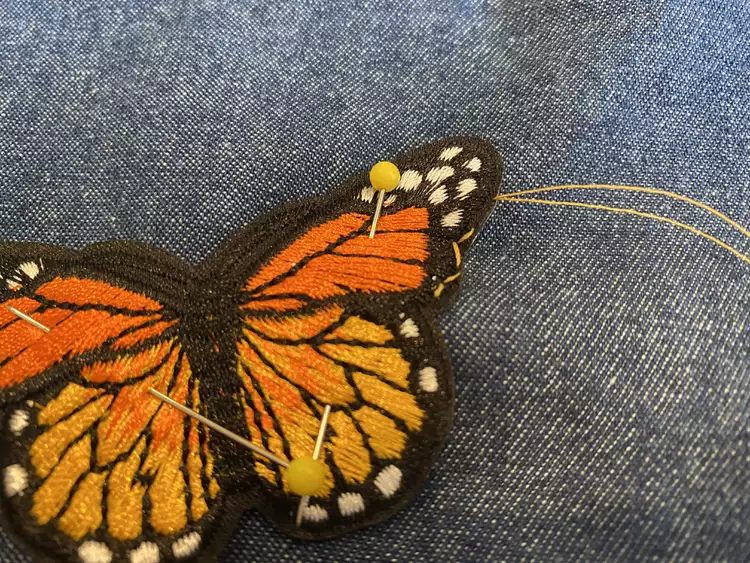
If you have a sew-on patch, you’ll want to use sewing pins to pin down the patch. This is going to be awkward because the patch is so thick. Use as few pins as you can to pin down the patch.
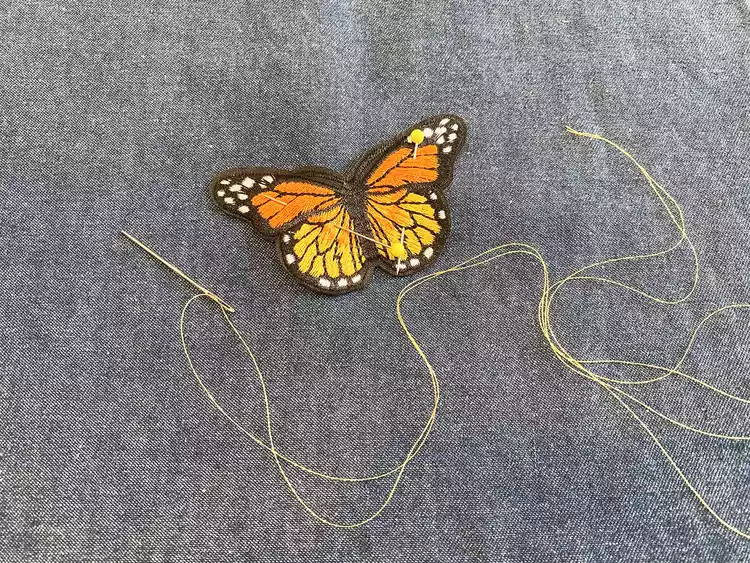
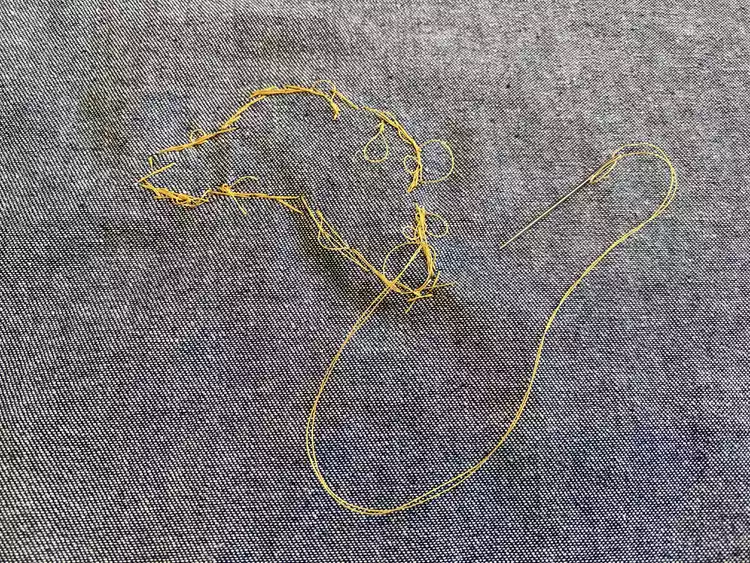
Step 4: Thread Your Needle
Time to start sewing on your patch! Pick out a thread that matches or contrasts the color of your patch, depending on the look that you’re going for. Grab your needle and thread and thread your needle. Double up on the thread and tie a knot at the end.
(You can also use embroidery thread and a blanket stitch to attach a patch.)
Step 5: Start Your Backstitch
Start your backstitch by pushing the needle up through the fabric and the patch, and bring it all the way through so the knot is on the wrong side. You can start sewing anywhere on your patch.
You may run out of thread as you’re stitching down your patch. That’s okay, just knot it off and pick up where you left off with a new thread.
Step 6: Continue Stitching
Make a backstitch by pushing your needle into the fabric and patch about 1/4 inch to the right from where your needle came up before. Push all the way through.
Now come up with the needle 1/4 of an inch to the left of your first stitch. Put your needle back down into the hole where you first started.
Continue backstitching until you’ve reached the point where you started. Remove any pins as you come to them.
(If your patch is pinned down, you’ll need to be extra careful that it stays in place. Every few stitches, make sure that it’s still in the spot you’d like it to be.)
After you’ve backstitched all the way around the patch, it’s time to tie it off. Knot your thread tightly on the backside of the fabric. You can double- or even triple-knot it for extra security.
(Still worried about the patch not being secure? You can backstitch around it multiple times to make sure it will stay put.)
Step 7: Finish Your Backstitch
After you’ve backstitched all the way around the patch, it’s time to tie it off. Knot your thread tightly on the backside of the fabric. You can double- or even triple-knot it for extra security.
(Still worried about the patch not being secure? You can backstitch around it multiple times to make sure it will stay put.)
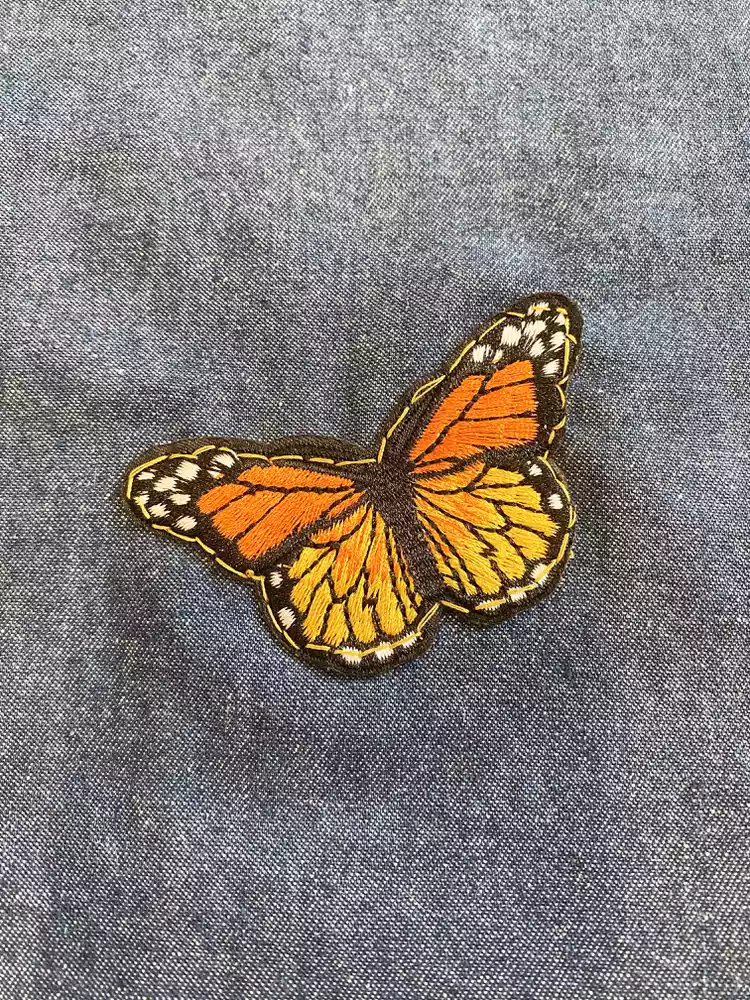
Step 8: Cut Your Threads
After you’ve tied your knot, you’re ready to cut your threads. You’re now ready to show off that new patch! Since you sewed it on, you won’t have to worry about it coming off in the wash.
By following the instructions outlined in this article, you can successfully attach a patch to any fabric surface, whether it’s a shirt, jacket, or backpack. Remember to choose the appropriate thread and needle for your patch and fabric, and take your time to ensure a neat and secure stitch. With a little bit of practice, you’ll be able to sew on patches with ease and customize your clothes and accessories to your heart’s content. We hope that this article has been helpful to you in learning how to sew on a patch. Thank you for reading!