DIY Tips
A Step-by-Step Guide To Make DIY Vinyl Stickers
10
Jun
Jun
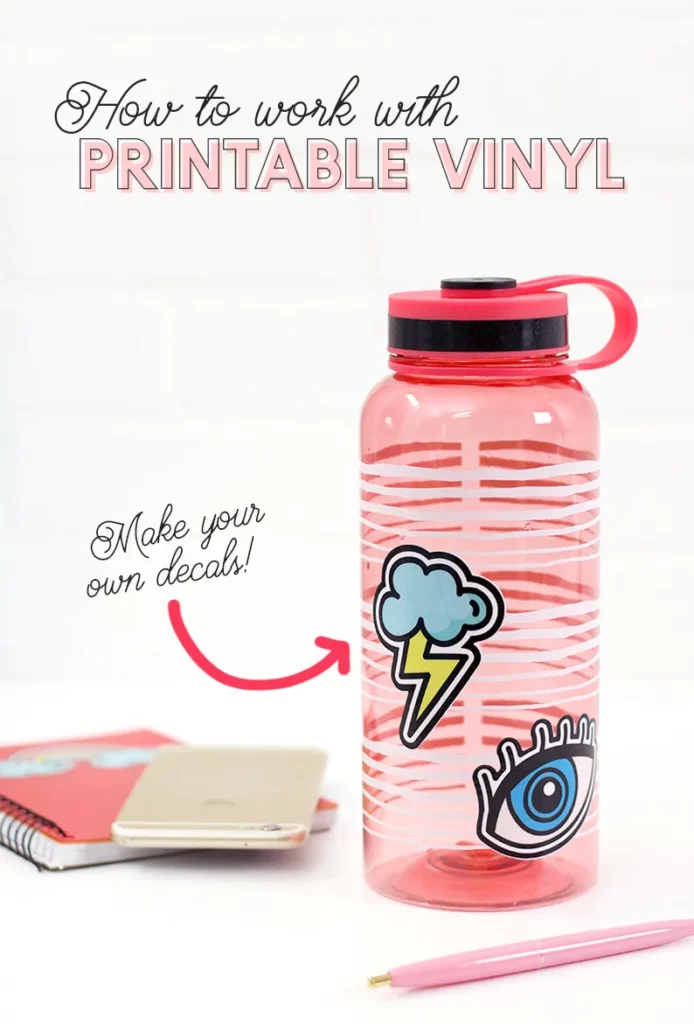
Welcome to the world of DIY vinyl stickers, where you can transform ordinary objects into personalized works of art. Whether you want to add a touch of creativity to your laptop, customize your water bottle, or decorate your home, this guide is here to help you master the art of creating vinyl stickers. In this tutorial, we will walk you through the step-by-step process of working with printable vinyl, from choosing the right materials to designing and applying your stickers. Get ready to unleash your creativity, express your personal style, and make your belongings truly one-of-a-kind. Let’s dive in and learn how to create stunning DIY vinyl stickers that will leave a lasting impression.
Supplies You’ll Need To Get Started
- Inkjet Vinyl (you can buy it by the sheet or in a that comes with laminate overlay included)
- vinyl laminate (available in “economy” matte finish or “premium” glossy finish)
- Application tools
- Inkjet printer
- Silhouette cameo or other electronic cutting machine (optional, but very nice to have)
- Your Sticker Designs (I used some cute little illustrations included as bonuses with the Unicorny font and you can discover a vast selection of thousands of cool designs at our site, https://freesvgfilescricut.com/shop/. Browse through this collection, which includes a range of free designs, and find the perfect one to ignite your creativity.)
Instructions
Step 1: Prepare Your Design and Print.
- If you are cutting your decals by hand, then you just need to use any photo editing software (or Word would even work) to place your designs on a 8.5 x 11 size page and print them off using your inkjet printer. That’s it!
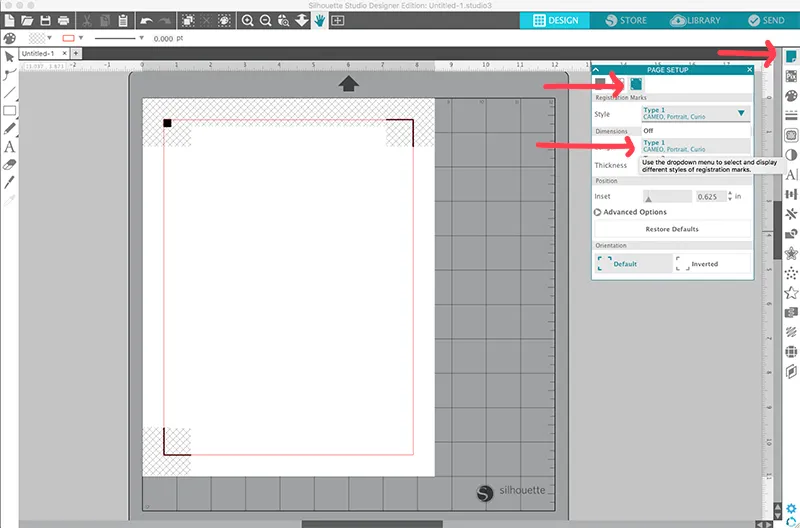
- If you are working with a Silhouette, you need to set up your document in the Studio software before printing. In the page settings tab, start by setting the page size to 8.5 x 11 (or whatever size printable vinyl sheet you are using – just remember you need to use a size your printer can handle). Next, make sure you have the registration marks turned on. You have to have the registration marks turned on for the machine to cut the decals!
- Next, open up your designs in the software and arrange them on your page. I used these adorable designs that come as bonuses with the Unicorny font for my stickers. As you place your designs, you can rotate them to fit as many as possible on your page. You don’t want to waste any of that vinyl! Just make sure to avoid the hashmarked areas and to keep all your cut lines within the red line.
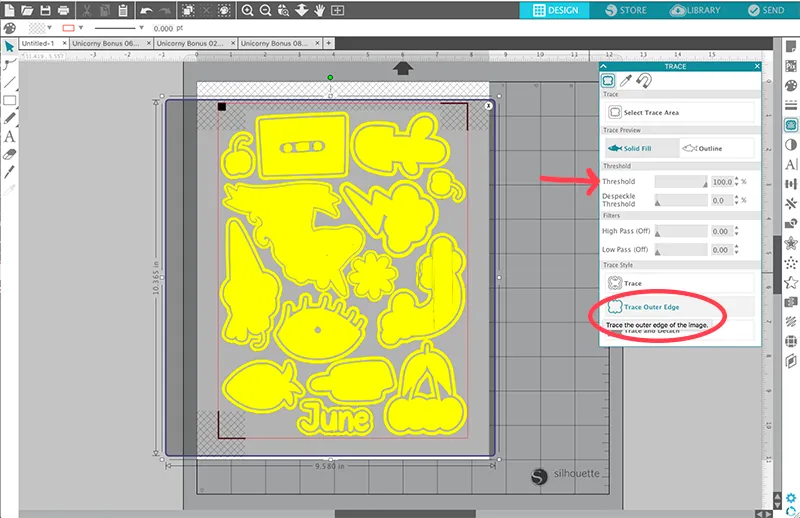
- After you have your designs all placed, it’s time to create a cut line around the edges of each of your designs. To do this, open the trace window and click select trace area. Then drag to create a rectangle around all of your designs. Next, adjust the threshold setting until the design is completely yellow. Finally, click “Trace Outer Edge” to create cut lines around the edge of each shape. A red line should appear around the edge of each of your designs where the Silhouette will cut.
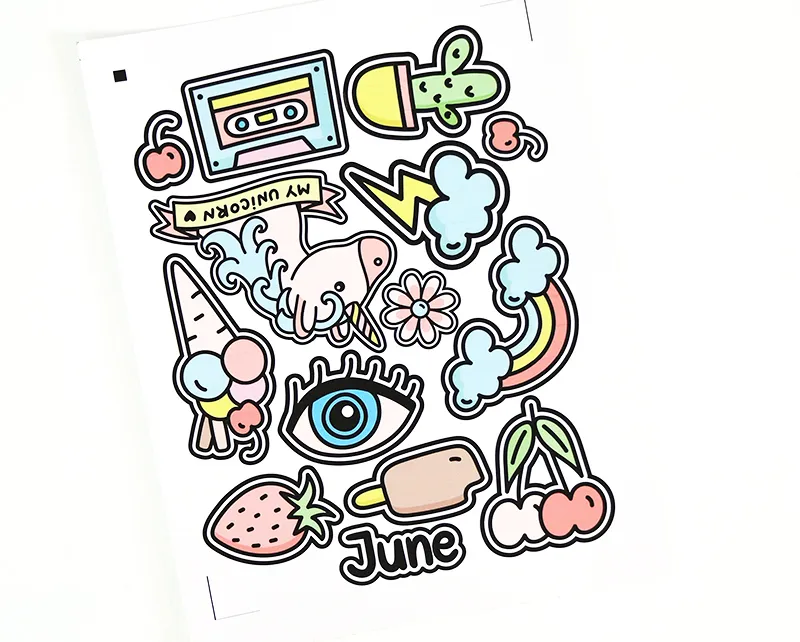
- Now it’s time to print! Load your vinyl sheet into your printer so that the image will print on the matte side. Click File > Print to send the page to your printer. Remember, this vinyl is designed to work with inkjet printers. After it’s done printing, it should look something like this:
Step 2: Apply Vinyl Laminate.
- At this point, you could simple cut and apply your decals, but if you want them to be extra durable (and especially if you want them to be washable), then you should first apply a vinyl laminate overlay. On it’s own, inkjet printable vinyl is rated to last outdoor for one year, but when you add a laminate overlay, it will last for 4-5 years. I made my laptop skin a year and a half ago, and it still looks great, and I think the laminate is why it has held up so well. You can choose from a glossy or matte finish. For these decals I went with the glossy overlay.
- Start off by cutting your laminate down to 8.5 x 11. Peel one edge of the laminate away from the backing and carefully line it up with the edge of your page. Using your application tool (or an old credit card would work pretty well too), slowly smooth the laminate down onto your vinyl while pulling the backing away.
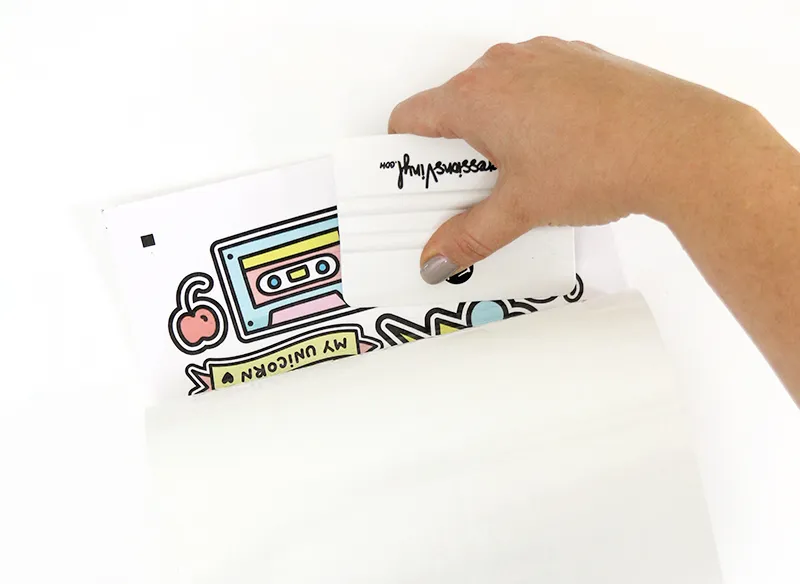
- Use your application tool to burnish the laminate overlay onto the printed vinyl sheet.
Step3: Cut Vinyl Decals.
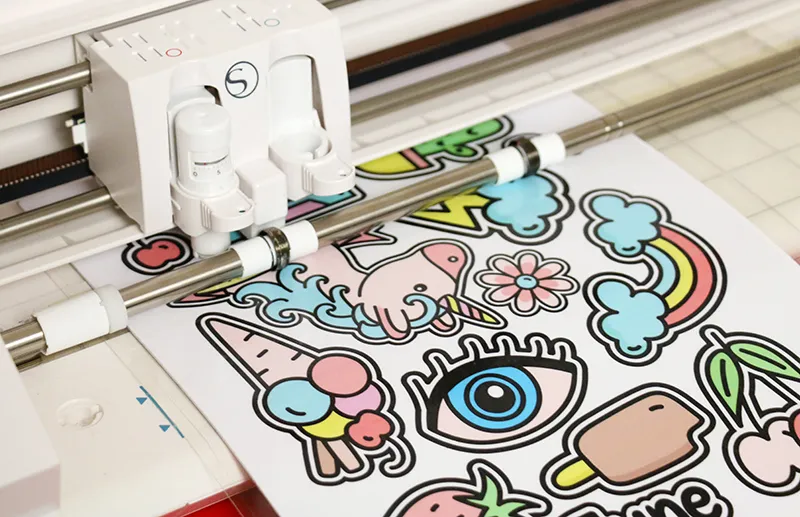
- Now that your designs are printed onto the vinyl and the laminate has been applied, you are ready to cut! If you are cutting by hand, simply use a pair of sharp scissors or a craft knife and cutting mat to carefully cut along the edge of your designs. If you are cutting with the Silhouette, place the vinyl onto your cutting mat and load it into the machine. Adjust your cut settings. For printable vinyl with a laminate overlay, I recommend these settings: Blade: 2, Thickness/Depth: 33, and Speed: 5.
- Send the file to cut, and the machine will use the registration marks to cut right along the edge of your designs. It’s so cool!
Step 4: Peel and Stick!
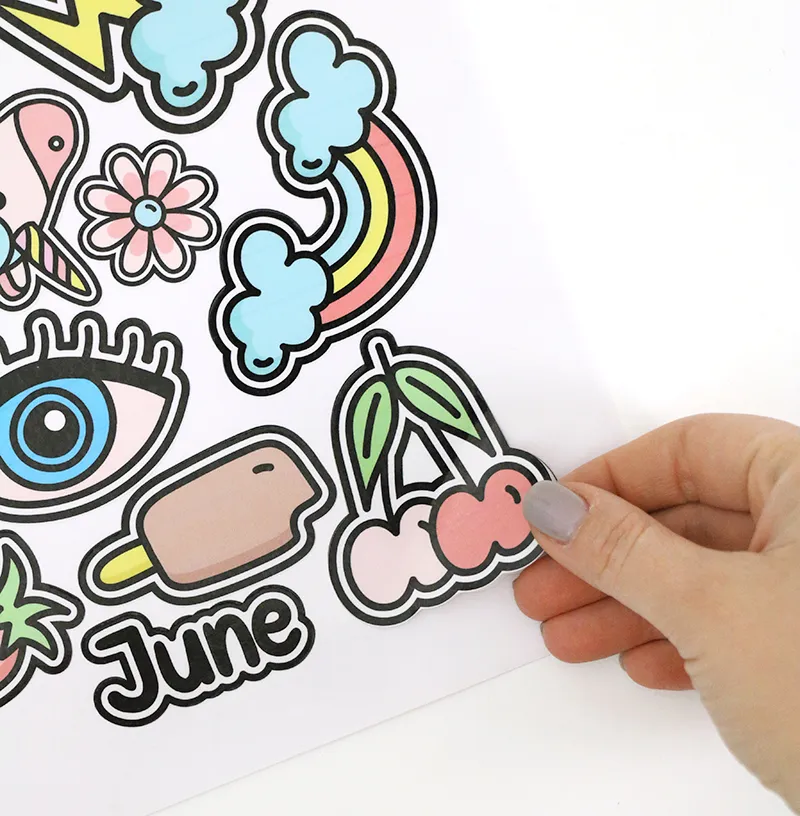
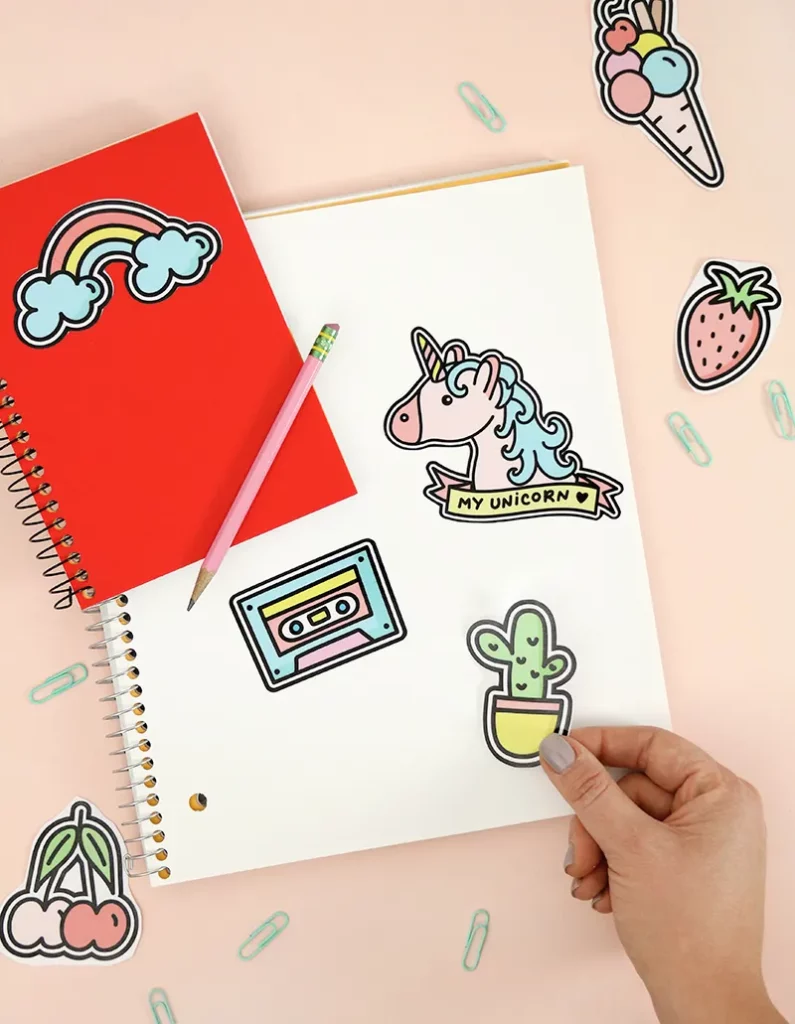
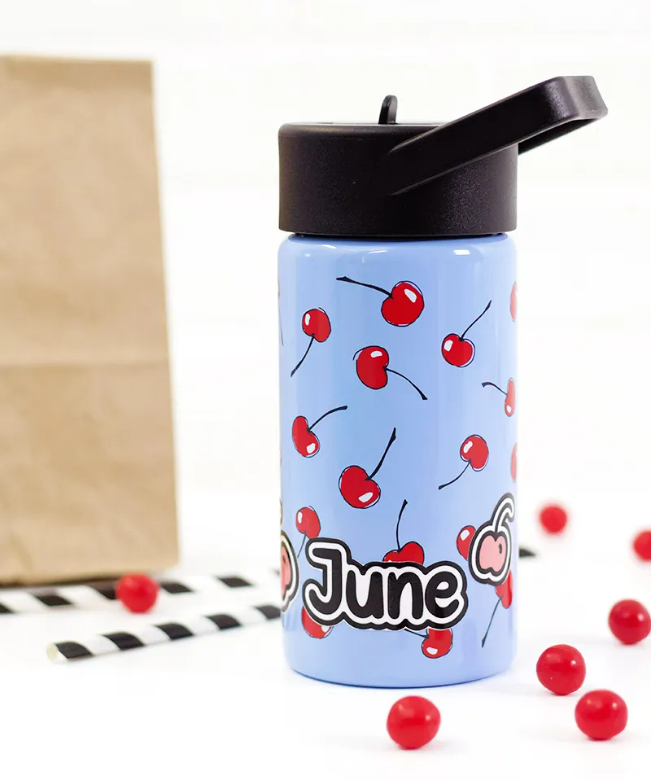
- All that’s left to do at this point is to peel the stickers off the backing and apply them wherever you want! I used mine to decorate some new notebooks and personalize my kids’ water bottles.