
DIY Tips
Simple Methods for Making DIY Stickers without Sticker Paper
Jun
Unlock the world of DIY sticker making with this comprehensive guide on creating your own custom stickers, all without the need for traditional sticker paper. Get ready to explore innovative techniques and discover clever alternatives that will bring your sticker creations to life. From personalizing your belongings to adding a unique touch to gifts or crafts, you’ll learn step-by-step methods that are both simple and effective. Get ready to unleash your imagination and embark on a sticker-making journey like no other. Let’s dive in and learn how to make simple DIY stickers without relying on sticker paper!
Supplies You’ll Need To Get Started
- Printer (with ink and paper)
- Scissors or exacto knife
- Wax paper or plastic sheet (like a cereal bag)
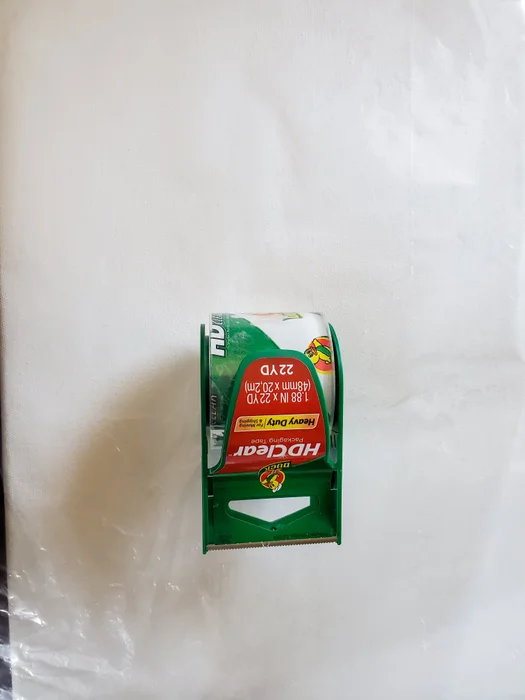
- Packing tape
Instructions
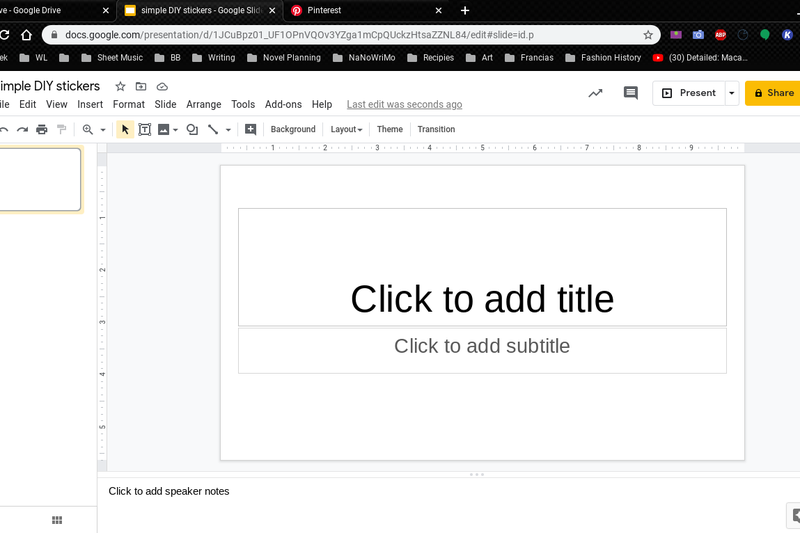
Step 1: Open a Blank Document
- The first step is to open a blank document or presentation. This is what you will collect your images on and later print. You can open up a blank document or presentation in either Google Drive or Office 365, but I just prefer to use Google Drive. I used a presentation because I think it is easier to organize the images on this. I usually change the layout to “blank” so it looks cleaner, but that is optional.
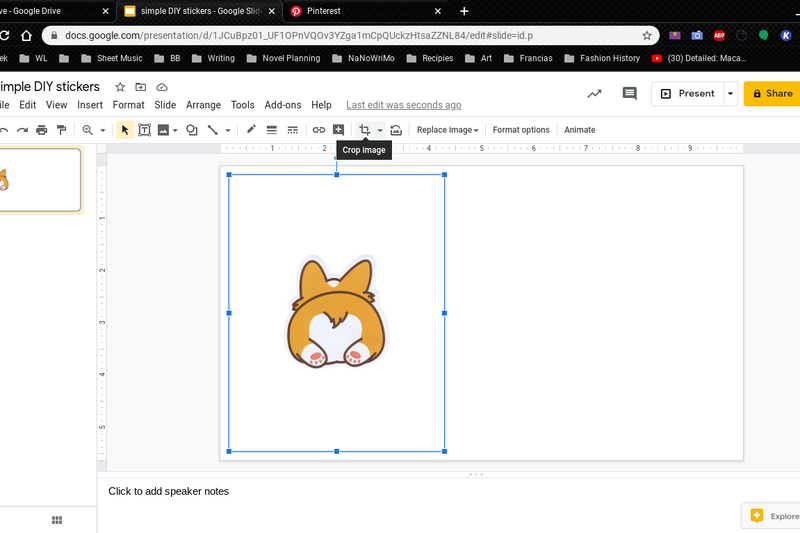
Step 2: Add Your Images
- The second step is to add your images. I just find the pictures I want on pinterest, but you can find them just about anywhere. Any image you want to add, copy and paste it into the document. Make sure when you place them that there is enough room between each image to cut it out how you would like. Once you add the image, you can crop it down a little to cover less of the page and make room for more images.
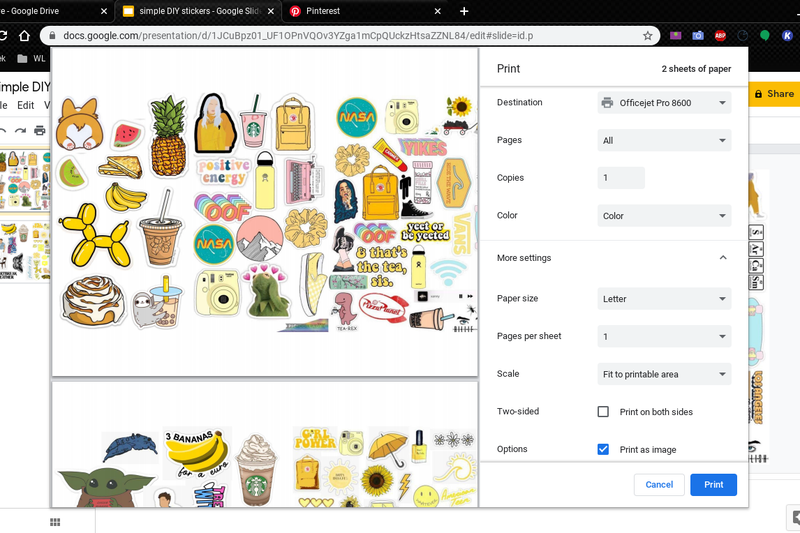
Step 3: Print!
- The next step is to print your images. Make sure you do not print two sided pages if you have more than one page. You should have a printed page with a collection of pictures on it.
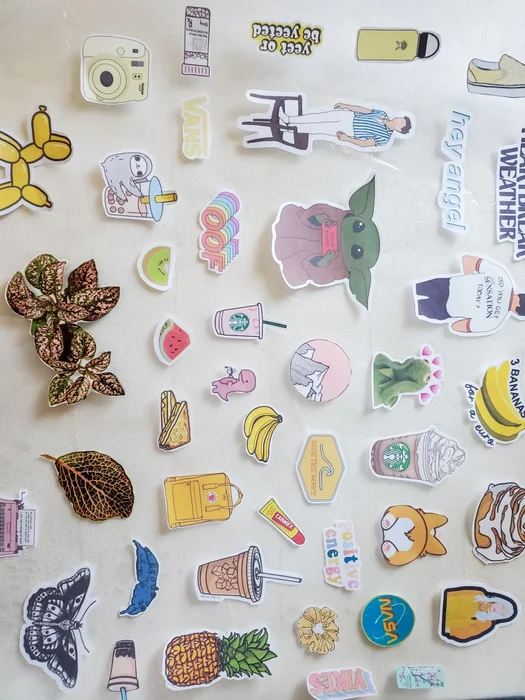
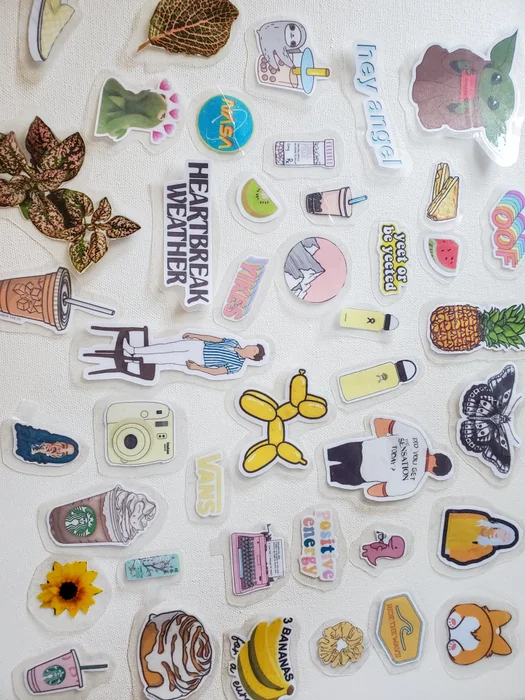
Step 4: Cut Out Your Images
- The next step is to cut out all of your images. You can cut up right close to the image, or you can leave a little border around the picture. You can also use pictures from magazines or drawings, just cut them out and follow the same steps.

Step 5: Base Layer
- The fifth step is to do the base layer. You take your back sheet (wax paper or plastic piece) and apply a layer of packing tape on the area that you will need. The picture is a little hard to tell, but I used two pieces of plastic that I recycled from the plastic bag that is used in cereal packaging. I found that using this works better than using wax paper because it does not easily rip. However, wax paper works just fine if that is all that you have. It is okay if you have a few bubbles under the tape.
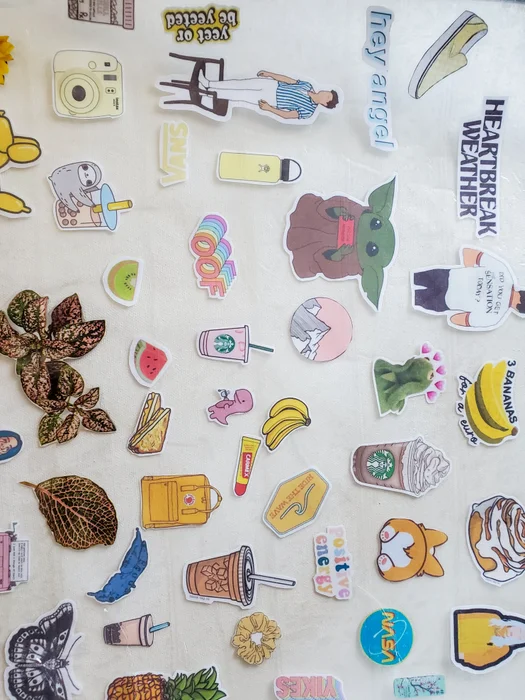
Step 6: Lay Out Your Images
- The next step is to lay out your images. This is just so you get an idea of how many stickers you can make with your area. Make sure to leave a large enough space in between them, as this will be important in the future.
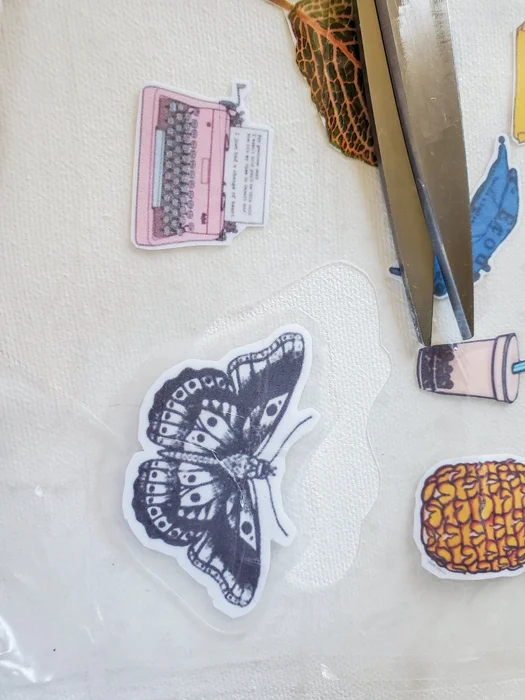
Step 7: Apply a Top Layer
- Next is to apply a top layer of tape. Just cover all the little images with tape. You are trying to create a tape “sandwich” with the image in between. This sticks the paper to the back piece of tape and creates the sticker effect. It also helps to protect the picture and prevent it from wearing off. Again, it is completely fine to have a few bubbles, but try to not get any.
Step 8: Cut Out the Stickers
- The last step is to cut out your stickers! Make sure you leave a small border around the actual image. This sticks the paper onto the back piece of tape. If there are bubbles, you can usually work them out at this point. Like when you cut the images before, take your time for best results!
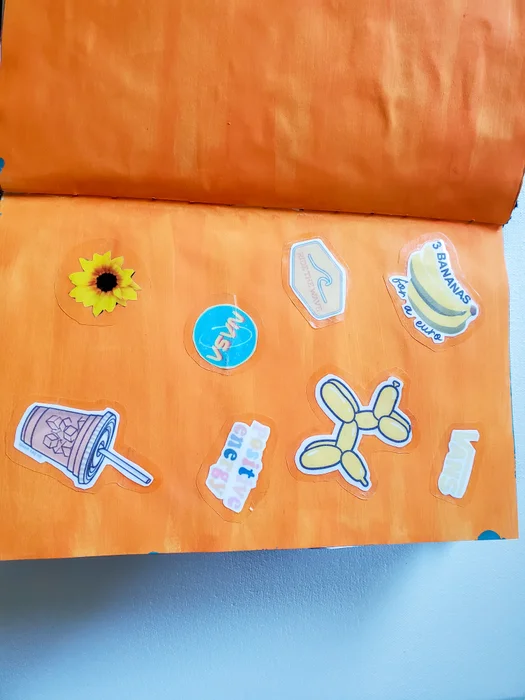
Step 9: Use Your Stickers!
These stickers can be used on just about anything that packing tape can stick to. I like to use them on notebooks and journal pages. I find that they stick the best here. For extra security, you could add another layer of tape after they are applied to your desired surface so they won’t peel off.
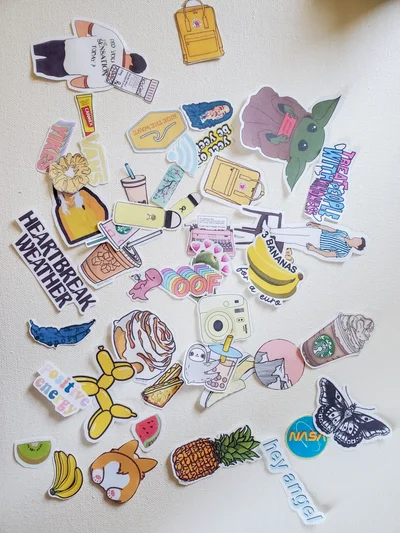
Get ready to stick it to the world with your creativity and enjoy the satisfaction of seeing your designs come to life, one sticker at a time. Happy crafting!