
DIY Tips
DIY Wooden Spoon Carving: How to Create a Beautiful and Practical Kitchen Tool

May
Welcome to the world of DIY Wooden Spoon Carving! Creating your own beautiful and practical kitchen tool can be an incredibly rewarding experience. Not only will you end up with a unique and personalized utensil, but you will also have the satisfaction of knowing that you made it with your own hands. In this article, we will guide you through the steps of carving a wooden spoon, from selecting the right wood to adding the finishing touches. Whether you’re a seasoned woodworker or just starting out, this is a great project to try your hand at. So, let’s get started on creating a beautiful and practical kitchen tool!
Supplies You’ll Need To Get Started
Tools
- Dremel Rotary tool
- 225-01 Flex Shaft Attachment
- 628-01 Drill Bit Set
- 2500-01 Multi-Vise
- WorkStation™ (220-01)
- Dremel 192 Carving Bit
- High Speed Cutter 7,8 mm (114)
- Mandrel (401)
- Dremel 414 Felt Polishing Wheel
- 402 Rotary Tool Mandrel
- EZ SpeedClic accessories
Supplies
- Carving knife
- Crook knife
- Saw
- Safety Glasses
- Safety gloves
- Dust mask
Materials
- Wood (any fresh softwood such as birch)
( L: Length, W: Width, H: Height, D: Diameter )
Instructions
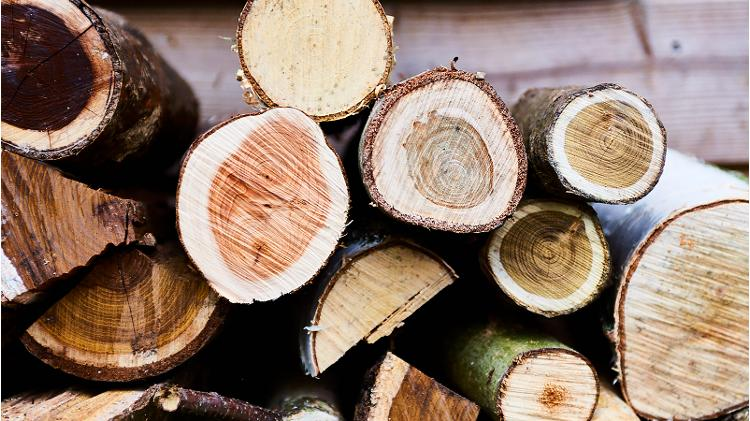
Step 1: Pick your wood wisely
This is the most important part. You might be overwhelmed by choice, but softwoods like willow, limewood or birch are easier to carve, and will make this project a lot easier. In this guide, we’ll be using birch. If you’d like to know more about choosing the right wood for carving, please read our Guide to Woodcarving for Beginners.
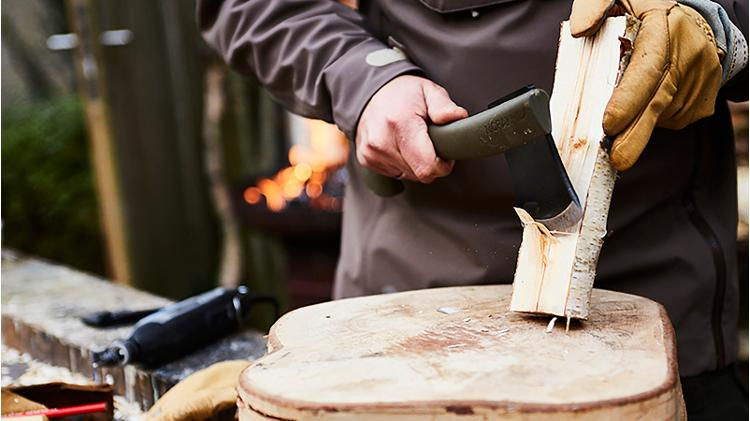
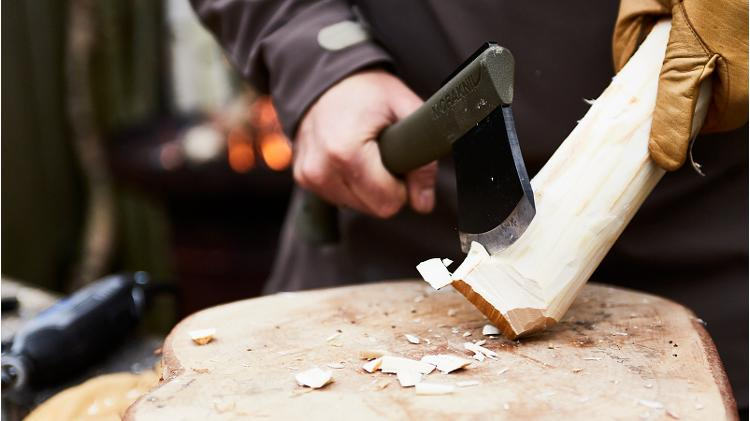
Step 2: Split and prepare the wood for carving
It’s time to get chopping, so put your gloves and safety glasses on. To make a controlled split straight down the middle, very carefully wedge the axe into the top of your wood, being mindful to watch your fingers. Lift the log, leaving the axe inside it, and gently knock it against your work surface. Got it? Great.
Step 3: Remove the core
Once your wood is split, clean the surface with the axe and remove the dark core. Using your axe, carefully chop away some wood until the dark line in the middle is gone.
Step 4: Clean the wood
Now this is a fun bit: clearing the bark and cleaning your wood. First, grab your axe again. Start in the middle and chop downwards, angling the axe to the outside to help the bark peel away easier. Remove the rest of the bark with a small knife and… congrats, you now have the basis for your spoon!
Step 5: Round the ends of the wood
It’s time to round the ends, so you’ll know exactly what you’ll have to work with for your spoon. Hold the axe near the head with one hand. Then steer the wood with the other hand as you make slow, chopping movements to the ends.
Step 6: Finish the rounding
Using a woodcarving knife, simply chip and peel the same way you would an apple. Using your thumb for leverage will help, and always point the knife away from yourself as you work. Easy, right? This carving will reveal the pattern of the wood, so by now you should start seeing what your spoon will look like once it’s done.
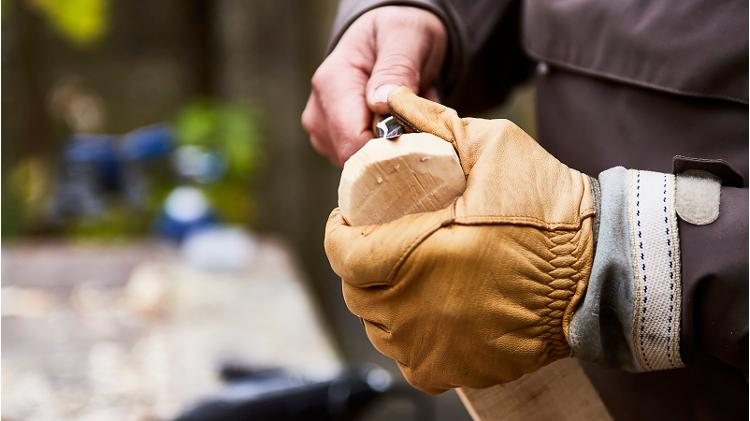
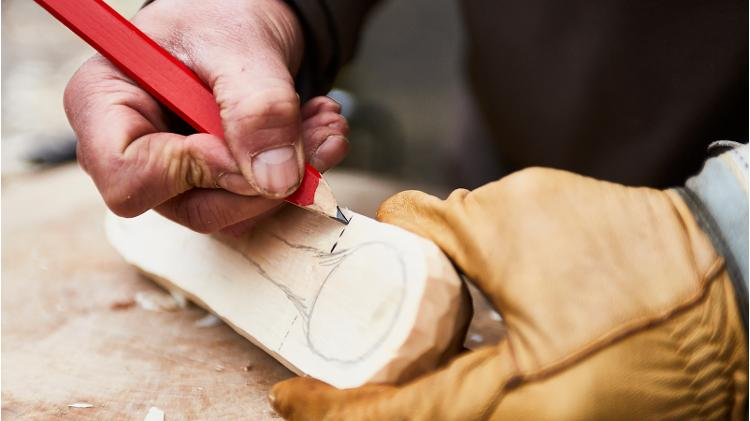
Step 7: Draw your spoon shape
Using a pencil, draw a circle at one end of the wood, leaving a 1/4″ around the perimeter. If you’re making a double-ended spoon, do the same at the other end and connect the two with a drawing of what will soon become your handle. Don’t forget to make the handle slightly wider as it touches your circles.
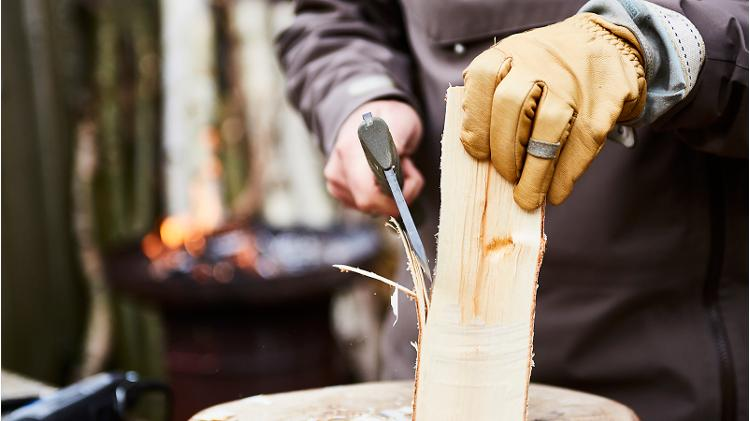
Step 8: Saw and carve your drawing
- Now, draw horizontal lines beneath the circles to create a security stop, put on your glove and use a handsaw to saw the wood down to the lines. This will create a shelf, which will in turn prevent the wrong bits of your spoon from breaking when you use the axe.
- Taking the axe, carve away the rest of the sides between the lines, then clean with the woodcarving knife until there are no jagged edges. Good job, you’re halfway there!
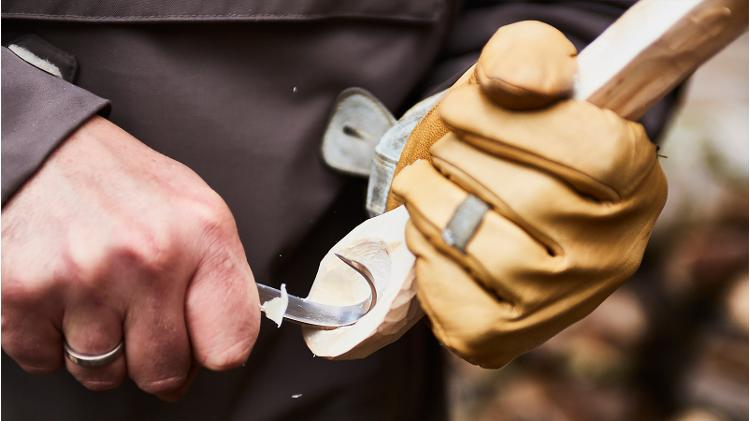
Step 9: Hollow out your spoon
Time to make this thing spoon shaped. Gripping your new spoon handle, use a crook knife to hollow out both circles. Whittle very slowly and feel with your fingers, until you have roughly 1/5″ of wood left at the bottom of each hollow. Be careful not to make it too thin – you’ll be using the Dremel soon and you’ll need some wood left in your spoon to work with.
Step 10: Fine tune your spoon
Get comfortable. This part could take a few hours, but here’s where you’ll really see your creation coming together. Take the carving knife, and using your thumb again for leverage, start removing very small layers of wood. As you shape the back and front, be sure to make the handle as straight and smooth as possible. If you’re making a double-ended spoon, remember one end should be bigger than the other.
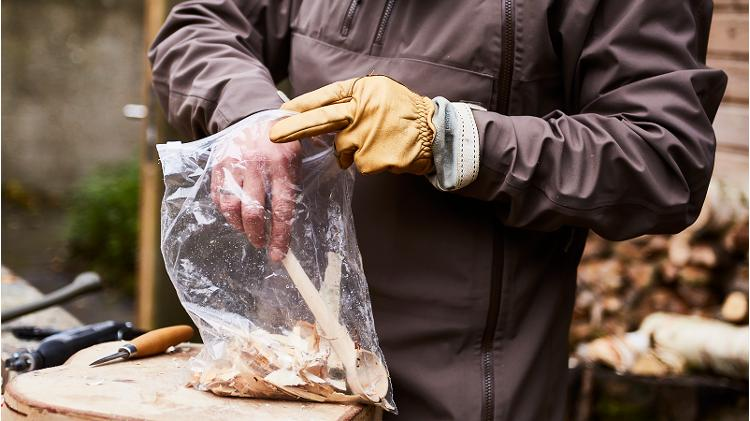
Step 11: Dry your spoon
You’re over halfway there, but now you’ll need to dry your spoon, which will make it easier to sand. Place it in a plastic ziplock bag with some small, dry wood chips and leave it open at room temperature to release the moisture. If you turn it occasionally in the bag, your spoon should take between 3-5 days to dry naturally.
Step 12: Smooth your spoon
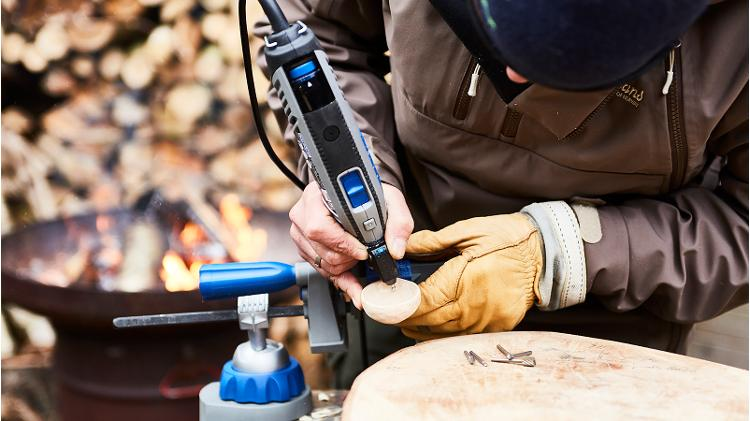
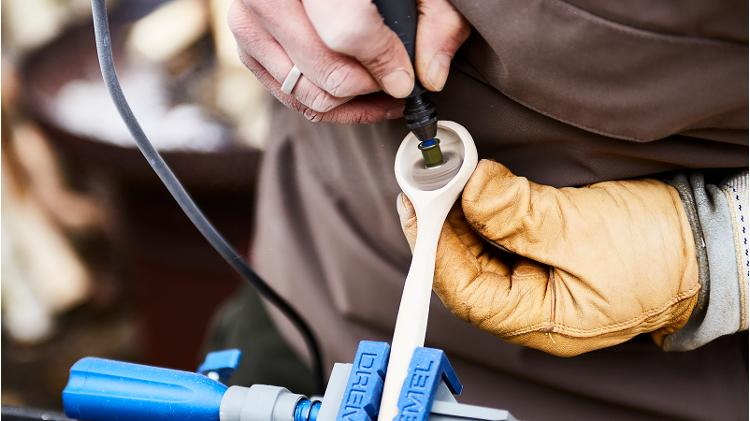
- Still got your dust mask and safety glasses handy? Put them on and clamp the spoon into the Multi-Vise. Attach your Flexible Shaft to your Dremel® Multi-Tool and hang it on the Flex-Shaft Tool Holder. Then attach the High Speed Cutter 192 and carve within the 15000-20000 rpm range (rpm = rotations per minute). It helps to use your pinkie finger for balance, as if you’re working with a pencil.
- Keep carving the wood until the hollows are completely smooth. Don’t apply any pressure to the soft wood – the tool and the accessory will do the work. You’re almost done.
Step 13: Finish sanding the sides
Now your spoon is smooth, it’s time to perfect the look and feel by sanding. Change the accessory to an EZ SpeedClic: Finishing Abrasive Buffs with a grit of 180, and sand within the 10000-15000 rpm range. Work on the hollows and the sides, and then smooth even further using the EZ SpeedClic: Finishing Abrasive Buffs with a grit of 280. Great job!
Step 14: Oil your spoon
Coating your spoon with a little oil is a great idea. Not only will it give it a shiny finish, it will help protect the wood, and also help the colors, grains and patterns to stand out more. Any “food grade” oil will work, such as linseed oil, walnut oil, or pure tung oil. Avoid olive oil, which tends to get sticky and attract dirt. Add some oil to a Polishing Wheel (for example the 429), at a setting of 5000 rpm and get going. All done? Get the soup ready – it’s time to test out your new spoon!
We hope that this article not only helps you to create a wooden spoon but also inspires you to continue exploring the world of woodworking. So sit back, grab your tools, and let’s get started on this fun and rewarding project!