
DIY Tips
DIY Plant Hanger: Make Your Own in Just a Few Steps
May
Looking for a way to spruce up your indoor plant collection and add some unique and personalized décor to your home? Why not create a DIY plant hanger! This project is not only budget-friendly but also offers a creative outlet for DIY enthusiasts of all levels. With our step-by-step guide, you’ll discover the materials and tools you need to make a beautiful plant hanger that perfectly suits your style and preferences. Follow our instructions and elevate your indoor plant game with a charming and functional DIY plant hanger that’s sure to impress.
Supplies You’ll Need To Get Started
Tools
- Cordless combi drill
- Brad point drill bit
- Cordless circular saw
- Multi-sander
- Grit sandpaper for the multi-sander
- Impact drill
- The Bosch Rotary hammers
Utilities
- Ruler
- Scissors
- Hole saw
- Set square
- Screw clamps
- Pencil
Materials
- 1 sheet/plank of your preferred material: 80 x 20 x 2 cm (L x W x H)
- Thin rope: 12 mm in diameter, length as required
- Ceiling hook
- Anchor for hook
Instructions
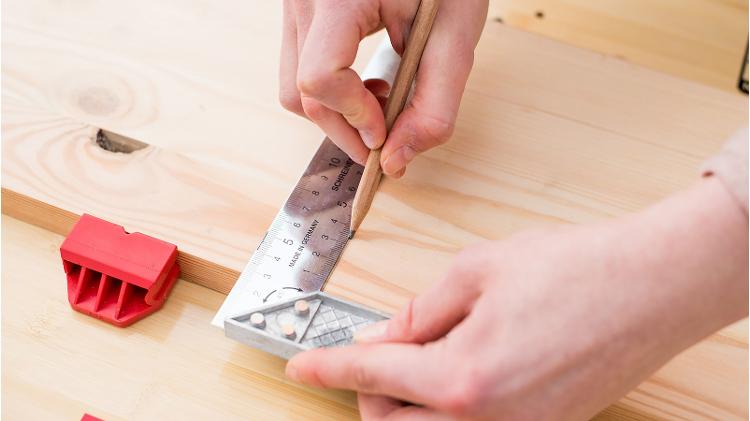
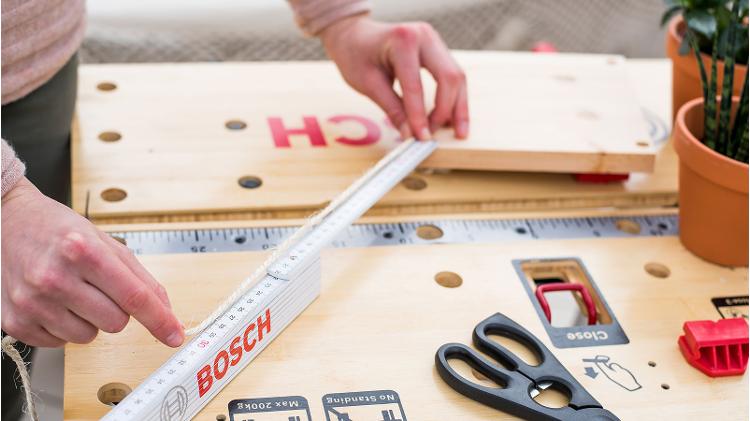
Step 1: Divide the plank into four pieces
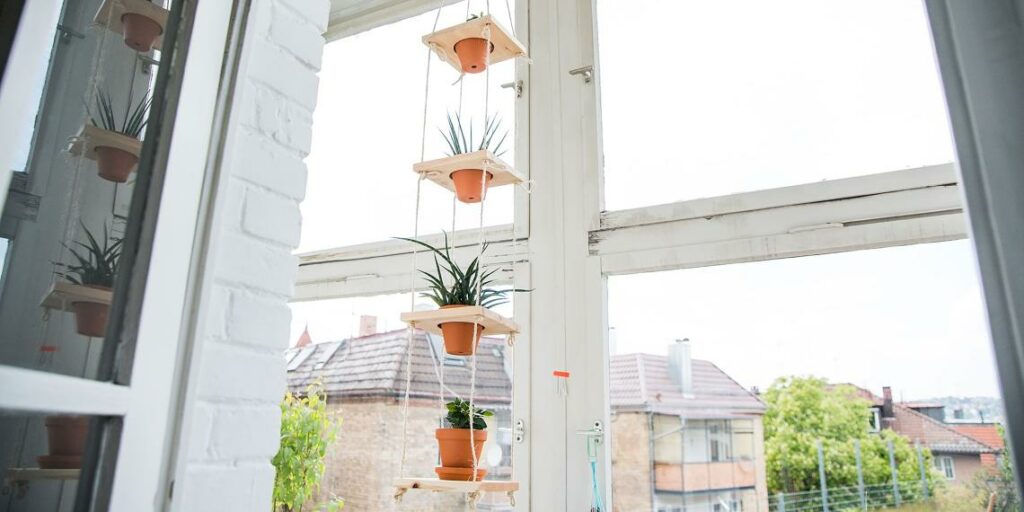
Your beautiful plant hanger consists of four levels floating one above the other. This means you need to cut the plank into four separate pieces. We’ll get to the sawing part later; for now we’re just going to divide the plank up. You need to draw three straight lines on the plank: place the ruler on the plank with the shortest side facing you and, with the triangle, draw the first horizontal line 20 cm in. Then measure another 20 cm from that line and mark that with your pencil, followed by the third line. Now your plank should be divided up into four sections.
( You need: pencil, ruler, Set square, plank )
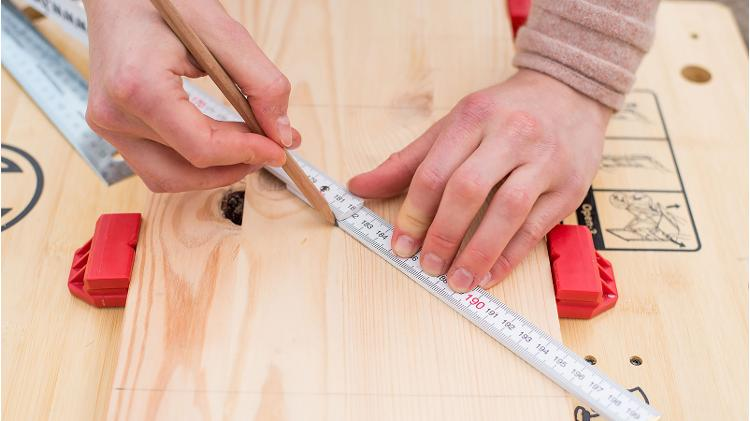
Step 2: Locate the middle of the squares
To make sure you position the hole saw correctly, you first need to find the centre of each square panel. To do this, draw two diagonal lines on each square, from corner to corner. The point where they cross is the centre. Always use a pencil to mark the lines, so you can rub them out later on.
( You need: pencil, ruler )
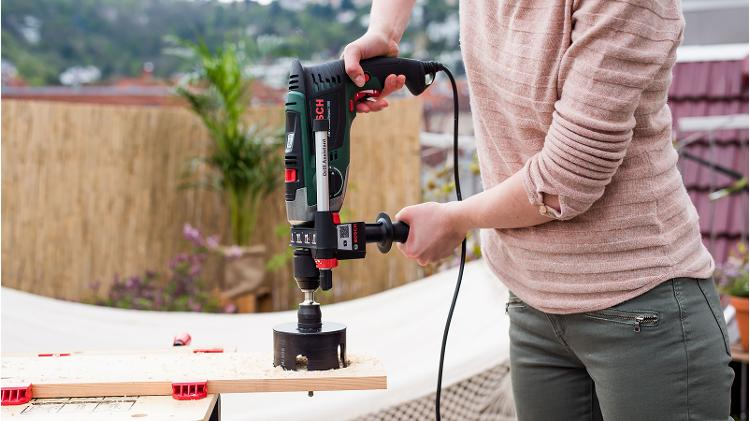
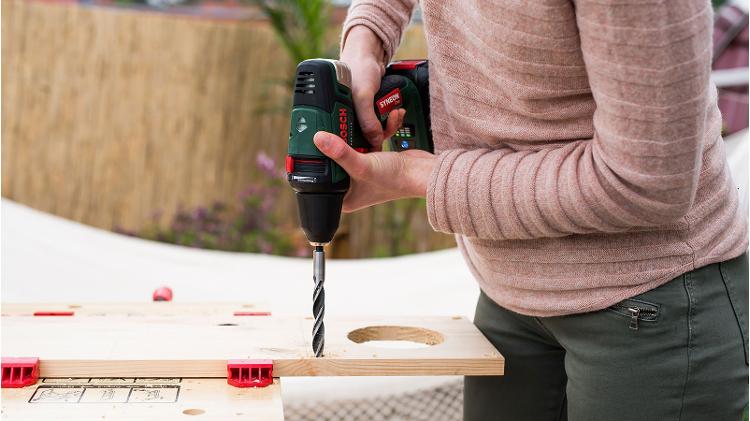
Step 3: Drill the holes for the plant pots
Use the clamps to secure the plank firmly to your work surface, with one complete square panel hanging over the edge. Attach the hole saw to the impact drill and position it in the center of the square. The size of the hole saw will depend on the diameter of your plant pots. Measure the diameter of the top of the pot and subtract around 2 cm – that’s how big your hole saw should be. Make sure that your impact drill is suitable for use with this size hole saw. Then hold the drill with both hands and drill through the plank with considerable pressure.
( You need: impact drill, hole saw, screw clamps )
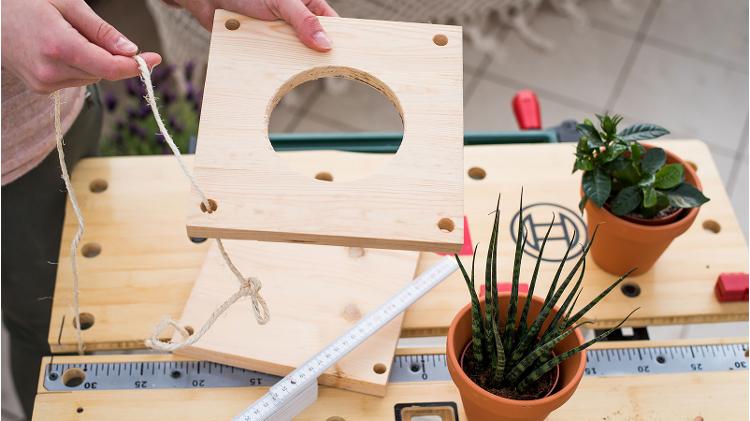
Step 4: Drill holes for the rope
- You can leave the plank clamped to your work surface because you’re now going to drill the holes for the rope. Drill a hole in each corner of the square panel, around 1 cm from the edges.
- Repeat steps 3 and 4 for the other square panels. We chose not to drill a hole for the plant pot in the last panel because we wanted the plant to stand on top of it. It is entirely up to you whether to do the same, but either way you will still need to drill holes for the rope.
( You need: Cordless combi drill, Brad point drill bit )
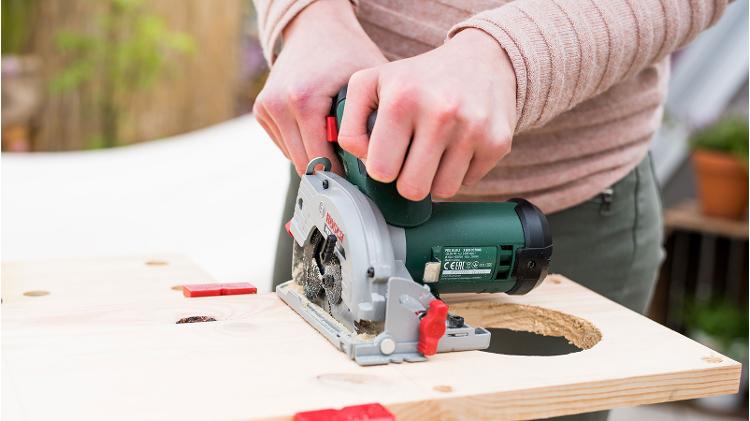
Step 5: Cut the plank into four square panels
Now you can saw the plank, which is still fixed firmly to your work surface, into four separate pieces – along the lines you drew earlier. To do this, you can use either a jigsaw or cordless circular saw. We opted for the latter, and would recommend you do too.
( You need: Cordless circular saw )
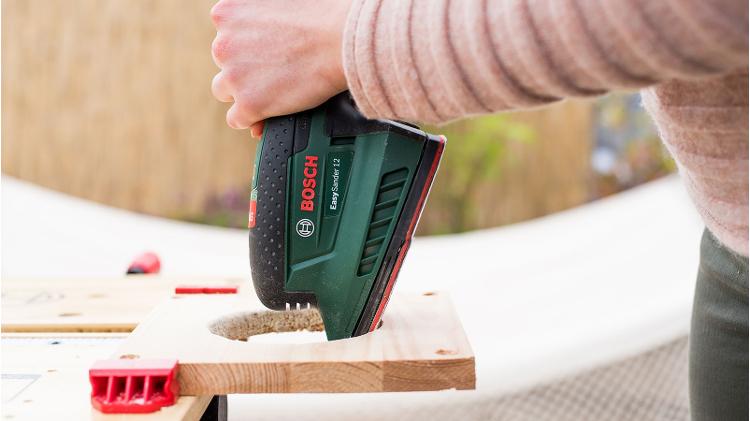
Step 6: Sand down the edges
To prevent any bits of wood from sticking out, you should sand down the freshly sawn edges.
( You need: Multi-sander, grit sandpaper for the multi-sander )
Step 7: Cut the rope into four pieces
The panels that the plant pots sit in will be suspended using four pieces of rope. You’ve already sawn four holes, one in each panel corner, for this. Now you need to cut four pieces of rope of equal length. The length is up to you: base your measurement on the height of your ceiling, and how low you want your plant hanger to hang.
( You need: ruler, scissors, string/ cord )
Step 8: Assemble the panels on top of one another
Now it’s time to assemble your masterpiece. Make a knot in the end of each piece of rope and thread it through the first panel (which, in our case, is the one without the hole for the plant pot). Before tying the next knot, first measure how tall your plants are and decide how much space you would like between the various plants. Then tie an additional knot in the rope. In our hanger, there was a distance of 30 cm. Then thread the rope through the next panel and repeat the process. Once you’ve connected all the panels, tie the tops of the four pieces of rope together and attach the hanger to your ceiling – or wherever you would like it to hang from.
( You need: string/ cord, panels, plants/ flowers in pots )
We hope this article on creating DIY flower pots from logs has been helpful and inspiring for you. Thank you for reading, and happy crafting!