
DIY Tips
How to Personalize Mugs with Vinyl
May
Do you love a good cup of coffee or tea in the morning? Why not make your daily ritual even more enjoyable by creating your own personalized mug with vinyl? Not only does it add a touch of personality to your beverage routine, but it’s also a fun and easy DIY project that anyone can do. In this guide, we’ll show you step-by-step how to personalize mugs with vinyl, including the materials, tools, and techniques you’ll need to create your own unique and stylish mug. Whether you’re a beginner or an experienced crafter, this project is a great way to showcase your creativity and add some personality to your home or office. Get ready to enjoy your favorite beverage in a mug that’s one-of-a-kind and truly yours.
Supplies You’ll Need To Get Started
- A plain mug (preferably ceramic, avoid textured or powder-coated)
- Permanent adhesive vinyl (choose a style that suits your design), you can check out different designs of permanent adhesive vinyl at TeckWrap Craft.
- Mod Podge (the dishwasher-safe version)
- A soft bristle brush or foam
- Transfer Tape (use the standard grip, not the strong grip)
- Rubbing alcohol and clean cloth (to clean the mug)
- Cutting mat
- Weeding tool
- Scraper tool
Instructions
Step 1: Choose Your Mug Design and Vinyl
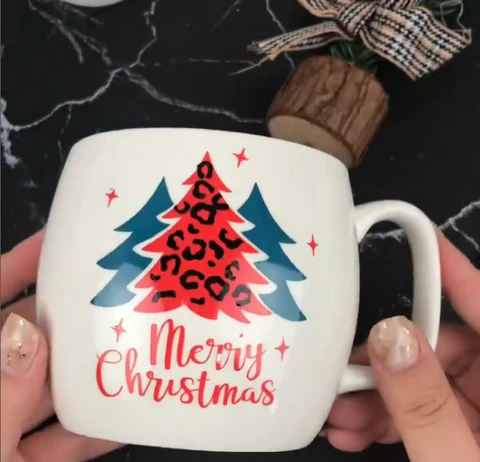
- The type of vinyl you need to purchase depends on your design in mind. So it’s important to decide which design you’ll place on your mug. For instance, if it’s for a Christmas gift, you can choose Christmas Plaid designs.
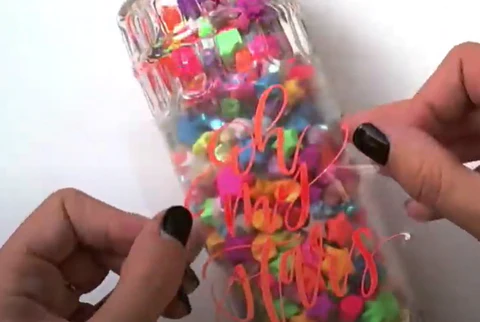
- Or you just want to personalize it with your loved one’s name; you can choose Texture Metallic or plain colors. If the design you chose comes in multi-colors, buying Sheets Pack in different colors is best. Once your design and vinyl are ready, go to your computer and open your cutter plotter’s software.
Step 2: Cut and Weed Your Vinyl
- Whether you have a Cricut or Silhouette cutter plotter, you can cut any kind of vinyl. Then, simply upload your design on the cutting machine’s software and adjust the size depending on how big you want it to be on the custom mug.
- Make sure to change the cut settings of your cutter plotter to either ‘Permanent Vinyl’ or ‘Adhesive Vinyl’. Next, load your vinyl on the cutting mat with the shiny side up, and wait for it to finish cutting. Remember not to mirror adhesive vinyl the way you would on an iron-vinyl.
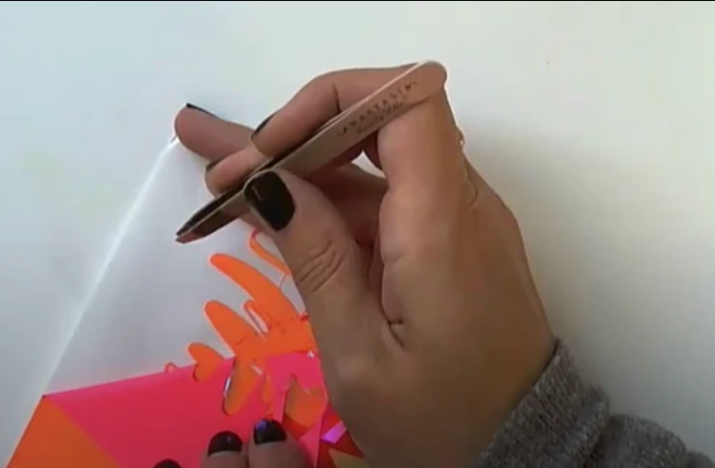
- Next, get your weeding tool, flip it over, and peel the vinyl carefully. Weeding the vinyl means cutting off extra bits of the vinyl that you don’t want to transfer on the mug. Only include the vinyl that you want to print on the mug.
Step 3: Transfer Your Design
After weeding the vinyl, you’ll need to transfer the design into the transfer paper. Here are the steps:
- Cut out a piece of transfer tape about the same size as the design.
- Remove the backing or white part of the transfer paper.
- Start transferring the design to the transfer paper, starting in the outermost corner of the transfer paper, working your way outwards to avoid the bubbles and creases on the transfer tape. Take note to never but the sticky side of the vinyl on your work surface, as this will mess with its stickiness and most likely won’t stick to the mug.
- Place the transfer paper over the design, facing down the sticky side.
- Use your scraper tool to ensure the adhesive foil attaches to the transfer tape. Make sure to pass it over the front and back to ensure it sticks and transfers well.
- Then remove the backing of the vinyl adhesive at a 45-degree angle.
Step 4: Apply the Vinyl to the Mug
- After transferring the design to the transfer tape, it’s time to stick it to the mug. First, clean the mug’s ceramic surface with alcohol and a clean cloth. Make sure to remove any oil, dirt, or dust on the mug. Cleaning the mug is essential to ensure the decal sticks well and gets stuck permanently.
- If the mug surface is straight, you can continue applying the vinyl to the mug. However, if the mug’s surface is curved, you should make small nips around the edges of the transfer paper of the decal. This way, you can apply the design to the curved mug without any creases.
- Smooth it all down into the proper position to ensure it won’t move. When you’re confident that the vinyl has transferred properly to the mug, take off the transfer tape. Now you can see all your efforts are coming to life!
Step 5: Apply the Mod Podge Sealer
Now it’s time to seal the deal with the Mod Podge Sealer. Here’s the deal, the vinyl alone sticks well on the mug. However, with repeated washing over time, especially in the dishwasher, the vinyl may start to peel. That’s why you need a Mod Podge Sealer to seal the deal to ensure it sticks forever. The sealer will ensure that the mug’s decal will hold up in the dishwasher’s heat. Don’t worry; a Mod Podge sealer is safe and non-toxic. So here’s how to apply the Mod Podge sealer on the mug:
- Clean the decal surface once again using alcohol and a clean cloth. Make sure it doesn’t have any oil, lint, or even your thumbprint.
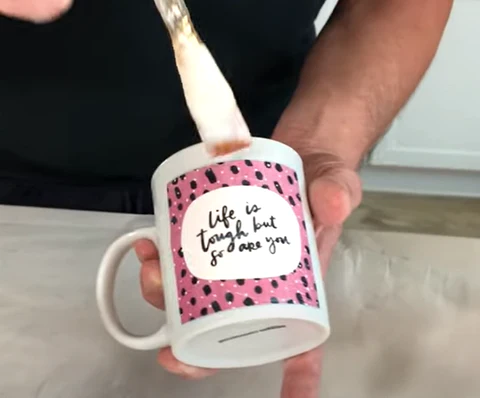
- Coat the outer surface of the mug, except the handle and rim. Make sure the coating is evenly applied all over to have the same texture all over.
- Using a soft bristle brush or foam, apply a very thin coat of the sealer. Make sure the stroke is in one direction. Apply it quickly as the sealer dries quickly.
- Set the mug aside and let it dry for an hour.
- Repeat the process three times. That’s three layers of Mod Podge.
Here are the instructions for crafting Customized Vinyl Mugs. I hope this guide has been helpful and inspiring to you. Thank you for reading, and happy crafting!