
DIY Tips
How To Make DIY Tote Bags With Cricut: Step-by-Step Guide and Inspiration

Jun
Are you ready to unleash your creativity and make your own unique tote bags? With the help of Cricut, a versatile cutting machine, you can easily create personalized and stylish tote bags that perfectly match your individual style. Whether you’re a seasoned DIY enthusiast or a beginner looking to embark on a creative adventure, this comprehensive guide will provide you with step-by-step instructions, tips, and inspiration to bring your tote bag visions to life. Get ready to explore endless possibilities, express your creativity, and make a fashion statement with your very own DIY tote bags using Cricut. Let’s dive in and get started on this exciting journey of self-expression and craftsmanship.
Supplies You’ll Need To Get Started
- Cricut Explore® 3
- Laptop Or Connected Device With Design Space
- Tote Bag Blank
- Accessories
- Infusible Ink
- Cricut EasyPress® 3
- Cutting Mat
Instructions
Step 1
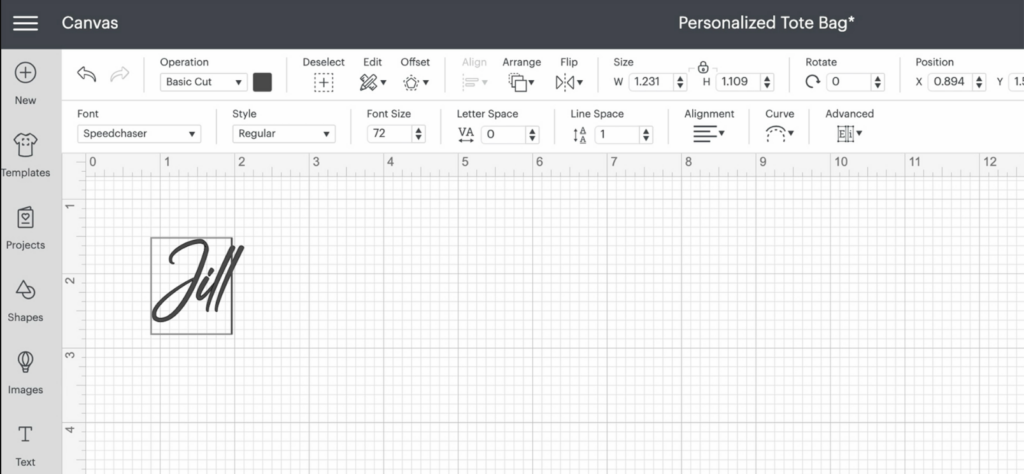
- Open up the personalized tote bag project in Design Space and add text.
- Since we are using a script-style font, to avoid the machine cutting through the letters “i” and “l,” use the “weld” tool to join the letters together. When you are ready to cut, click “Make it.”
Step 2
- Apply the Infusible Ink on to a mat, select the necessary settings on Design Space, and toggle the “mirror” option to flip the design.
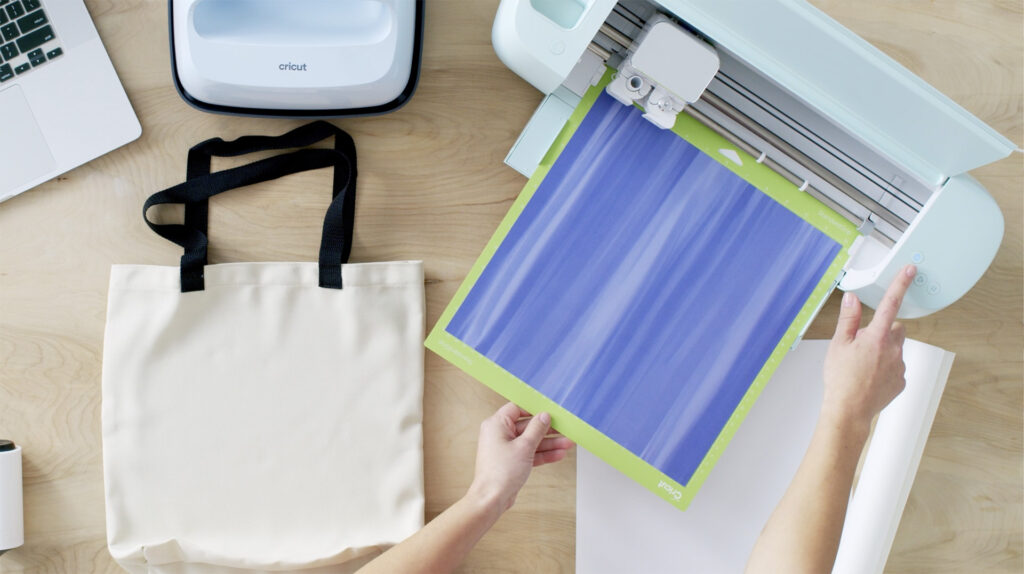
- Load the material with mat into the machine, follow the directions on Design Space, then press the “Go” button when prompted.
Step 3
- Once the design is cut, unload the design.
- Tip: To prevent too much curling of the Infusible Ink sheet, flip the design with mat over and peel from the back.
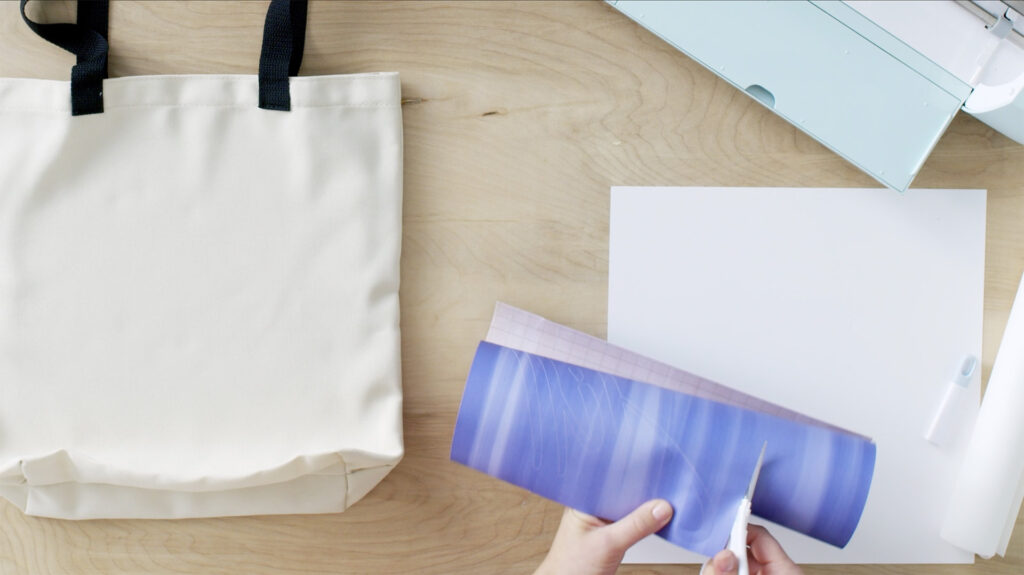
- Trim the design down to size so it is easier to work with, and save the extra material for later projects!
- Using your weeding tool, remove the excess material that is not a part of the design.

Step 4
- Use the Cricut Heat App to send heat settings to your EasyPress. For Infusible Ink on a tote bag base, the heat settings will be 385°F for 40 seconds.
- Lay your tote bag over the Cricut EasyPress Mat. To ensure your design doesn’t bleed through the tote material, insert a sheet of cardstock inside the tote bag blank. Place the sheet of butcher paper over the design and you’re ready to press!
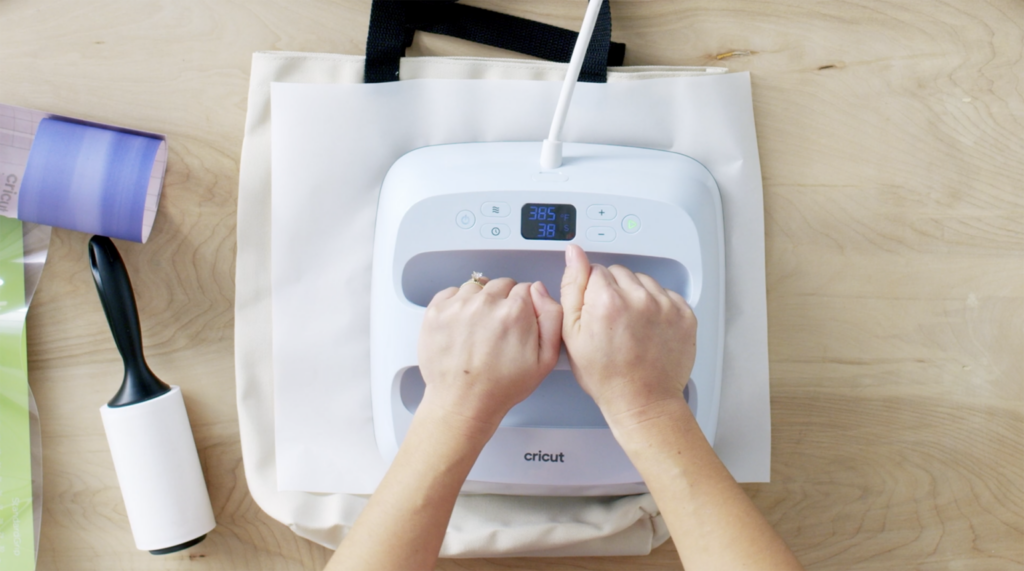
- Apply light pressure and do not move the machine. It will beep to let you know it’s done!
Step 6
- Remove the butcher paper and Infusible Ink backing to reveal the design.
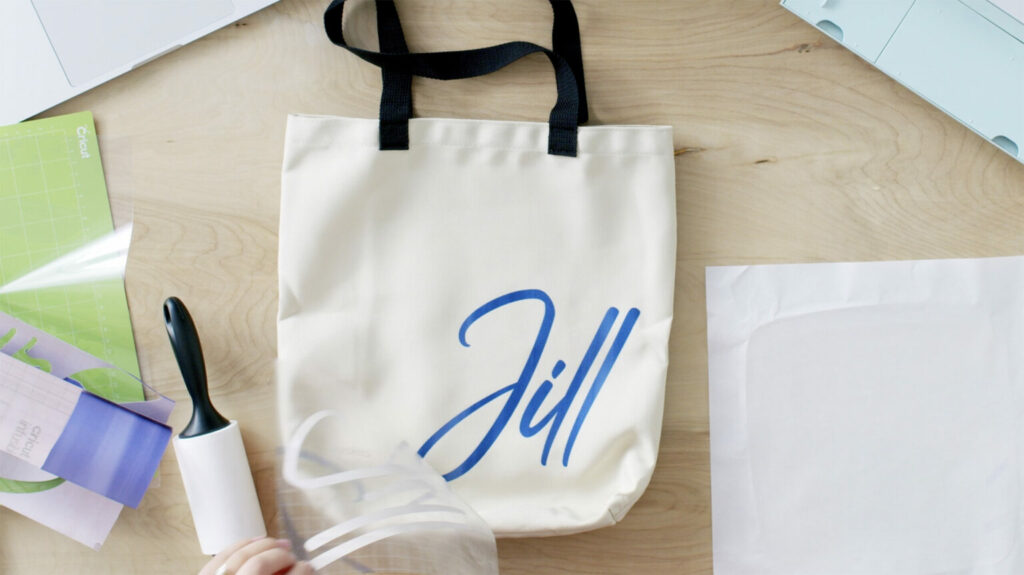
And there you have it! A wonderful collection of personalized tote bags that you can proudly gift to all your friends. These unique creations are not just ordinary bags; they are a reflection of your thoughtfulness and creativity. Each tote bag carries a special touch, tailored to suit the personality and preferences of its recipient. From vibrant designs and meaningful quotes to custom monograms and intricate patterns, these personalized tote bags are sure to delight and make a lasting impression. Whether it’s a birthday, a special occasion, or just a heartfelt gesture of appreciation, these customized tote bags will surely bring joy and warmth to the hearts of your friends. So gather your materials, unleash your creativity, and start creating these personalized treasures that your friends will cherish for years to come. Let your imagination run wild, and let these customized tote bags be a symbol of your love and friendship.