
How To
How to Resize Image without Losing Quality
Jul
When it comes to enlarging an image, maintaining quality and avoiding blurriness or unprofessional results is crucial. Fortunately, there are several applications available that can help you increase the size of your photos without sacrificing their quality. These programs employ advanced techniques to upscale lower-resolution images seamlessly.
Here are some recommended solutions for enlarging pictures without losing quality:
How to Resize an Image in Photoshop Without Losing Quality
Photoshop is a photo editing and raster graphic design software that allows users to create, edit, and manipulate various graphics as well as digital art. It enables you to create and edit raster images with multiple layers and import the images in various file formats. This application offers a good feature that enables you to speedily change the size of any photo without any hassle.
Perform the following steps to resize an image using Photoshop:
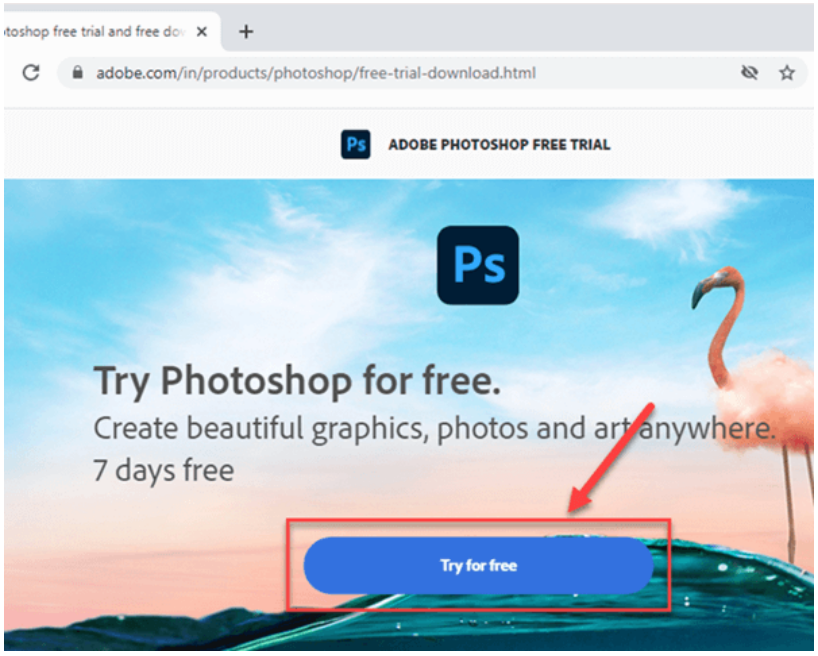
Step 1) Visit Photoshop website. Download the software by clicking on “Try for free” button and install it on your PC.
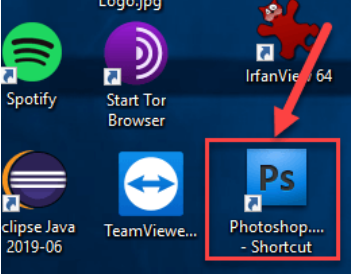
Step 2) Click on the Photoshop shortcut available on desktop to open the software
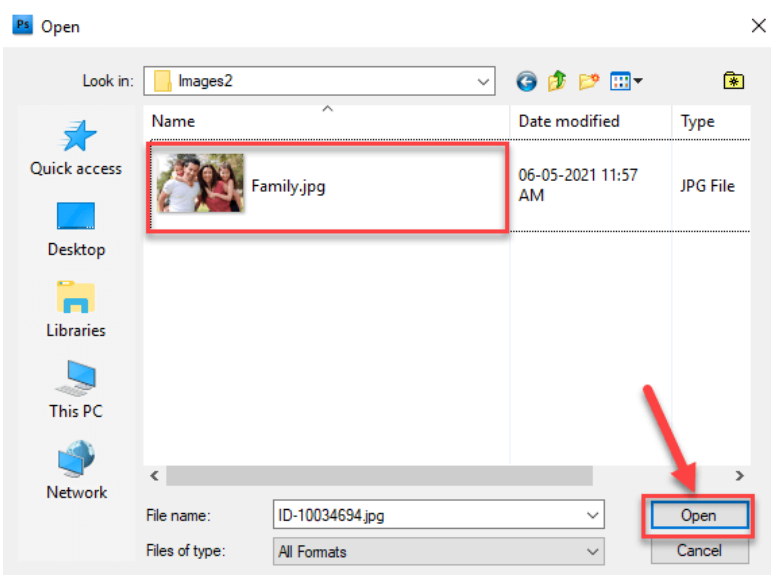
Step 3) Open the “Family.jpg” image to resize it as shown in the below example
Click on the “Open” button.
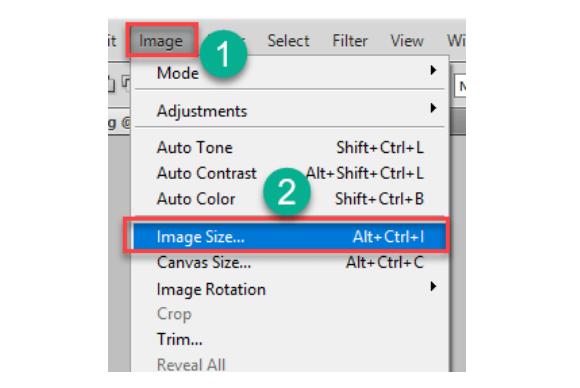
Step 4) Perform the following steps:
- Click on Image.
- Click on the Image Size.
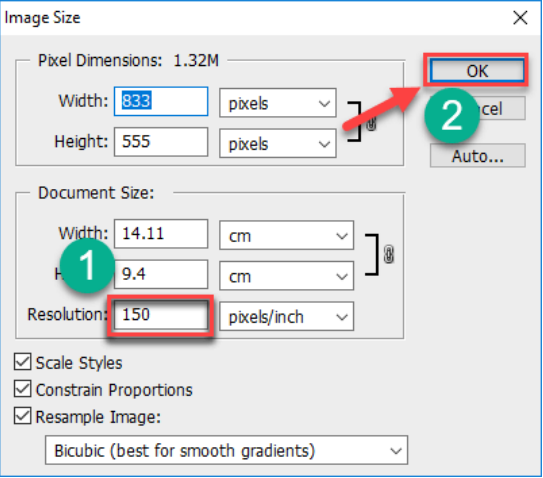
Step 5) Perform the following steps.
- Write 150 in resolution textbox. You will notice that the height and width of the image are also changing.
- Click on the “OK” button to save all your changes
Step 6) Perform the following steps:
- Click on “File”.
- Click on “Save As”.

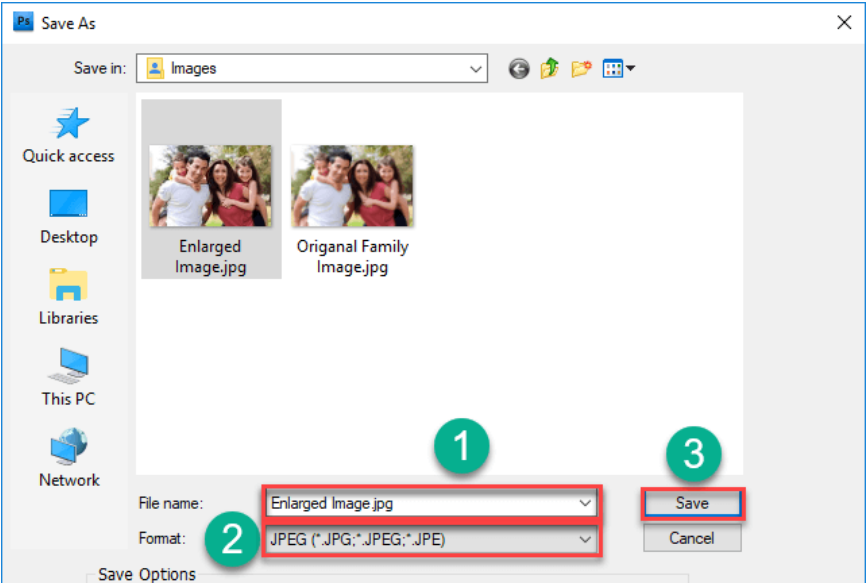
Step 7) Save your image.
- Enter File name as Enlarge Image.
- Select JPEG format.
- Click on the “Save” button.
Once you are done with the above steps, you will see that your image is looking larger compare to the original one.
How to Enlarge A Picture Using GIMP
GIMP is a freeware and open-source tool that can be easily used to blow up a picture without losing resolution. It can be utilized for image editing, retouching, convert photos into different formats, and more specialized work.
Here are the steps to make small images larger in GIMP photo resizer software:
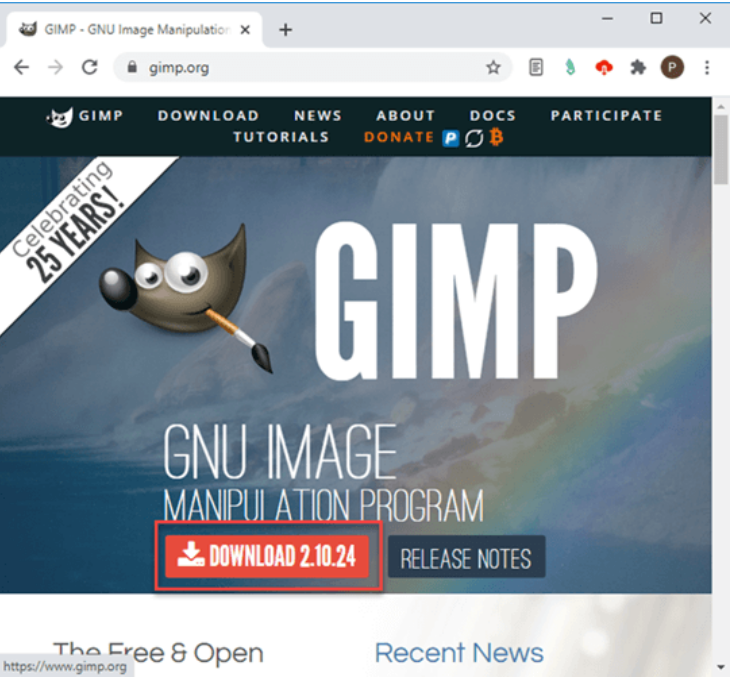
Step 1) Visit GIMP website.
Click on the “Download” button and install it on your PC.
Click on the “Download” button and install it on your PC.
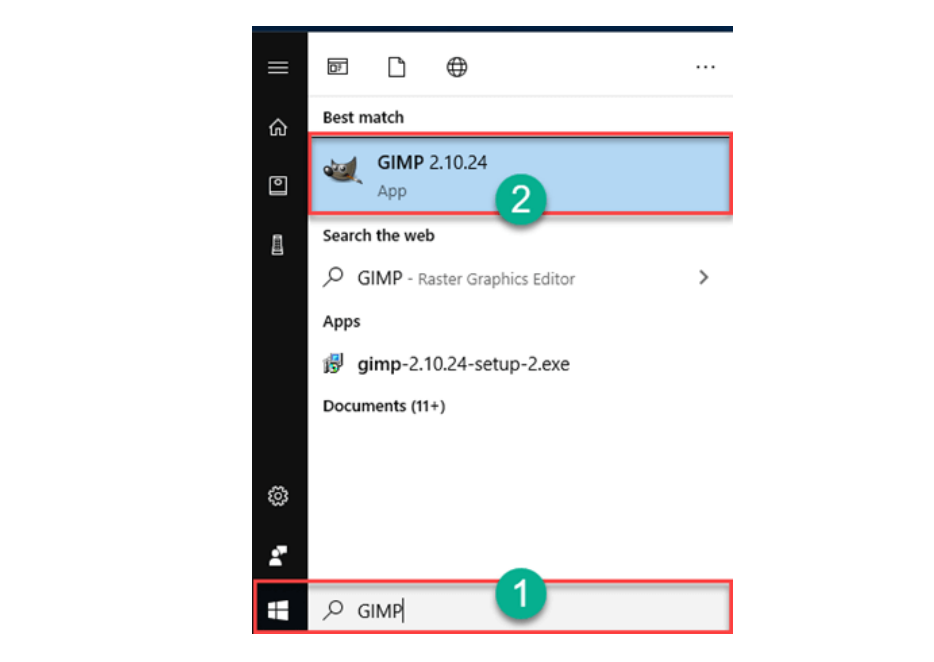
Step 2) Perform the following steps:
- Type “GIMP” in the taskbar
- Click on the GIMP icon to open the software
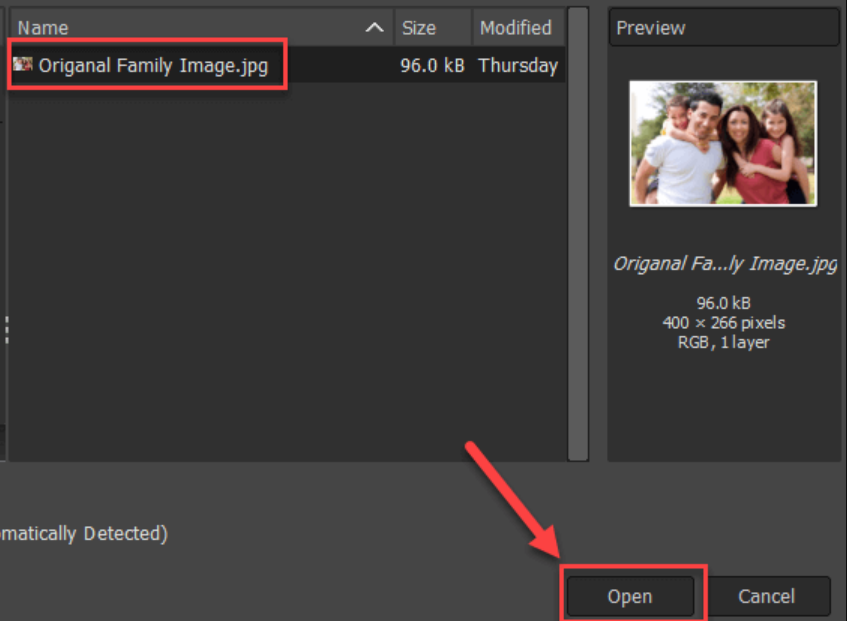
Step 3) Go to File> Open and choose an image to resize it. For example, “Original Family Image.jpg”.
Click on the “Open” button.
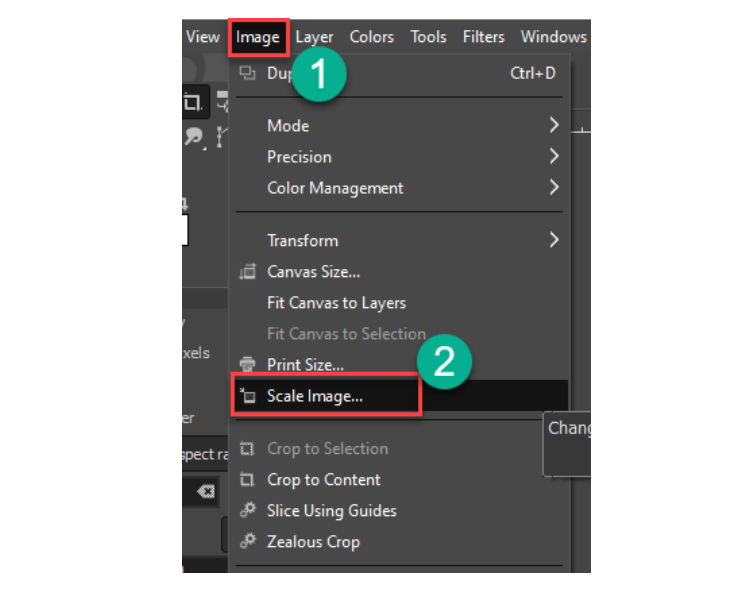
Step 4) Perform the following steps:
- Click on Image.
- Click on the scale image.
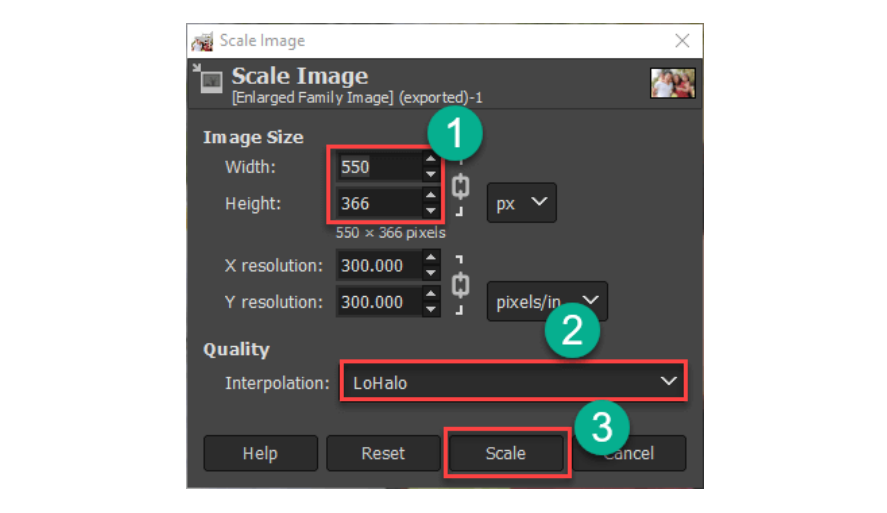
Step 5) The following popup window will be displayed:
- Change width 550 and height as 366.
- Choose your Quality Interpolation as “LoHalo”.
- Click on the “Scale” button.
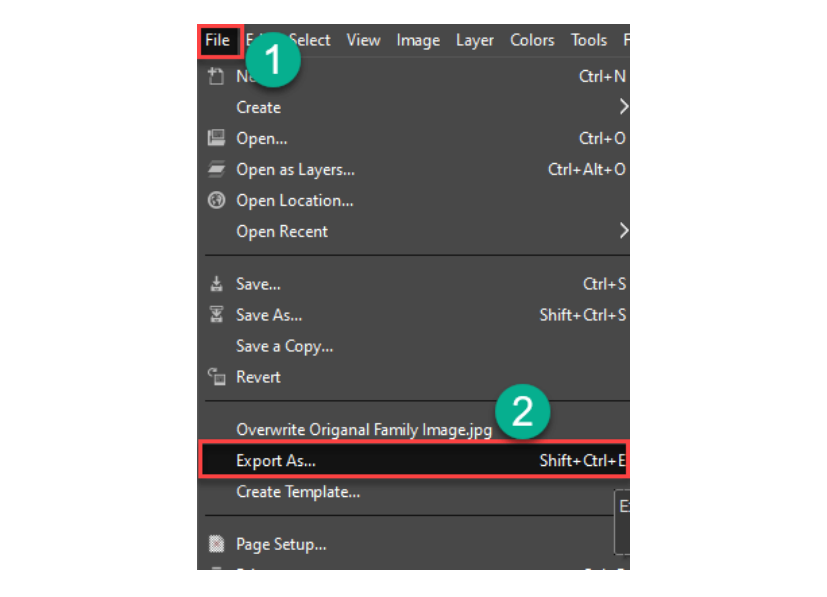
Step 6) Export your image.
Perform the following steps:
- Click on File.
- Click on Export As.
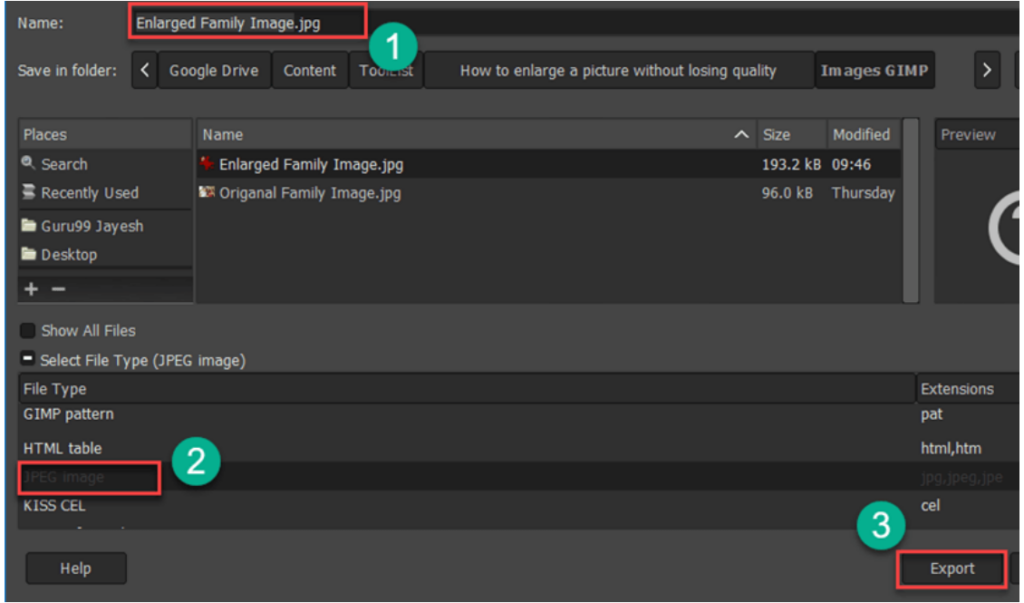
Step 7) Perform the following steps:
- Write image name “Enlarged Family Image”.
- Select file type as JPEG.
- Click on “Export”.
Once you are done with the above steps, you will see that your image is looking larger compare to the original one.
Other Solutions for Resizing Images
There are many online solutions to unblur images, but they are designed specifically for quick editing. Therefore, it does not provide good image quality enlargement.
Here are some quick solutions that are available online to try out:
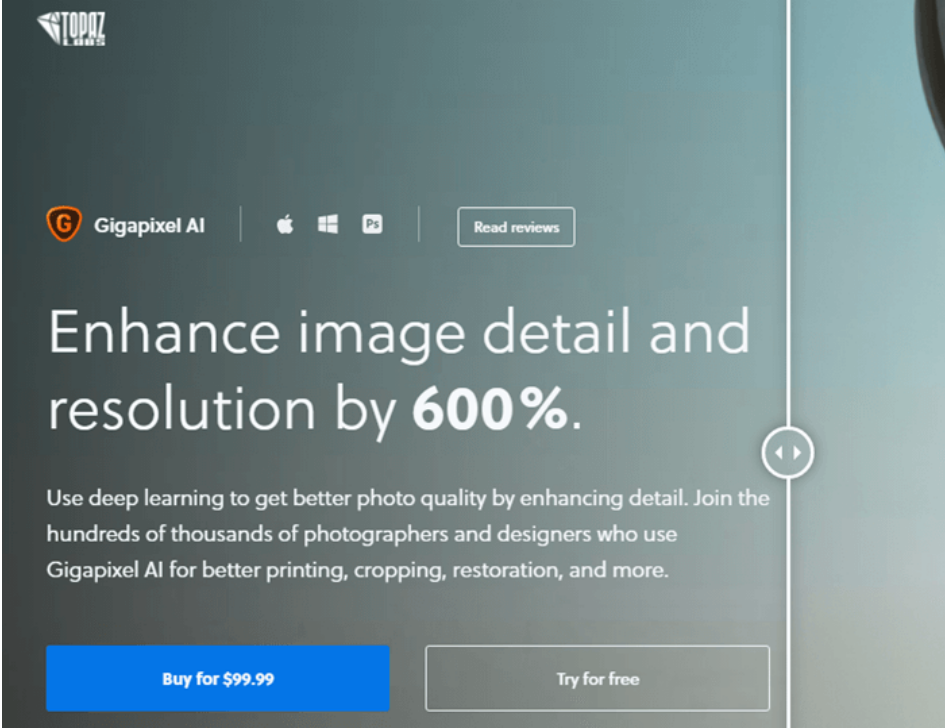
1) GigaPixel
GigaPixel is a tool that helps you to upscale images and their resolution with ease. This picture resizer tool uses deep learning to increase the quality of digital photos. It can be easily used for printing, restoration, cropping, and more.
Features:
- Enables you to increase the resolution of an image in a natural way.
- This tool to unblur images can be used in various photo types like DSLR, WEB, CG, etc.
- It can be used on different types of subjects like portrait, architecture, landscape, and more.
- Supported Platforms: Windows and Mac.
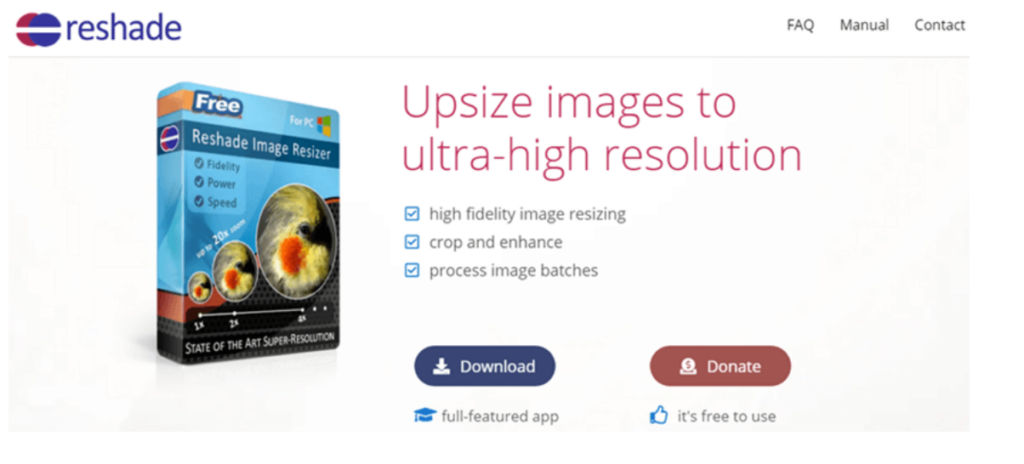
2) Reshade Image Enlarger
Reshade Image Enlarger is photo enlarging and editing software. This application can produce decent quality enhancements. It provides a wide range of options to choose from.
Features:
- Enables you to increase the size of any image without diminishing the quality.
- It allows you to speedily enhance and crop photos.
- This unblur image application can process photos in a batch.
- Supports a wide range of formats like TIFF, JPG, PNG, and more.
- This image enlarger tool allows you to set focus and sharpen the photo with ease.
- Supported Platform: Windows.
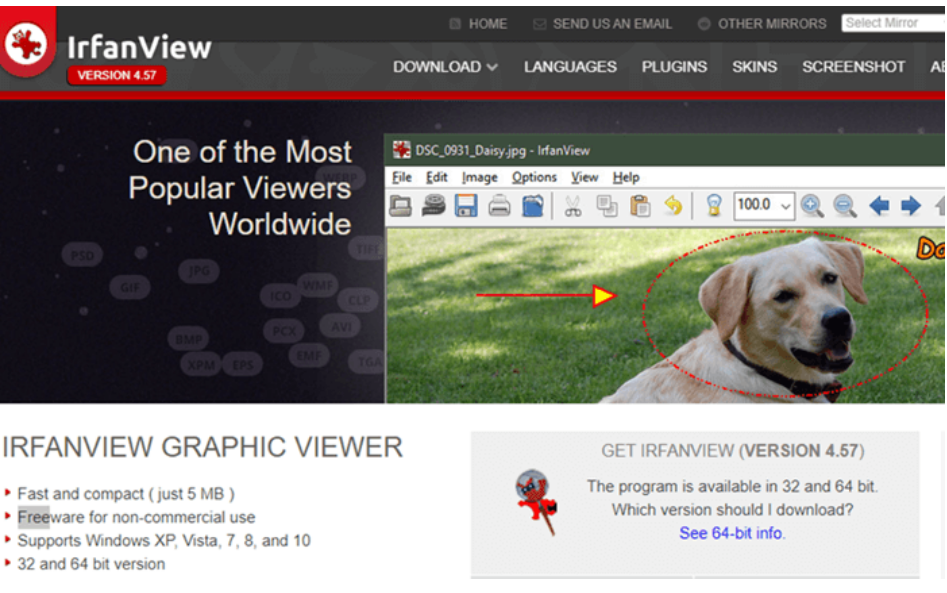
3) Irfanview
Irfanview is a photo editing software that provides a good way to change the size of images and make them larger. This tool to enlarge a picture has some painting and image creation capabilities. It occupies a small number of resources in your computer. This app enables you to apply sharpening after resizing the photo.
Features:
- You can change the color of an image in depth.
- It enables you to crop images flawlessly.
- This image enlarger tool helps you to blow up a picture without losing resolution.
- Available in German and English language.
- This picture resizer tool enables you to perform batch conversion of images.
- Allows you to save the image in various file formats, including JPEG, PNG, BMP, etc.
- Supported Platform: Windows.
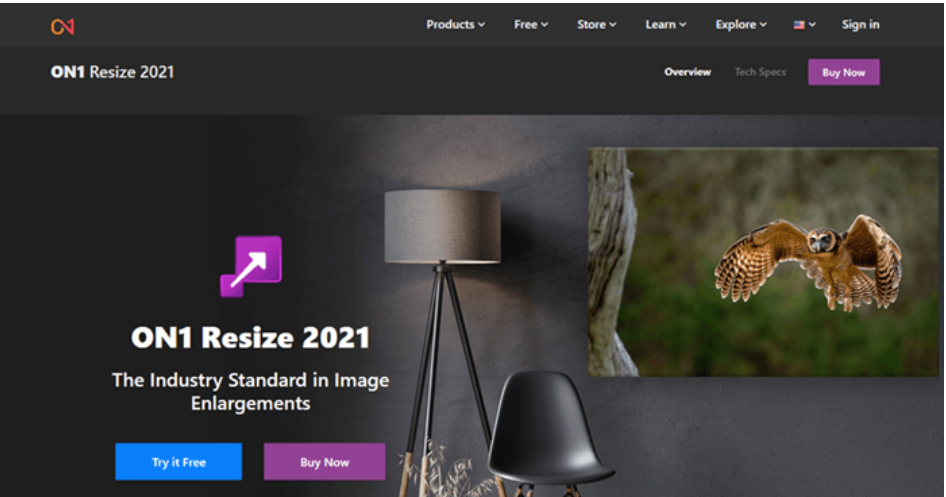
4) On1 Resize
On1 Resize is one of the best software to zoom a picture without losing quality. It provides options to resize any image maximum of 1000% of the actual size. This photo resizer app can be used for creating printable graphics with less effort.
Features:
- Offers various tools for better printing.
- You can process images in a batch.
- Allows you to edit photos captured from the camera.
- Provides integration with software like Photoshop.
- This tool enables you to control the file size.
- You can quickly browse images for editing.
- Supported Platforms: Windows and Mac.
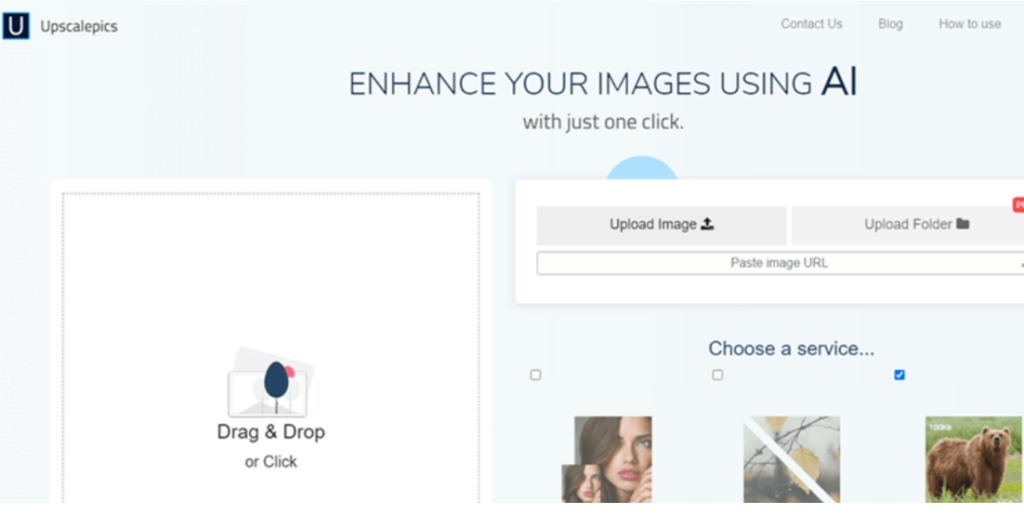
5) UpscalePics
UpscalePics is an application that enables you to zoom a picture without losing quality. This upscale image app allows you to drag and drop pictures with no hassle. It enables you to process images in a batch using AI technology.
Features:
- It helps you to improve your image with fewer efforts.
- This image enlarger tool automatically compresses the JPEG file.
- Offers a user-friendly GUI.
- This upscale image program enables you to upload images from the URL.
- Supported Platform: Web
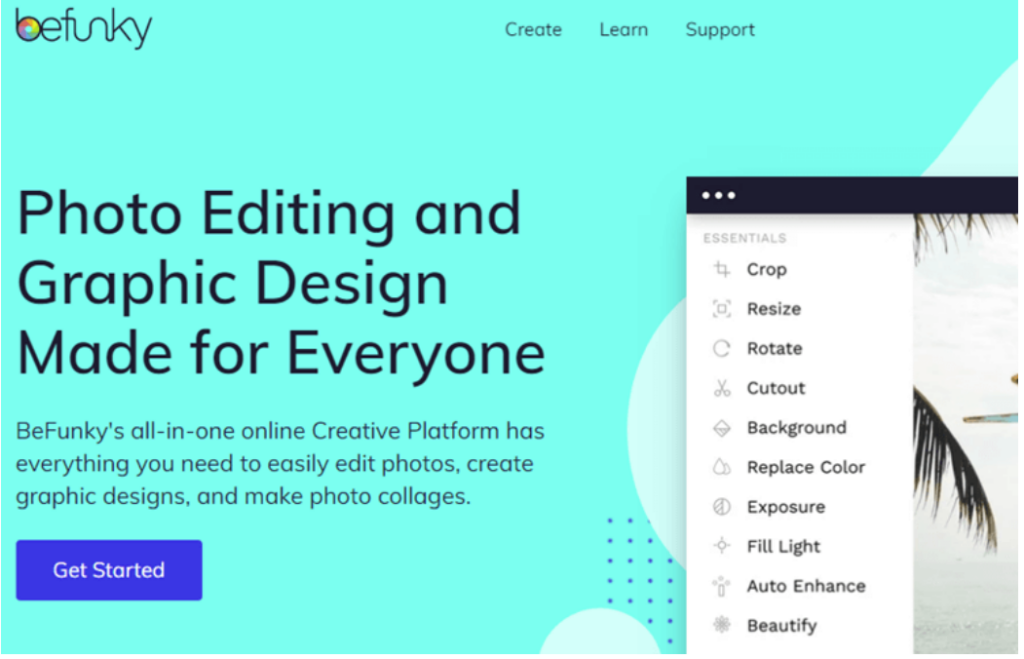
6) Befunky
Befunky is image enlargement software that includes various tools for cleaning distortion and digital noise. It enables you to upscale image pixel by percentage. This tool allows you to save images with a maximum resolution of 4088x4088px.
Features:
- You can resize, crop, and rotate file size images with ease.
- You can give a unique look to your photo.
- Allows you to edit photos in batch.
- Helps you remove the background of any photo.
- This tool to enlarge a picture allows you to retouch portraits.
- This upscale image application automatically maintains a photos aspect ratio.
- Allows you to add customizable graphics borders.
- This image enlarger tool enables you to resize images in bulk.
- This upscale image app offers more than 125 digital effects.
- Supported Platforms: Windows, Mac.
7) Fotor
Fotor is an application that enables you to enlarge images online with just a few mouse clicks. This app can be used without any registration or login.
Features:
- You can enlarge a picture without losing quality.
- It allows you to share edited images on social media sites like Facebook and Twitter.
- This tool to enlarge a picture helps you to beautify your face.
- You can upload PNG and JPEG files to Fotor.
- Frames your photo with no hassle.
- Offers a wide range of effects.
- It enables you to add effects to your photos.
- This tool allows you to adjust color, light, size, and more.
- Provides a variety of readymade templates.
- Supported Platforms: Web, Windows, Mac, iOS, Android.
What are the reasons for image resizing?
Resizing an image without losing its original quality is an ideal way to make a good impression on visitors.
Here are the most common reasons for image resizing:
- Poorly resized images often appear blurred and distort real things.
- Sloppy resizing can move your potential visitors away and can diminish your impact, or sometimes you may even lose them.
- Images and photos captured from a camera are very high in resolution. Therefore, they have many pixels, each taking lots of time to load on your browser. Reducing the image resolution before uploading on the website is important for a smooth browsing experience.
Why Images Lose Quality When Enlarged?
People resize the Bitmap or any other image to crop and make it larger without losing quality. All bitmap images are made up of numerous pixels. Each of these picture elements is mapped to a fixed location on the photo.
Image editing software enlarges or shrinks these pixels to change the size of the image. Therefore, when you resize an image to a smaller size, you will not be able to see the quality loss. In contrast, when you enlarge a picture, these large pixels become more noticeable and make the photo looks pixelated and blurry. If you’re facing such issues, consider using aphoto enhancer to upscale your images without losing quality.
Three Tips for Higher Quality Enlargements
Here are three techniques for high-quality enlargement of images:
- Take Smaller Steps up to 300% enlargement: You have to take smaller steps rather than mentioning the enlargement size of a photo in any application.For any medium image, you can enlarge them by 200% without noticeable change. However, if you enlarge photos beyond 300%, then it will produce distortion.
- Choose the bigger original image: You must choose the larger image captured from a higher megapixel camera and DPI (Dots Per Inch) settings.It will help you to get quality enlargement results with minimal artifacts and distortion. A larger image enables you to perform more enlargement without losing the quality.
- Sharping the image: A good way to overcome the distortion of image enlargement is the use of sharping. Essentially, you need to enlarge the image and then utilize the image-sharping tool in your photo editing software to clean up the distorted edges. This technique will give you flexibility when it comes to enlarging any photo in percentage.