
How To
How to Save Images to PNG Format

Jul
The PNG (Portable Network Graphics) file format is widely used in graphic design due to its popularity. If you have an image file in a different format, such as JPEG or GIF, you can easily convert it to PNG using even the most basic graphics editor.
Things You Should Know
- Saving images to PNG format will keep any transparencies within the image.
- You’ll need to use a graphics editor that supports PNG format.
- You can choose the file type or convert it using the Paint application.
Part 1: Downloading an Image from the Web
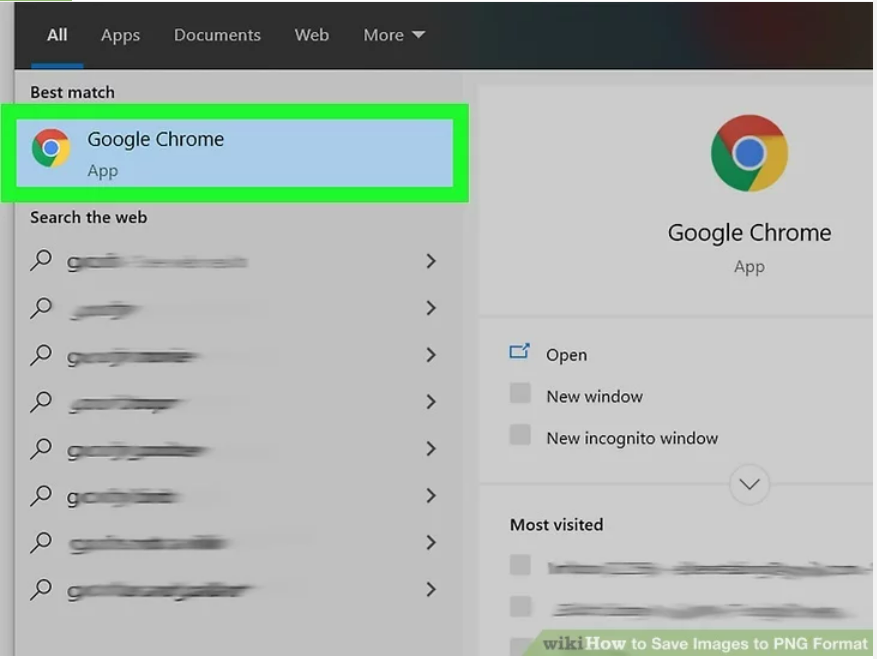
- Launch your favorite search engine. Do this by double-clicking the browser’s icon on your desktop or completing the next step if you have a default browser.
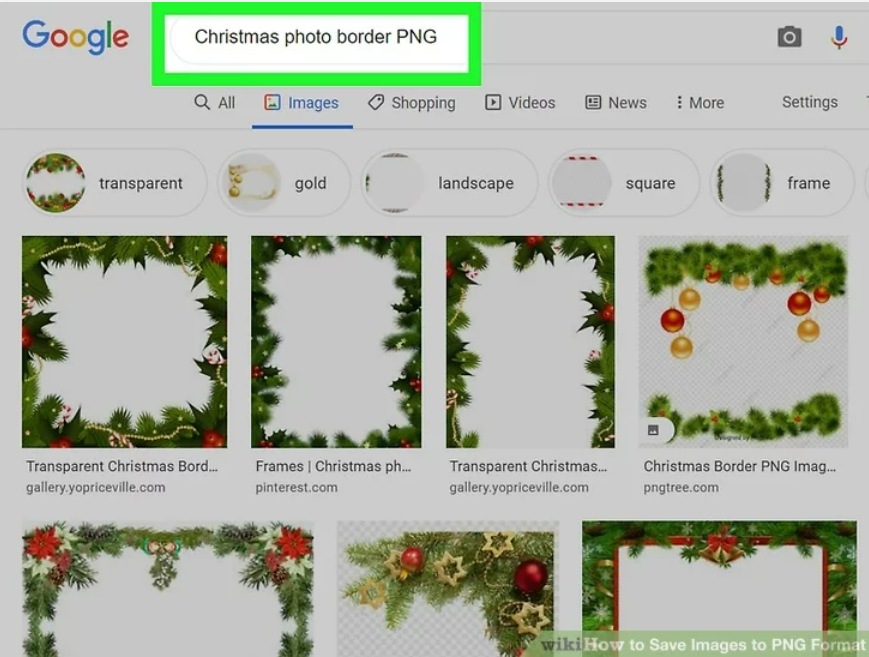
2. Search the internet for a PNG you want to download. Perhaps you want sparkles for an edited image, a completely blank PNG, or a border PNG for your favorite photograph. If you’re using Google Chrome, simply type what you want to download as a PNG and select the “Image” tab. If you’re using Yahoo, type what you want to download as a PNG and select the “Image” tab, just like Google. Same goes for Bing. On Imgur, just type something in and images will show up right away.
- Note that if you add “images” after a search on Google, Yahoo, or Bing, images will automatically show up.
- Be sure to add “PNG” at the end of your search, so only PNG files will show.
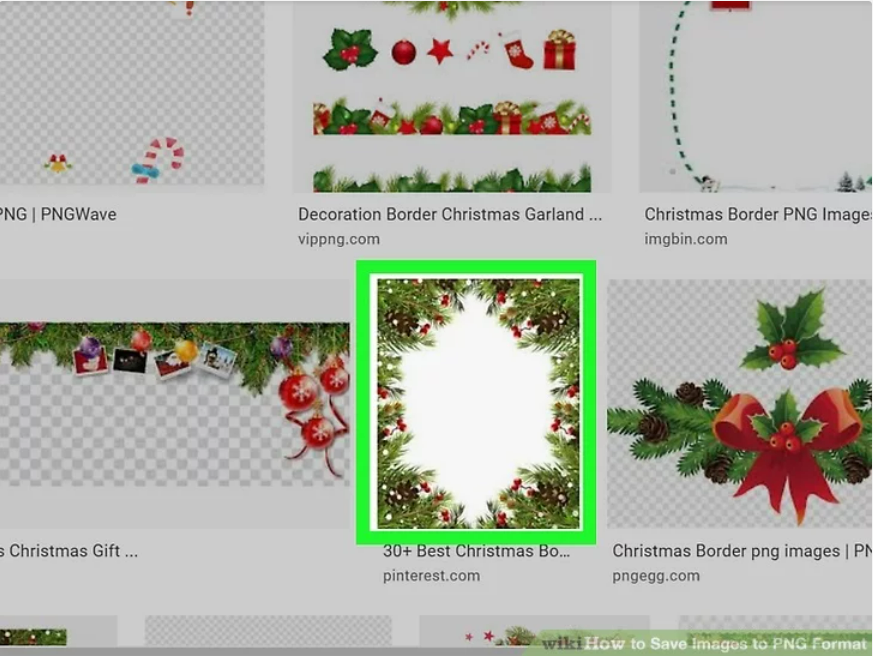
3. Look for and click on the PNG you want. If it shows a white and gray checker-board before you click on an image, then it’s not an actual PNG file and on other platforms will show up as the image with white and gray squares behind it, which is not what you want. Instead, look for PNGs with a solid white background.
- You’ll be able to see the size of the image by hovering over it with your mouse cursor on Google.
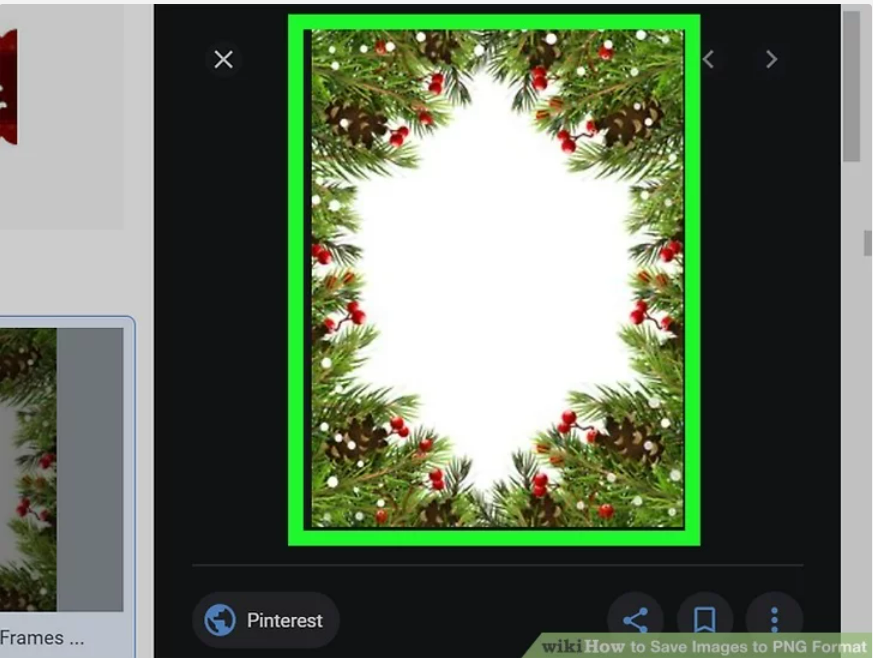
4. Wait for the image to process. When you first click the PNG you want, you’ll have to wait about 5 seconds for it to remove the solid white background. Note that it’s okay for there to be a white and gray background when you actually click on the PNG. This has to happen for it to show it’s a transparent background and not just an image with a solid white background.
- The image will be in the lowest quality possible when processing. Once it’s finished loading, it’ll be in the highest quality your search engine can do.
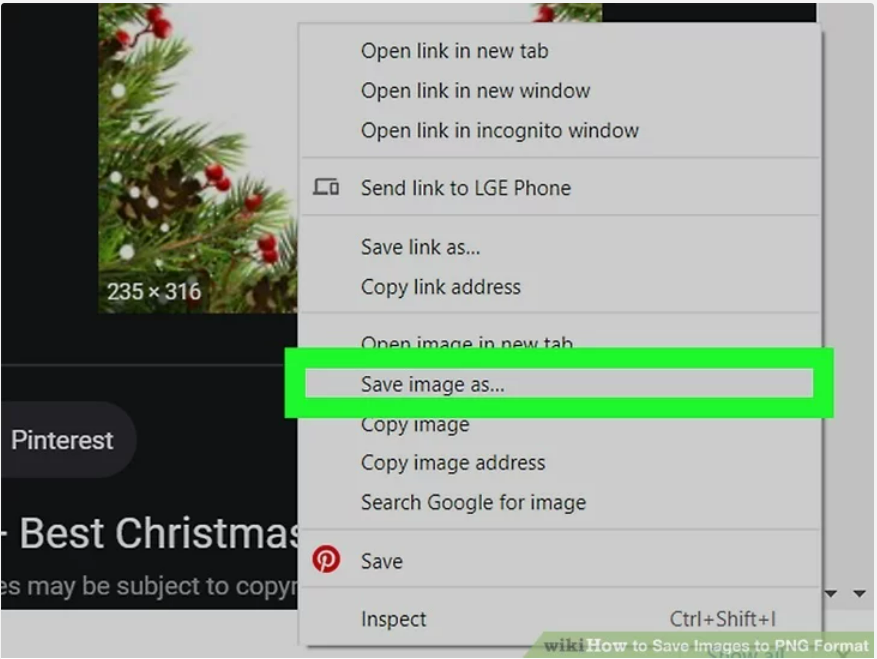
5. Right-click the PNG and select “Save Image As”. The “Save Image As…” button will turn blue when you click it.
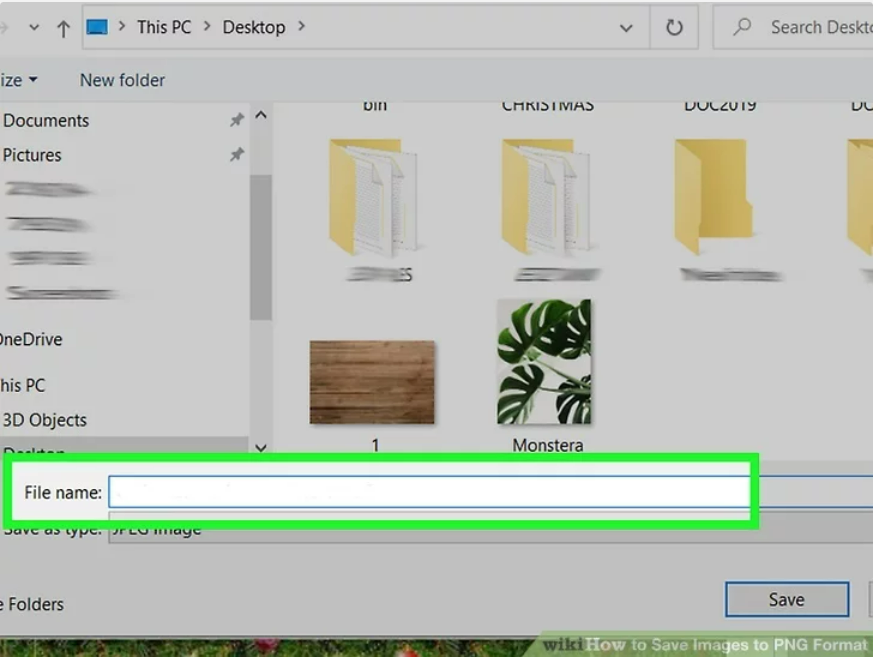
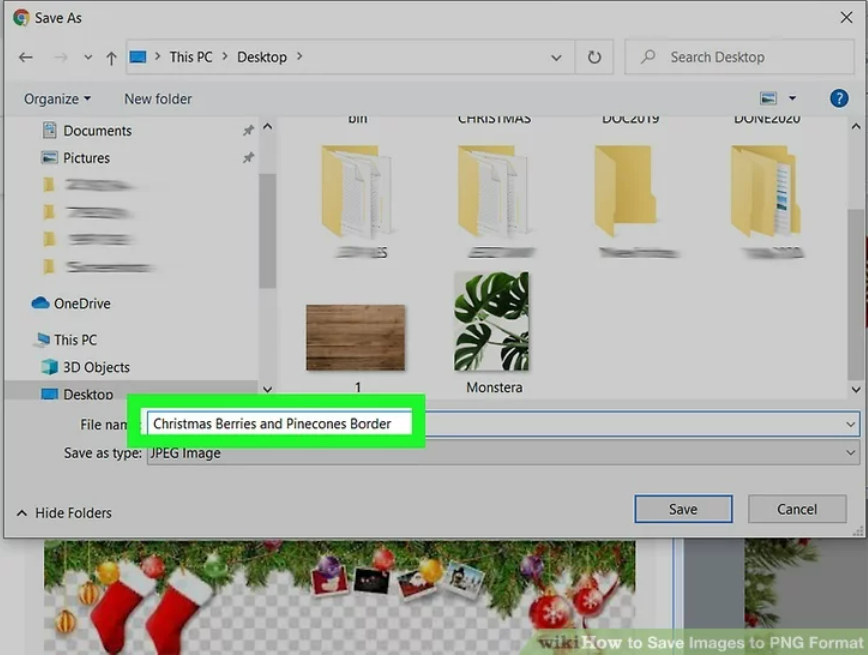
6. Rename the image file. This helps to find the file later. This is optional, though, as you can keep the image name it gives you.
- Choose reasonable image names, of course. If the PNG you’re downloading is of a red tree in fall, don’t name it “Winter tree”. This will only confuse you more.
- Sometimes, less is more. You may just want to name your PNG file “PNG1”, if that helps you.
7. Add image tags to the file. This adds an extra layer of descriptiveness to easily find your PNG. Choose tags related to the color of the image, the size of the image, the importance of the image, and where to find it on your computer.
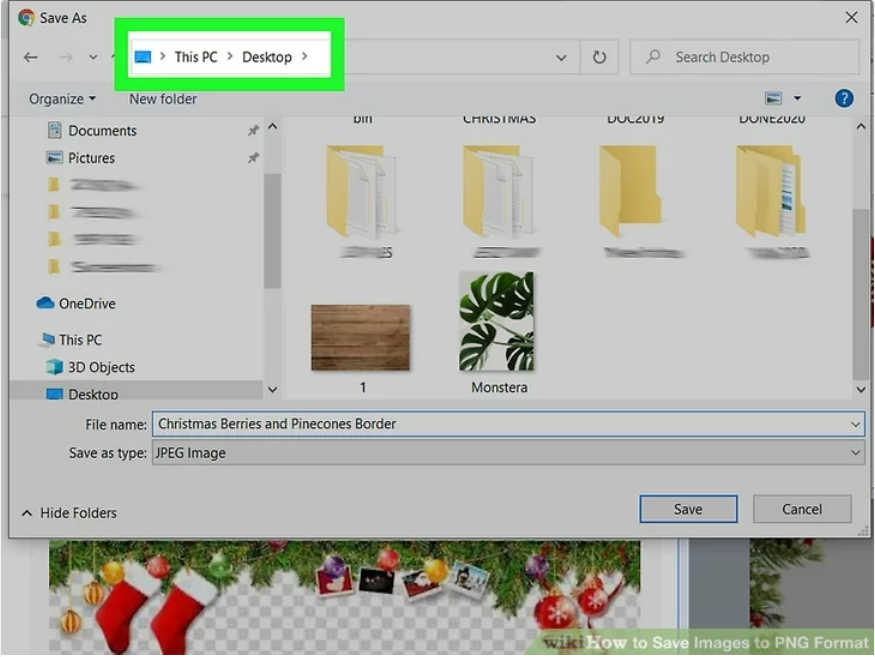
8. Select a folder to put your image in. This is one of the most important steps, as names and tags won’t help if you’re searching the wrong folder! Desktop, documents, and downloads are where you should keep the file you’re downloading, unless it’s for a project you have a specific folder for.
9. Choose the image type. No, you don’t need to select if you want a PNG or JPG, etc; You just need to select if it’s for all of your files or a specific file. This way, it won’t be saved as a .exe or .pdf file. It simply helps to be able to open the PNG!
10. Click the “Save” button and wait for the PNG to download. If it saves as anything other than [your image name].png, then find another PNG or try to find out what went wrong.
PART 2: Converting the Downloaded Image
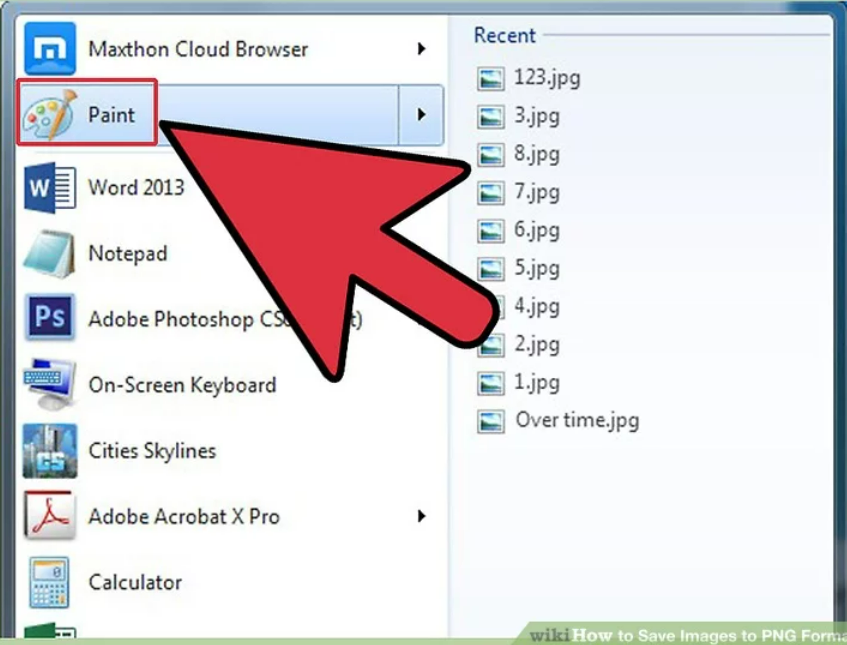
- Open an image-editing software like Paint for Windows or Paintbrush for Mac. Just double-click on the software’s icon on your desktop, if it’s there, or click on it in your programs list.
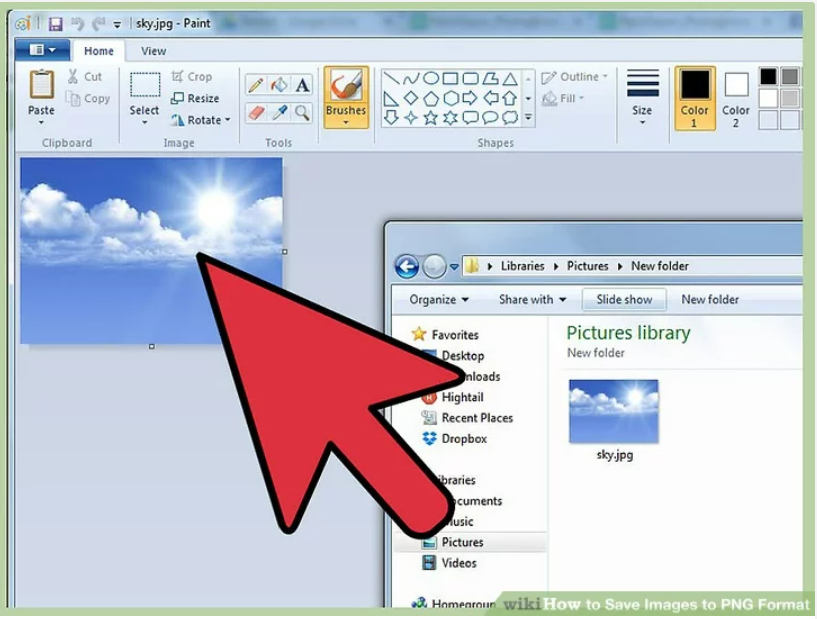
2. Open the image you saved. Go to the window where you located the image you saved. Click-hold the image, drag it, then drop it onto the editor to display it.
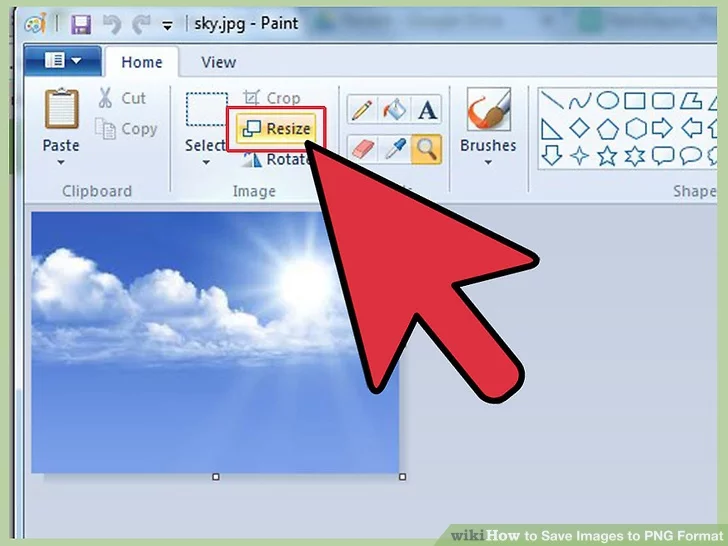
3. Edit the image. You can resize or rescale the image before saving it into PNG format if you want; you can even add texts using the Text tool of your software. This is entirely optional though.
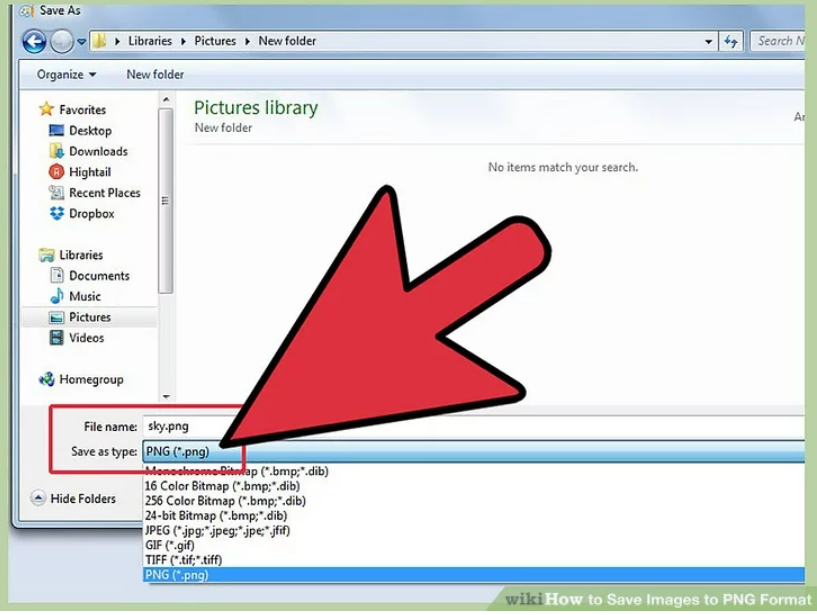
4. Save the image as PNG. Click “File” in the upper left of the editor and choose “Save as.”
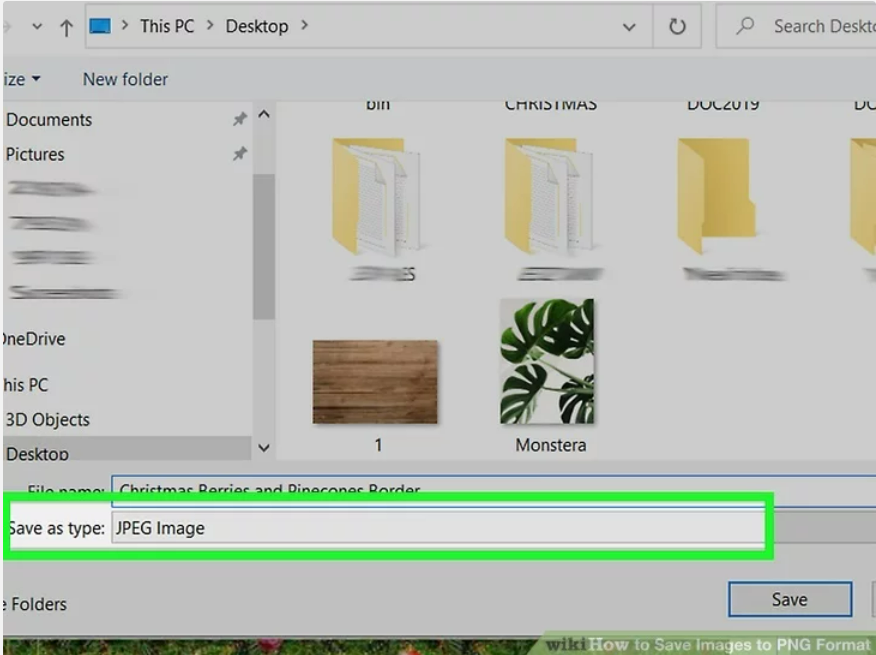
- Enter a file name by typing the desired name in the File Name field.
- Click on the “Save as type” drop-down menu under the File Name field to view all the compatible formats the image can be saved as.
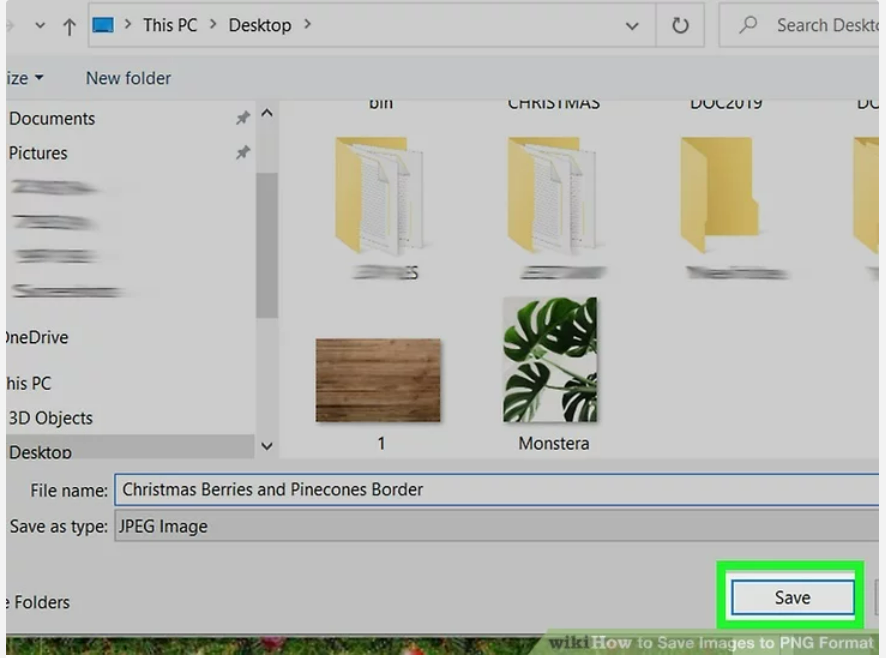
- Select “PNG” then click “Save.” The file will be saved in the same directory as the original one but as a PNG file.
PART 3: Converting an Image Already Saved on Your Computer
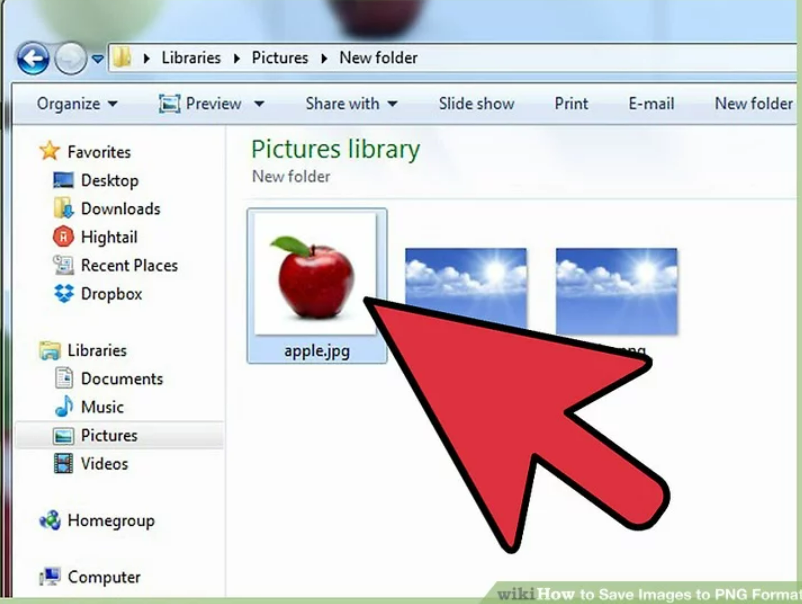
- Locate the image. Using a file explorer, go to the particular folder where the image you want to convert to PNG format is saved in. Keep this window open once you’ve located the image.
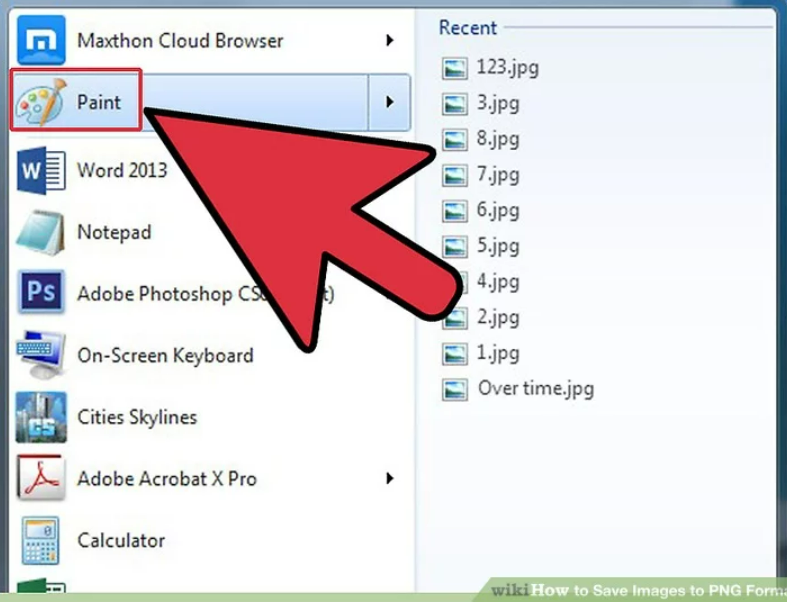
2. Open an image-editing software like Paint for Windows or Paintbrush for Mac. Just double-click on the software’s icon on your desktop, if it’s there, or click on it in your programs list.
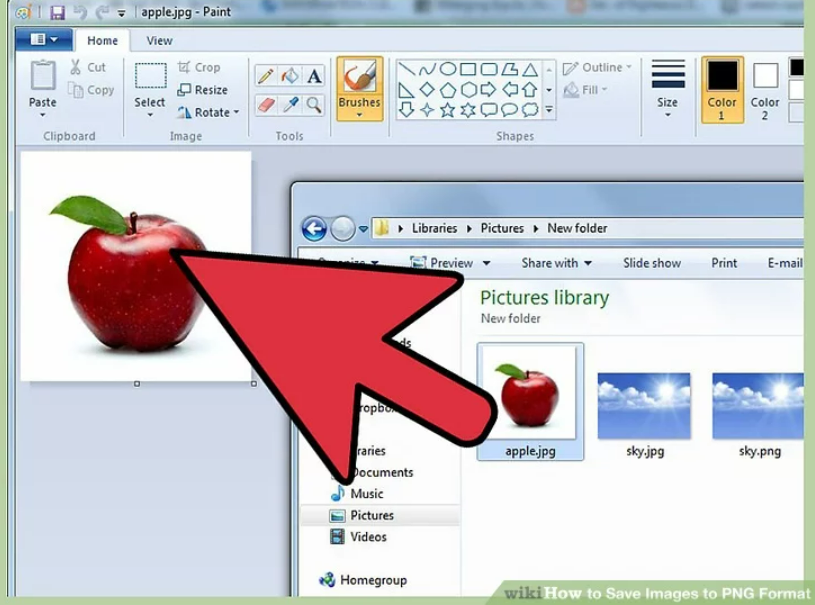
3. Open the image you saved. Go to the window where you located the image you saved. Click-hold the image, drag it, then drop it onto the editor to display it.
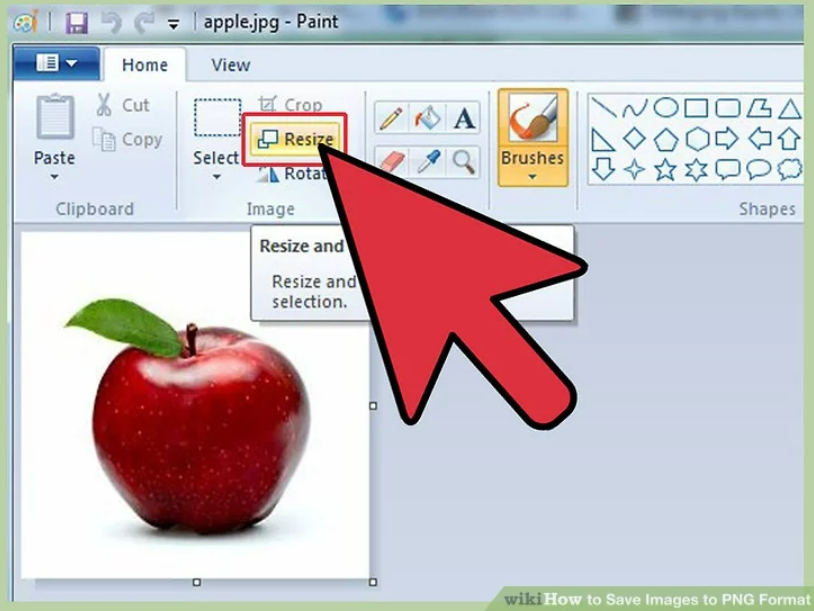
4. Edit the image. You can resize or rescale the image before saving it into PNG format if you want; you can even add texts using the Text tool of your software. This is entirely optional though.
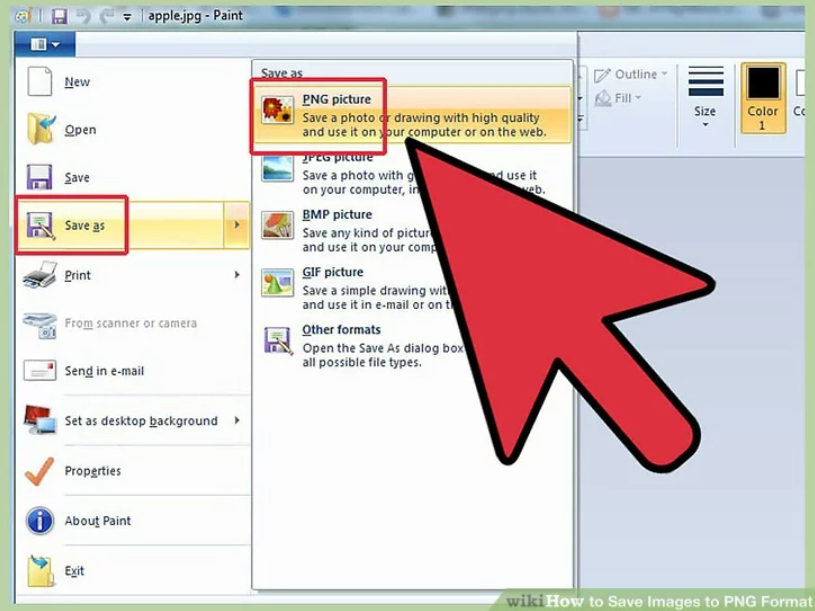
5. Save the image as PNG. Click “File” in the upper left of the editor and choose “Save as.”
- Enter a file name by typing the desired name in the File Name field.
- Click on the “Save as type” drop-down menu under the File Name field to view all the compatible formats the image can be saved as.
- Select “PNG” then click “Save.” The file will be saved in the same directory as the original one but as a PNG file.