
Svg editor
How to Use SVG Files with Your Cricut Cutting Machine
One of the fantastic features of Cricut Joy, Cricut Explore, and Cricut Maker cutting machines is their capability to upload and cut SVG files that you’ve either created yourself or purchased from independent designers, such as Especially Paper. Especially Paper offers exclusive SVG cutting files tailored for paper craft projects and creating paper flowers with your Cricut machine. To help you get started, here’s a step-by-step guide on how to download new projects and utilize SVG cut files in Cricut Design Space.
STEP 1: Download and unzip your Especially Paper SVG template.
If you’re purchasing an Especially Paper template, click the Download Now button that’s available once the order has finished processing or click the link in the download email to access the compressed zip file, which contains all the files associated with the project. Unzip the file. Download links are valid for 30 days, so don’t forget to download your file and save a back up soon after ordering.
STEP 2: Upload the SVG file to Cricut Design Space.
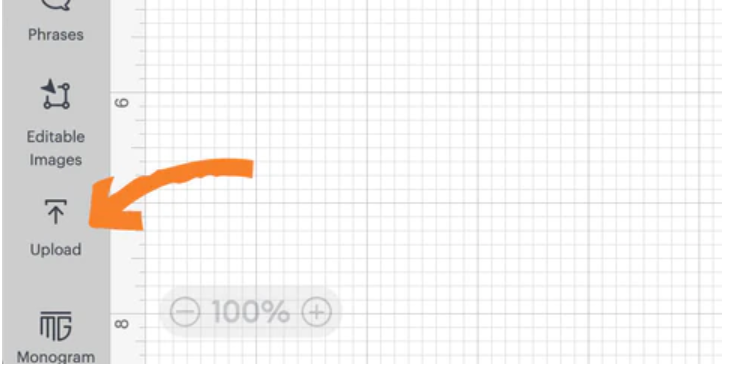
Don’t click on the SVG file to open it! By default, SVG files will open in your web browser. Instead, log into Design Space on your computer and create a new project. Click the Upload icon near the bottom of the left toolbar. On the next screen, click the Upload Image button. Browse to find and select the SVG file from your computer, then open to import the file. Once the image preview loads, you have the option to add tags to make searching for the image later easier. Click the green Upload button in the lower right. The image will appear in your library under Recently Loaded Images.
Want to delete a file? Click the three dots on an image to access the Delete option.
STEP 3: Open the template in Cricut Design Space.
Select the image from your Recently Uploaded Images and click the “Add to Canvas” button in the lower right. Your SVG image will appear on the canvas, with all pieces grouped together.
STEP 4: Preparing to cut the project.
By default, the template will be the correct size for the associated project. But you can always resize the pieces if you’d prefer a larger or smaller project. Be sure to check individual template tutorials included with downloads for tips on resizing the specific project.
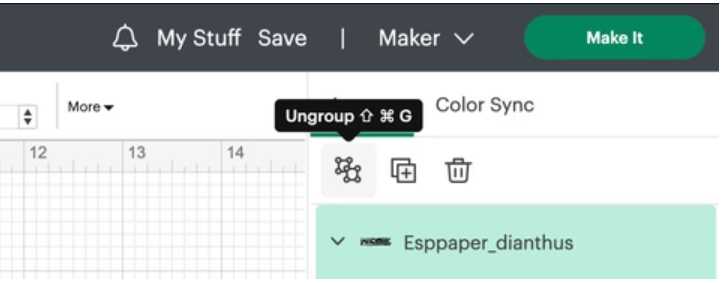
Cricut automatically groups all pieces in an SVG file. To move the pieces individually, right-click and ungroup the pieces. Or select the group and click the ungroup button. To hide a piece so that it isn’t cut, hover over the piece in the layers panel and click on the eye icon on the right.
To control the layout on the cutting mat, attach pieces that you would like to cut together using the “attach” button at the bottom of the right-hand panel. This is important for projects that including scoring or drawing that needs to be grouped together on the cutting mat.
STEP 5: Cutting your paper craft.
Once you’re ready to send to the cutting machine, click the green Make It button. Design Space automatically selects a 12 x 12” mat and sorts the pieces. If you’re using a different size paper, use the drop down Material Size menu to switch sizes. Especially Paper templates are designed to work with 8.5 x 11” card stock, but you can always use a larger sheet if you prefer. You can rearrange the pieces manually by clicking and dragging individual pieces. To hide an individual piece in the Make It view, select it and click the three small dots in the upper left. Choose Hide Selected.
