How To
How to use fonts in cricut design space with the foil quill
Jul
Master the art of using fonts in Cricut Design Space with the Foil Quill in this comprehensive guide. Learn how to create stunning foil designs with different fonts, elevating your crafting projects to new heights. From script fonts for an elegant touch to bold styles for impactful statements, we’ll cover various font options and provide tips for achieving precision and brilliance with the Foil Quill tool. Let your creativity shine as you craft eye-catching foil projects with Cricut Design Space and fonts. Let’s get started on this exciting journey of font and foil quill designs!
Cricut expression air 2 machine used.
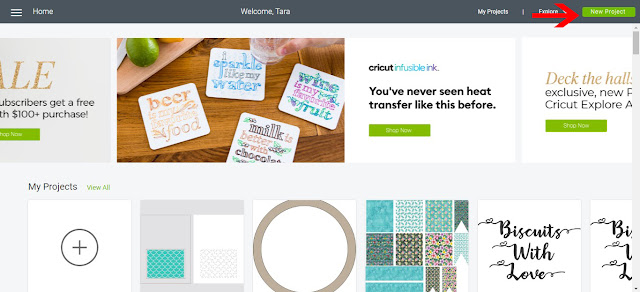
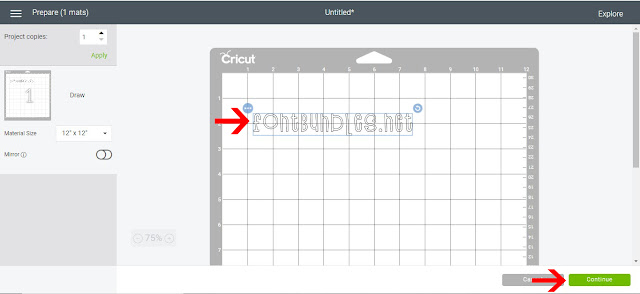
1- Open design space. Click on new project.
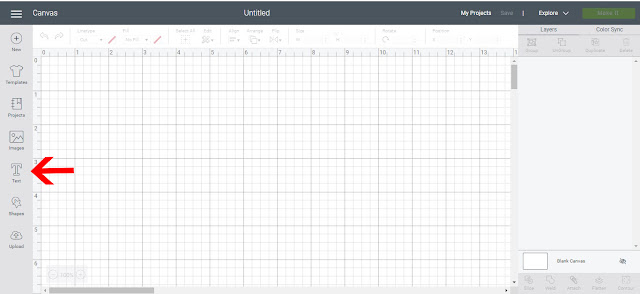
2- Click on the text icon.
3- Type your text in the text box. As you type the text will appear on the design space.

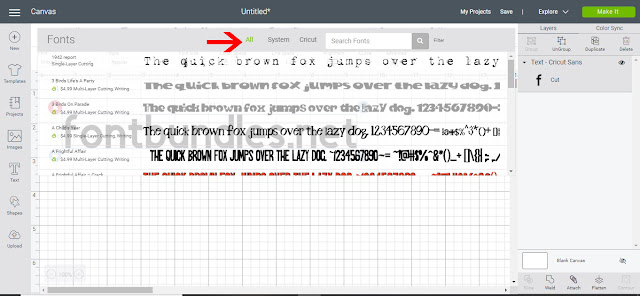
4- with your text selected, click on the font type drop down box.

5- In the drop down box you can choose from system fonts and fonts withing the design space program that cricut include/or purchase.
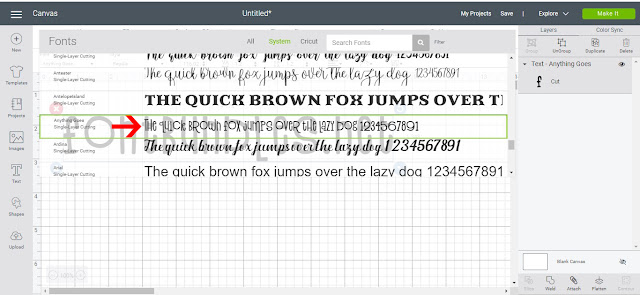
6- Select the font you want to foil. I am using Anything goes font created by Denise Chandler.
7- Change the type from cut to draw.
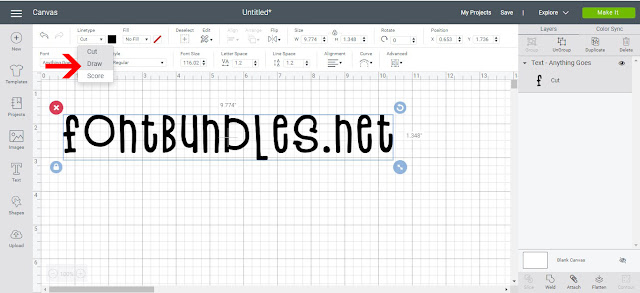
8- The outline of the text will appear as a draw line. Click on make it.
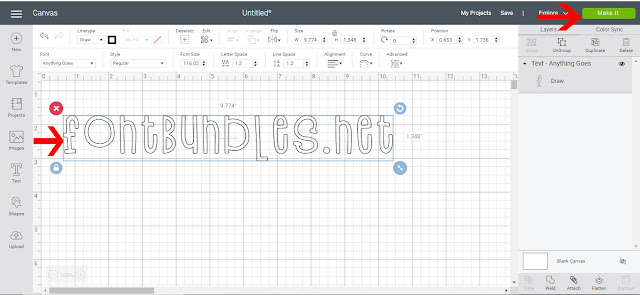
9- Move your text around the mat to where you would like it to be. Click continue.
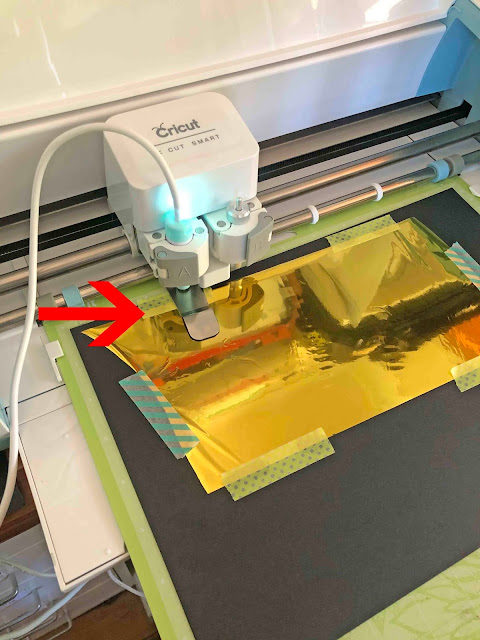
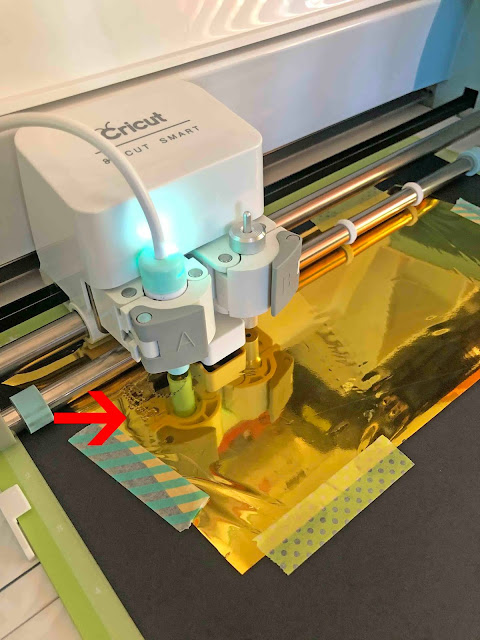
10- place your media and foil onto your mat. load the mat and remove the metal plate.
11- Select your media and once you are happy click start.
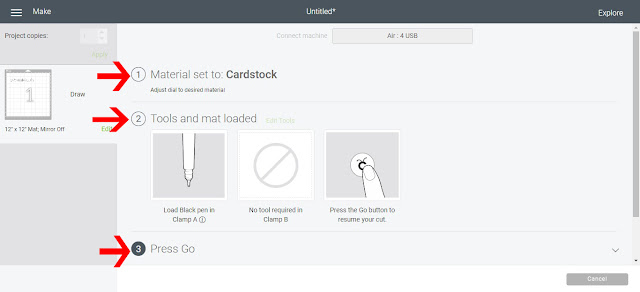
12- Turn your dial to the media you need and then click start.
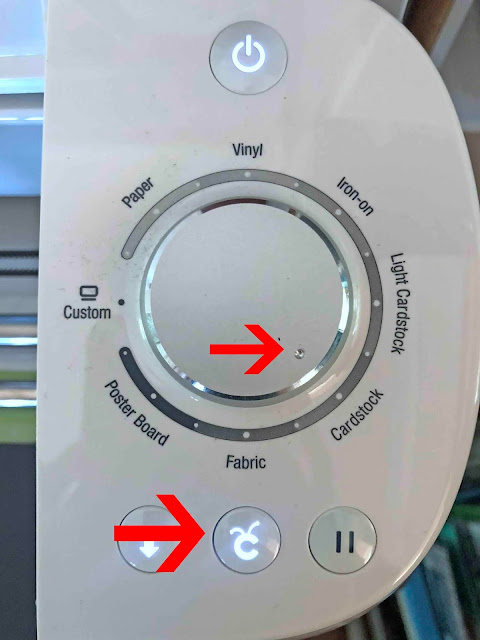
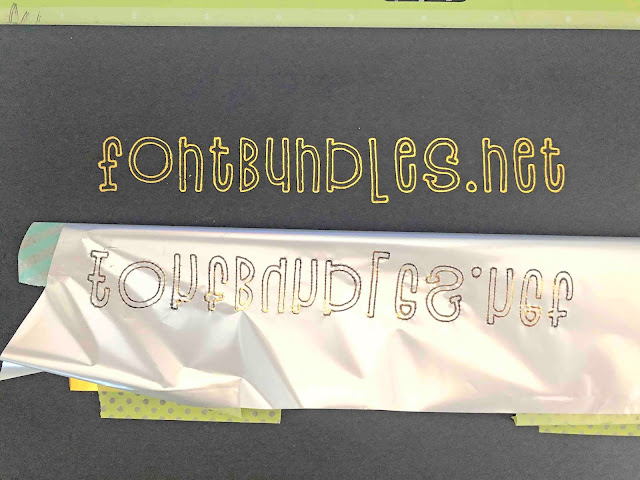
13- Your text will start foiling.
14- Your design is foiled.