How To
How to Use Photoshop’s AI Generative Fill Tool Right Now
Jul
Discover the ever-expanding world of artificial intelligence. From ChatGPT and its counterparts to image editing, AI has made its mark. Adobe Photoshop, the renowned software, is introducing a groundbreaking update featuring an AI image generation tool called Generative Fill. Our comprehensive guide will walk you through enabling and utilizing this powerful AI Generative Fill tool in Photoshop. Stay ahead of the curve and unlock the potential of AI in your image editing endeavors.
How to Use Photoshop’s AI Generative Fill Tool Right Now
The realm of artificial intelligence is expanding at an unprecedented pace, now even making its way into image editing. Adobe Photoshop has introduced a new update that includes an AI image generation feature called Generative Fill. In this guide, we’ll show you how to enable and use Photoshop’s AI Generative Fill tool.
Requirements to Use Photoshop’s Generative AI Tool:
Before getting started, ensure that you meet the following requirements:
- A paid Adobe Photoshop subscription: The AI Generative Fill feature is currently in beta and is exclusively available to paid Photoshop users. Therefore, you need to have an active paid plan. Prices may vary depending on your region. Visit the official Photoshop subscription page to begin.
- Age requirement: You must be 18 years or older to access the Adobe AI Generative Fill feature. If you have a paid Photoshop subscription but are below the age of 18, the feature will not be visible. Make sure your account reflects the correct date of birth.
- English prompts only: At present, the AI Generative Fill tool supports prompts in the English language only. Other languages are not yet compatible with this feature.
- Unavailability in China: It’s important to note that the PhotosjAI generative fill feature is not accessible in China. However, Adobe plans to make it available to all customers in the second half of 2023.
Stay tuned as we explore the steps to unleash the power of Photoshop’s AI Generative Fill tool in our upcoming sections.
How to Use Adobe Photoshop AI Generative Fill Tool
Step 1: Sign up for the Photoshop AI Beta
With everything set and Adobe Creative Cloud installed, let’s begin signing up for the AI generative beta. Follow the steps below.
- Open Adobe Creative Cloud on your PC, and you will see the Photoshop Beta banner. Click on “Try Now.”

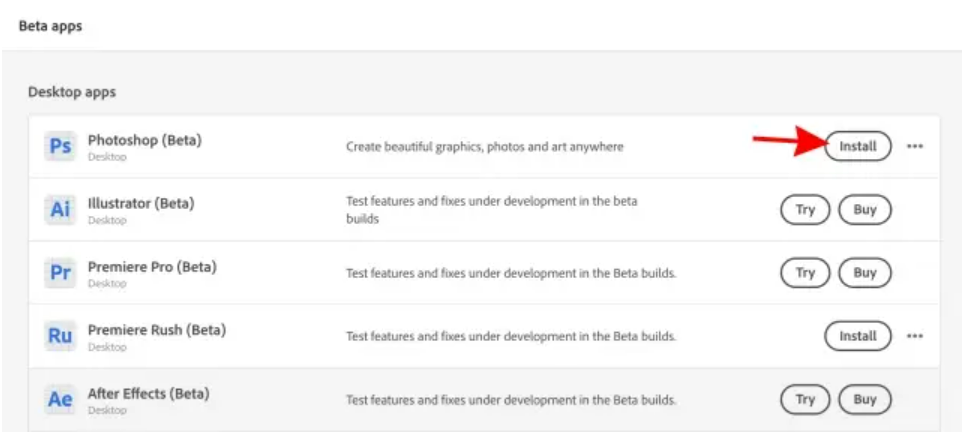
You will now be led to Adobe’s beta applications section. Next to Photoshop (Beta), click on “Install” here. Wait for it to finish, and then open Photoshop.
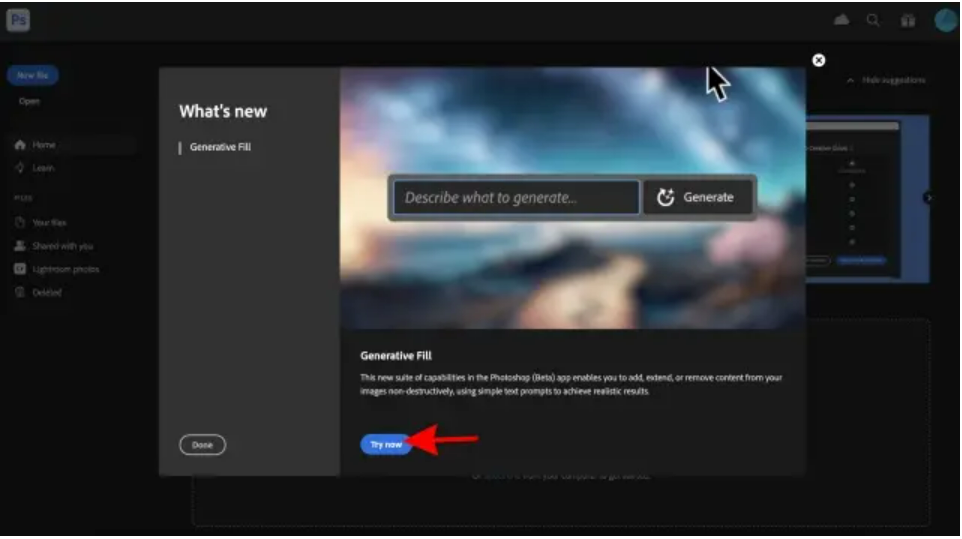
Upon opening PS, another banner shows you the AI Generative Fill feature. Click on “Try now” to begin.
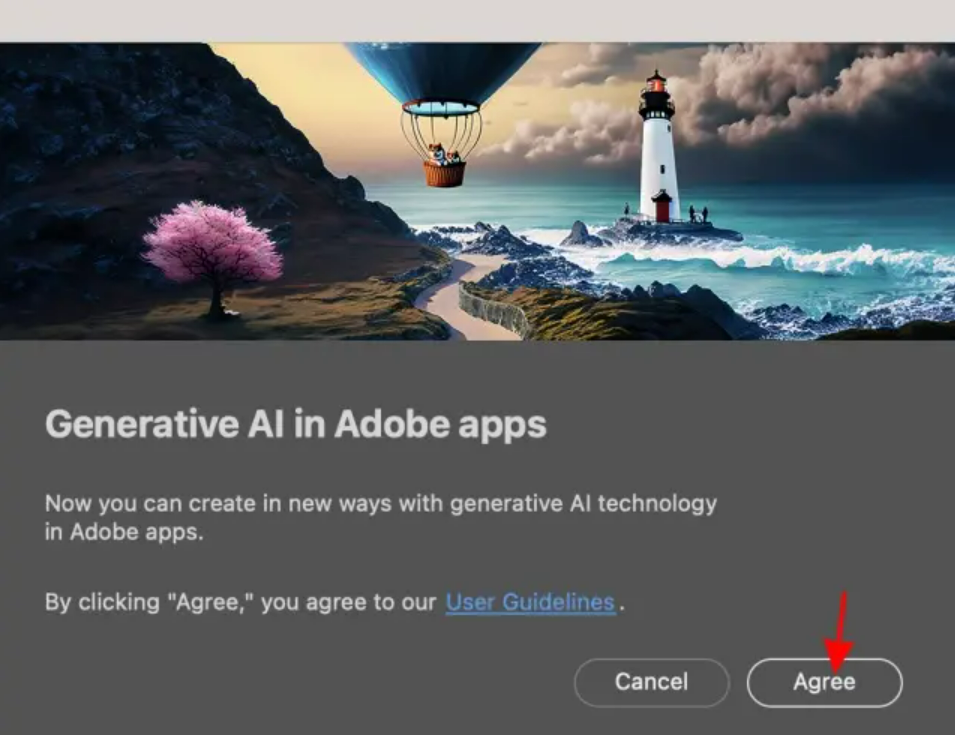
You might also see some terms and conditions asking you to agree. Click on “Agree” to do so.
And that’s it! You’re all set to use Adobe Photoshop’s Generative AI feature. Keep on reading to learn how to use it.
Step 2: Use the Adobe Generative Fill Tool
With the generative AI feature enabled, let’s begin using it. For best results, use an image you think has possibilities for expansion. This will allow the AI to experiment with it. Follow the steps below to do so:
- Open your target image in Photoshop beta.
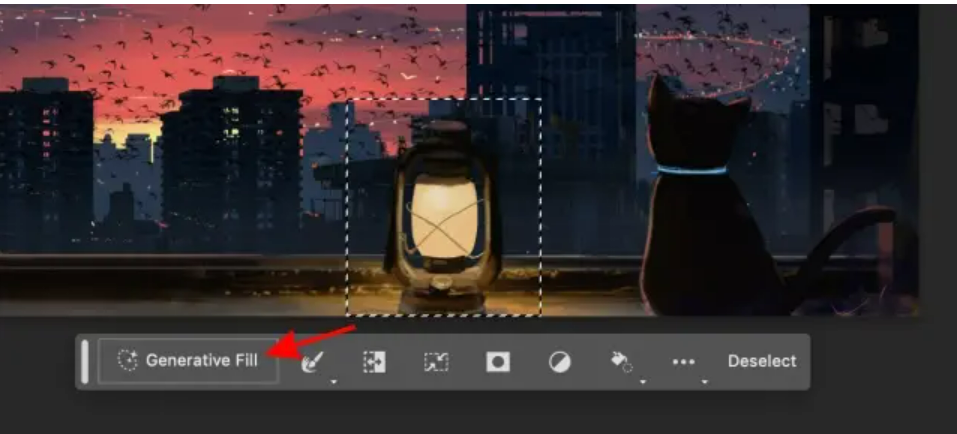
- Using any of the selection tools, choose any area of the image. We are using the Rectangle Select tool. You will now see the Generative Fill button. Click on it.
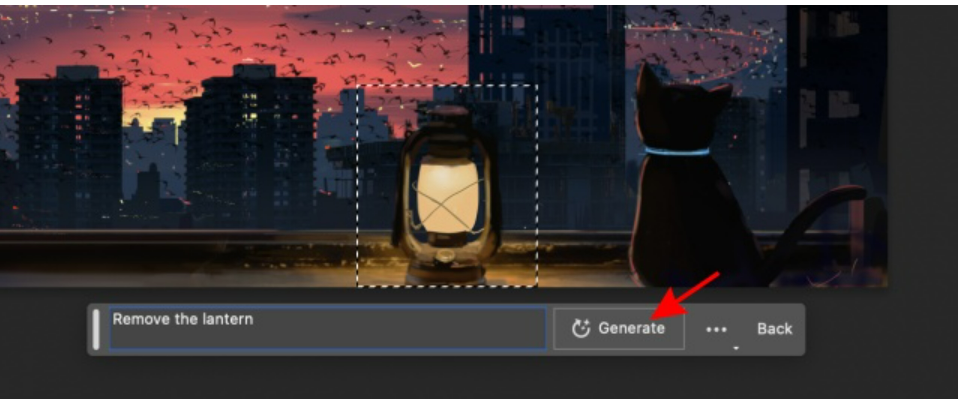
In the prompt box that opens up, type out your requirement and click the “Generate” button. You can leave it empty to have the AI decide the changes for you.
Now it’s time to wait a little for the AI to finish the process. Depending on the complexity of the request, it can take anywhere from a few seconds to a few minutes.
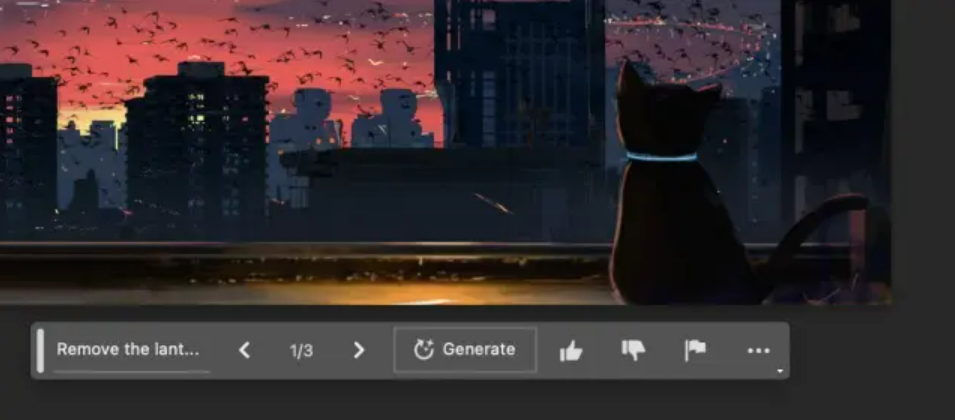
As you can see here, Photoshop AI has done a decent job of removing the object. However, the lantern light remains, which is something to be improved upon.
Adobe Photoshop AI Generative Fill: First Impressions
While not the most polished AI tool out there, Adobe’s first attempt at including an AI feature in Photoshop is quite inclusive. As you can see above, Photoshop AI intelligently identifies and removes objects from their native sceneries easily. You can even write new prompts to achieve different effects or expand the image canvas and have the AI add more details, which is even more impressive.
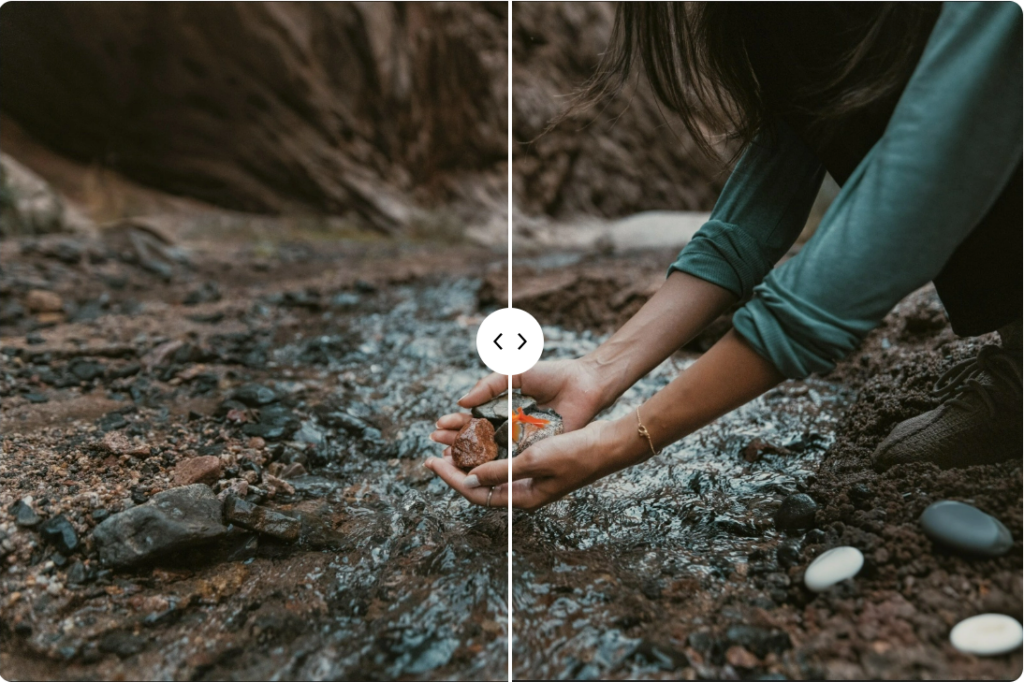
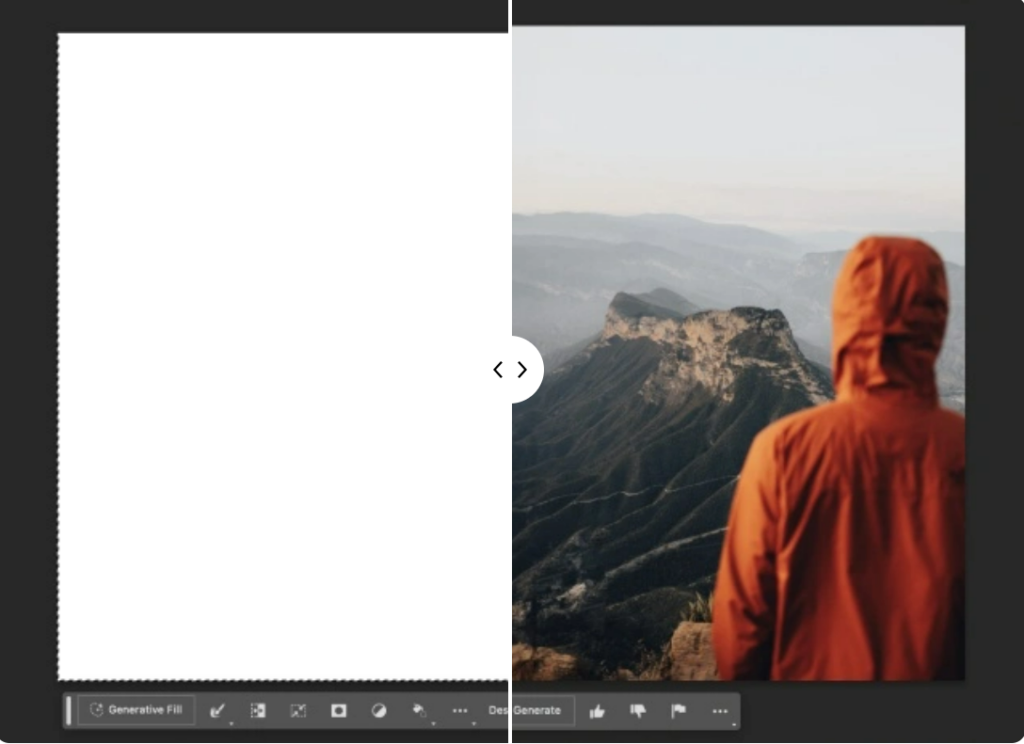
For example — In the image below, we decided to expand the canvas and have the generative AI fill the empty space based on the existing image. And well, you can see that it did a phenomenal job generating the mountains and matching it to the provided landscape.
We tried it out with a few other images and, more often than not, reached the desired effect. We were even surprised to see that you can make multiple changes to a single image. This means one can effectively transform an image into something else entirely.