
DIY Tips
Light Up Your Creativity: How to Make DIY Candles
Jun
Welcome to our guide on “How to Make DIY Candles”! If you’re eager to add warmth, fragrance, and a touch of coziness to your living space, candle-making is the perfect craft for you. In this comprehensive tutorial, we will take you through the step-by-step process of creating your own custom candles. From choosing the right wax, wicks, and containers to experimenting with various scents and decorative elements, you’ll learn all the techniques necessary to create beautiful and unique candles that reflect your personal style. Whether you’re a seasoned candle-maker or a beginner, this guide will provide you with the knowledge and inspiration to embark on a creative journey. Get ready to infuse your home with the inviting glow of handmade candles and immerse yourself in the art of DIY candle-making.
Supplies You’ll Need To Get Started
Equipment / Tools
- Double boiler pot
- Silicone spatula
- Wick-centering device or chopsticks
- Wick trimmer
Materials
- Candle wax
- Heat-resistant glass jars
- Essential oils
- Candle wicks
- Instructions
Instructions
Step 1: Prep Your Container
- Before you start melting wax or mixing scents, you’ll need something to pour your wax mixture into. For safety, we recommend you only make candles in sturdy glass containers. Sixteen-ounce Mason jars are a good size for making candles. If you already have a candle jar you like, you can also clean out the wax from the jar and repurpose the container. Once your candle jars are clean, dry, and ready to go, it’s time to melt the wax.
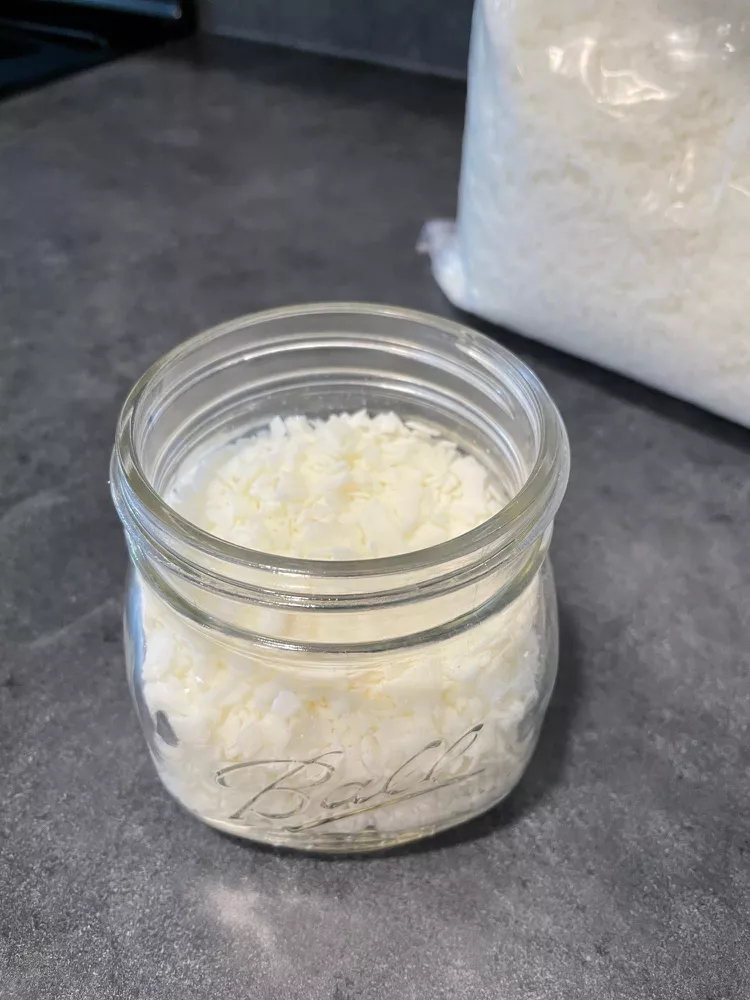
Step 2: Measure Wax
- You can purchase materials for making candles separately, but it’s most economical to buy a candle-making kit that includes all the wax, wicks, and wick-centering devices you’ll need for a whole set of candles.
- It’s easy to determine the amount of wax you’ll need for each candle: Fill your container with wax flakes to where you want the candle surface to start. Then, pour the flakes into a double boiler pot and measure the same amount again. Because the flakes reduce so much when melted, you’ll need two containers’ worth of flakes for each candle.
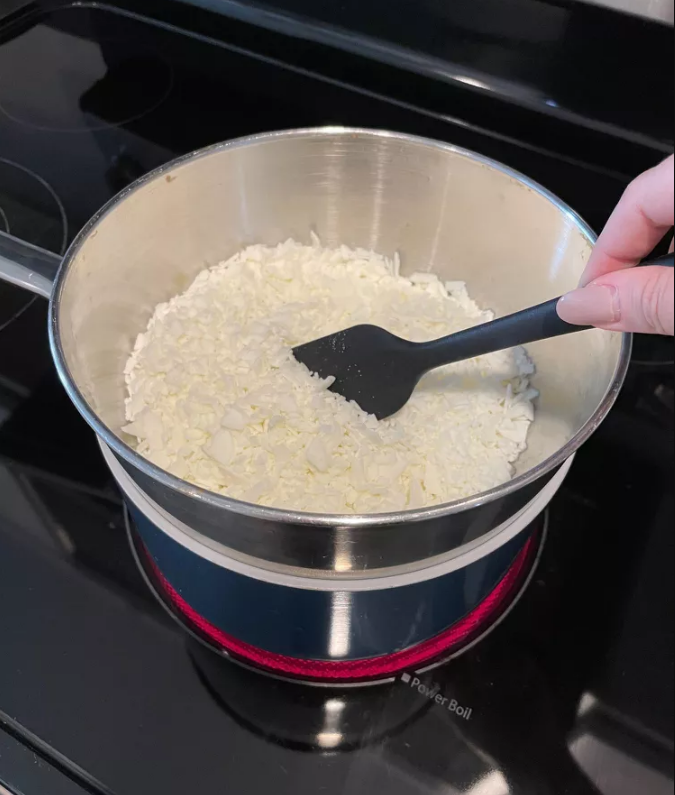
Step 3: Melt Wax
- Once you’ve measured out the wax flakes, melt them on medium heat using a double boiler. (If you don’t have one, use a metal bowl on top of a saucepan filled with water.) Next, slowly stir the flakes using a silicone spatula.
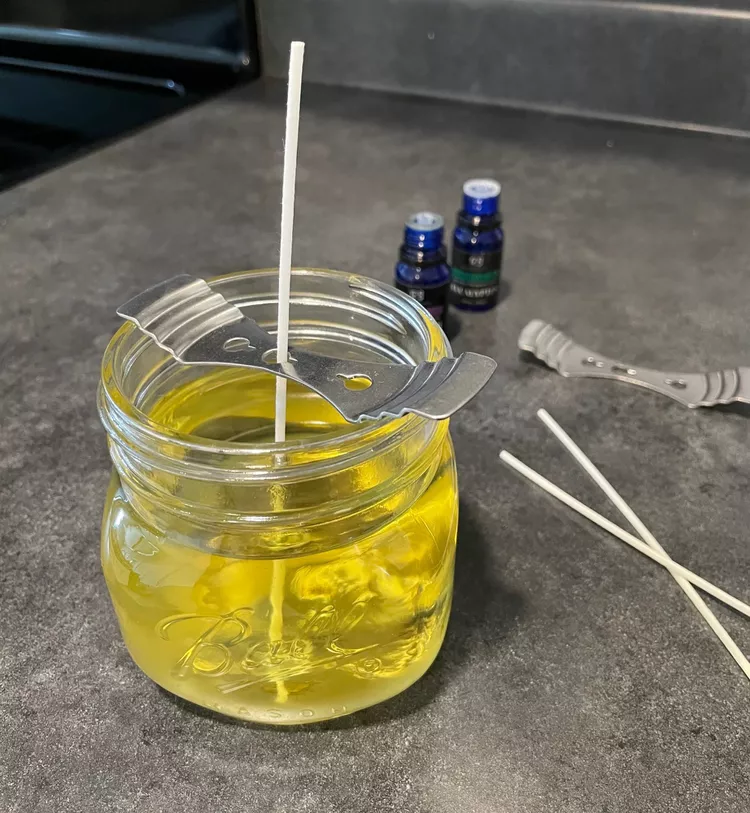
Step 4: Add Fragrance
- Once the wax is completely melted, add 10-20 drops of essential oils to the mixture. For example, you can use six drops of eucalyptus oil and six drops of lavender oil for a 16-ounce candle.
Step 5: Attach the Wick
- Before you pour the candle, you’ll need to attach the wick to the bottom of the vessel. Each wick should come with a flat metal bottom; dip the metal part into the melted wax and place it in the center of the bottom of your jar or container. Hold it in place until the wax hardens and the wick stands up on its own.
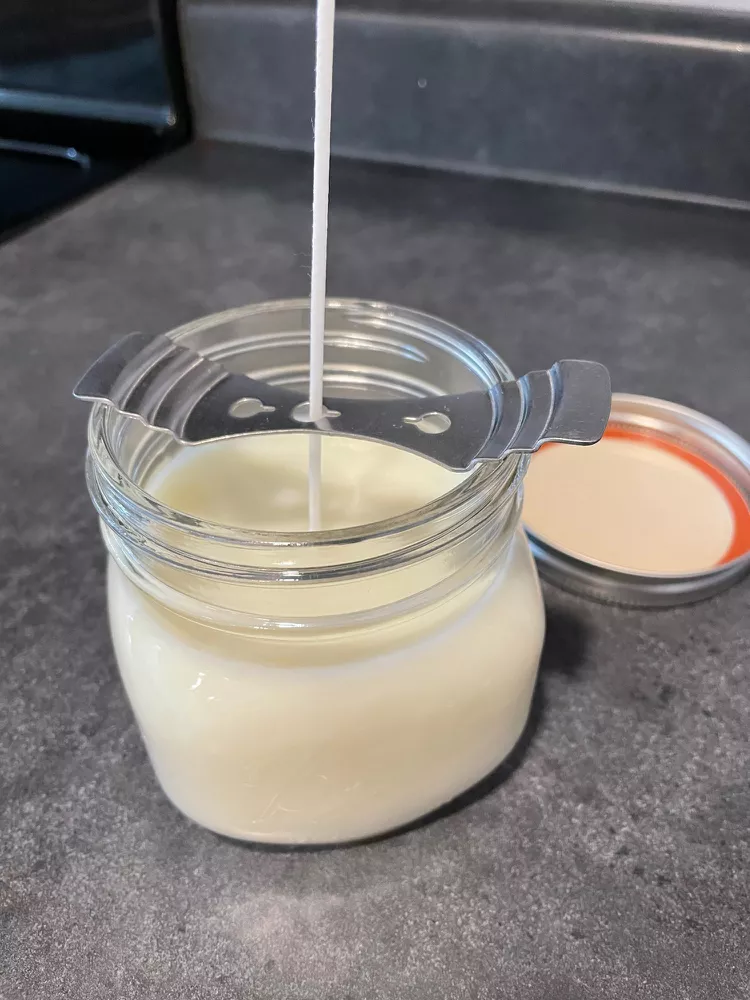
Step 6: Pour Wax
- Carefully remove the wax from the heat and pour it into your container. If the wick becomes unstuck from the bottom, you can use the wick-centering device from the kit to hold it in place. (That way, the wick will be in the very center of the candle once the wax hardens.) If you’re using a wide container, you can also balance two chopsticks over the top of your container to hold the wick in place.
Step 7: Let It Set and Trim Wick
- It will take several hours for the wax to harden again, so let the candles sit overnight. You’ll need to trim the wick when your candle has completely set. (You should always trim the wick of any candle before you burn it, even store-bought ones!) You can use scissors, but a wick trimmer is the easiest way to do it. Once you’ve trimmed the wick to about ¼ of an inch, your candle is ready to burn.
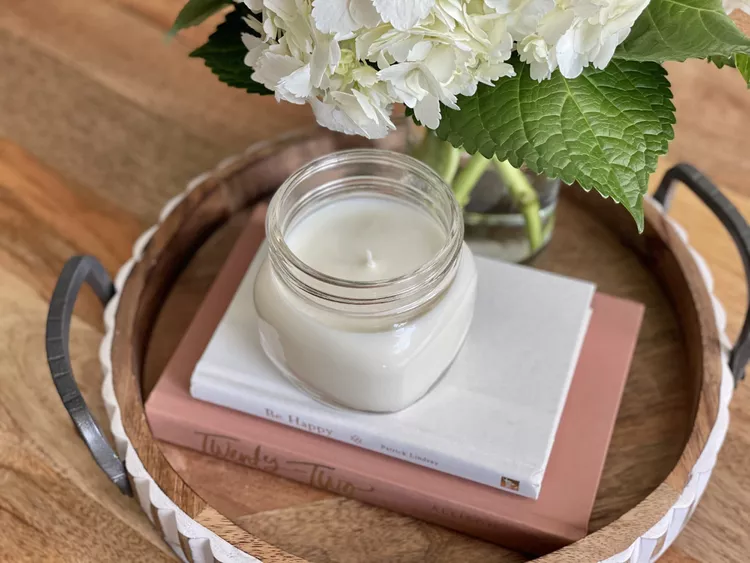
Illuminate your space with the warmth and charm of DIY candles, as you embrace the joy of crafting and enjoy the soothing ambiance they create in your home