
How To
How To Convert and Cut an EPS file in Silhouette Studio

Jul
In this tutorial, we will demonstrate a quick and straightforward method to convert and cut an EPS file in Silhouette Studio. To achieve this, we’ll utilize a third-party website to convert the EPS file, and then proceed to create a cut file in Silhouette Studio. Follow along with our easy-to-follow steps to master this process and make the most out of your EPS files using Silhouette Studio. Let’s dive right in and get started with this efficient tutorial!
Step 1 – Convert EPS File to PNG
We first need to convert the EPS file to a PNG file. You can try converting to a SVG file and it may, in some cases, work just fine. If not, converting to a PNG, then tracing the file in Silhouette Studio, is the next best option. This will make the file easier to work with.
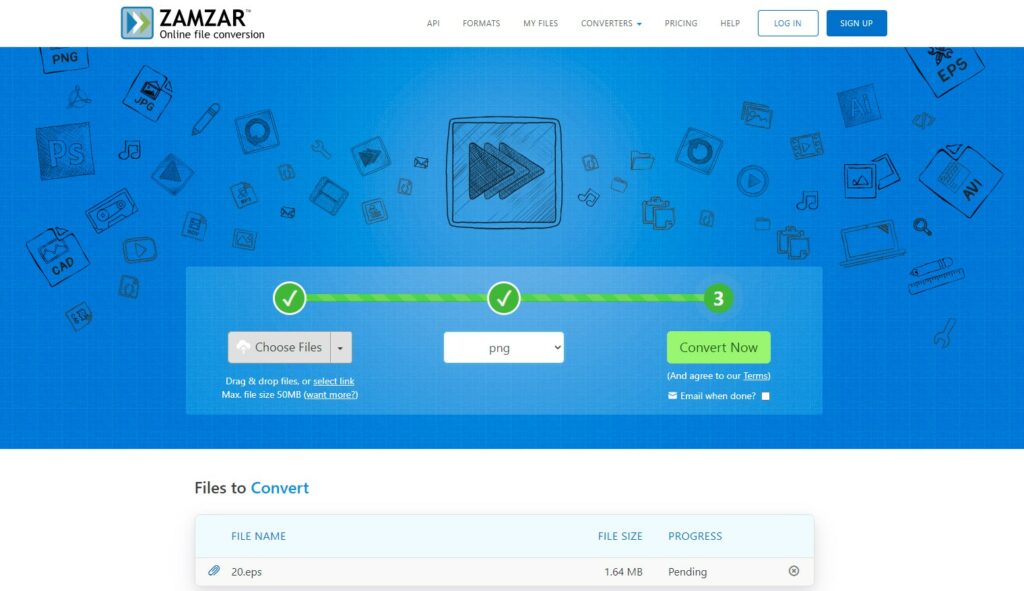
Go to the Zamzar file conversion website. Click on the icon Add Files.
Locate your EPS file and click Open. In the second box click on Convert To and select the PNG format. Next, click on Convert Now.
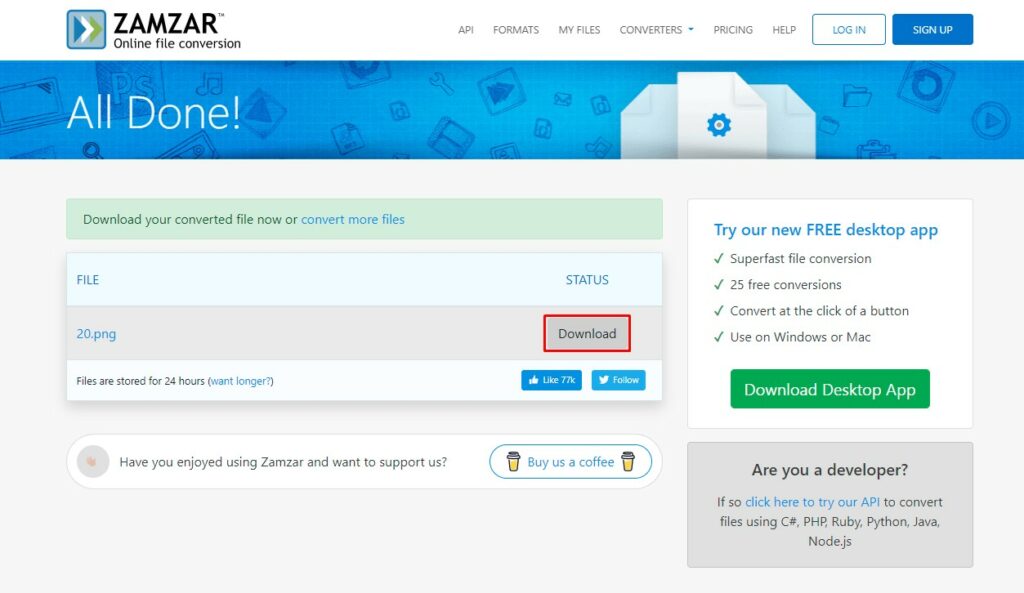
Once the file is converted, you can download and save the file to your system.
Step 2 – Open PNG Image in Silhouette Studio
You can create a cut file using Silhouette Studio’s Autotrace Feature if you have V4.4 and higher. If you are using a legacy version, we will also show you how to use the Trace Feature.
Use the Autotrace Feature
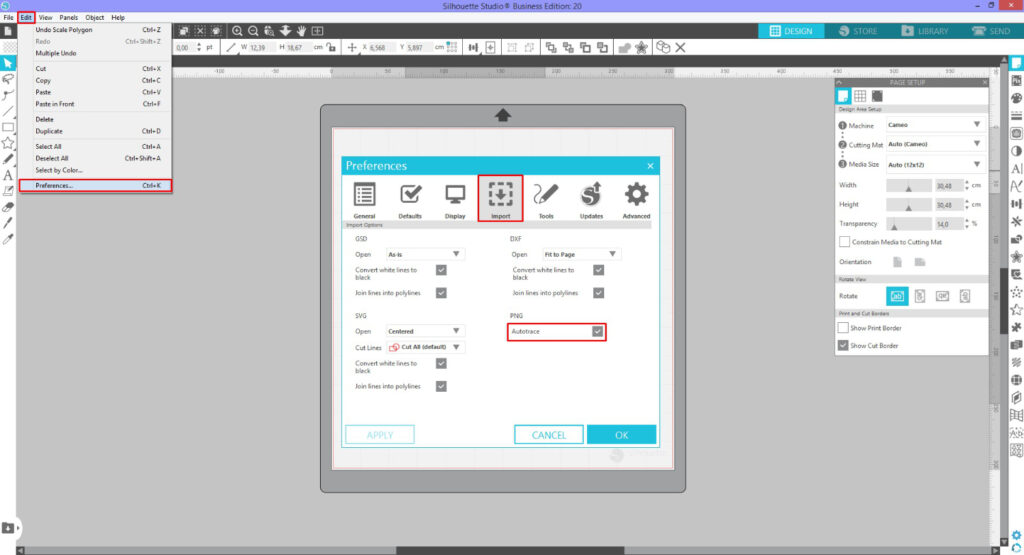
The Autotrace Feature automatically adds cut files to a PNG file. In order for this to work you may need to activate it first.
Go to Edit > Preferences and in the window click on the Import icon. Under PNG check that Autotrace has been checked..
Now, go to File > Open and locate the converted PNG file. Once opened, click on the Send panel and you will clearly see the cut lines.
Trace the PNG Image
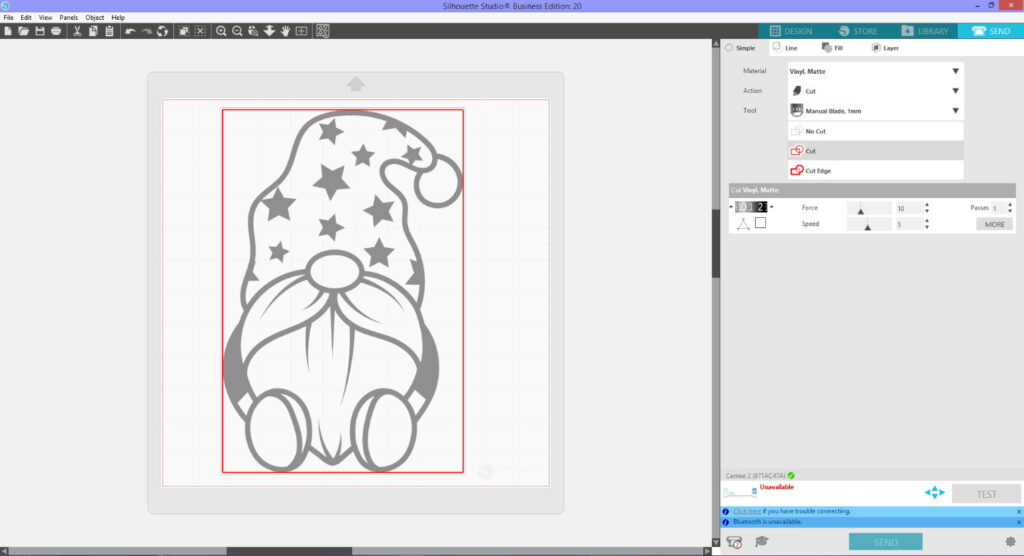
Open the PNG image in Silhouette Studio. Here, in the Send panel, you can see that the cut line is around the entire image.
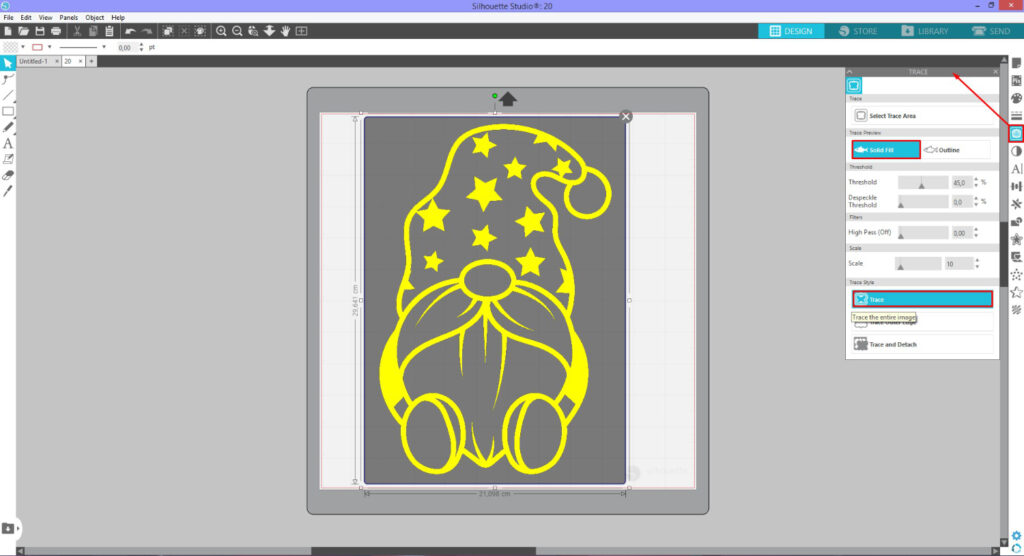
Go back to the Design Panel and click on the Trace Panel to open the options. If you are using the free Standard Edition, the Trace Panel will be limited to only the basic trace option. This still works great for creating cut lines.
Drag a selection box around the PNG and the trace option will highlight it in yellow. These are the areas we want to keep. Adjust the settings if needed, then click Trace.
Delete the PNG Image
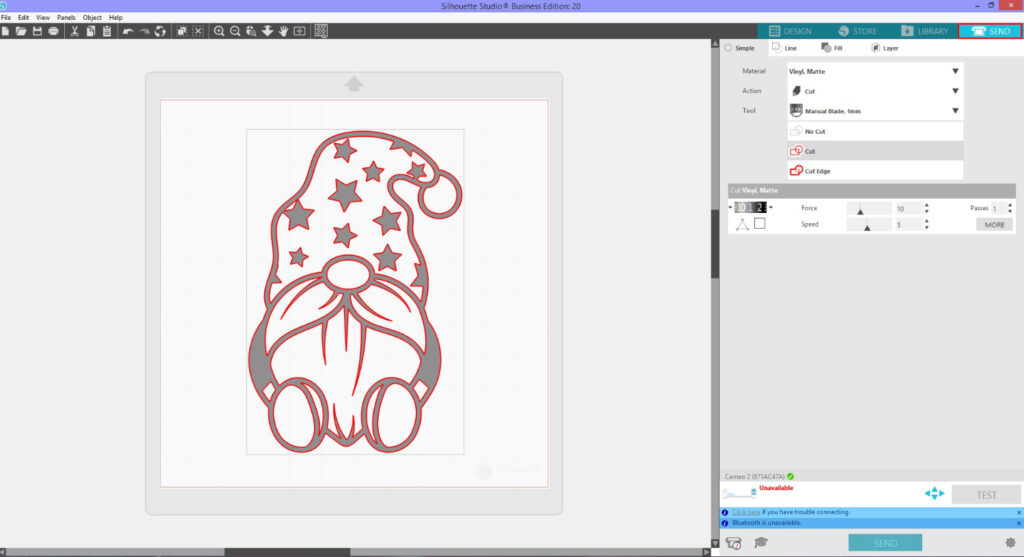
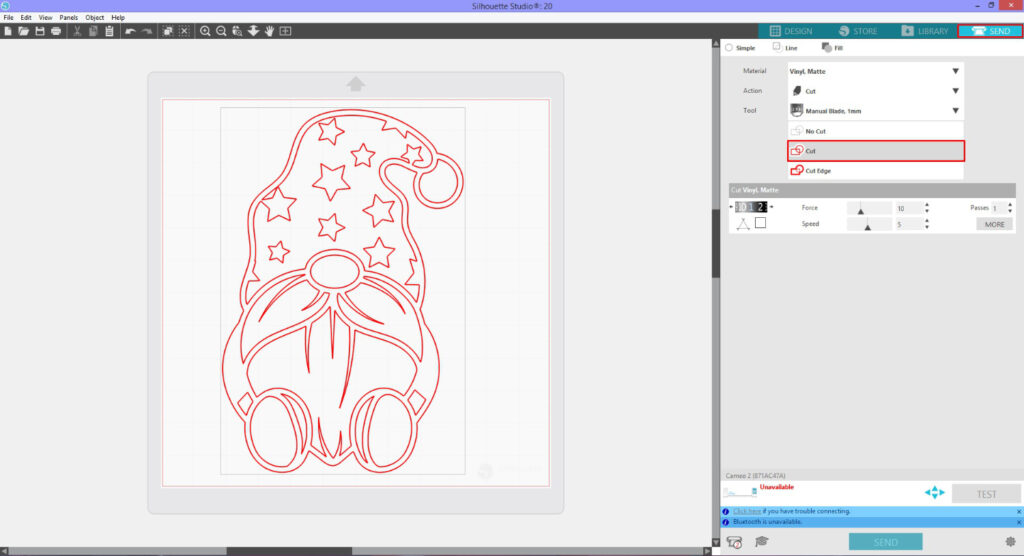
Once traced, you can delete the PNG image. Click on the Send panel button top right and make sure Cut is selected on the right side. Now you have a nice clean cut file from a PNG image.
There you are, you have now converted an EPS file using a third party conversion site and Silhouette Studio. The Autotrace and Trace features in Silhouette Studio make it so easy to create cut files in no time. Adding this bit of knowledge to your crafting will only make your projects that much easier.