
How To
How to color and cut digital files in Silhouette
Jul
Discover how to color and cut digital files with Silhouette. In this tutorial, we’ll guide you through the process of adding vibrant colors to your designs and achieving precise cuts using your Silhouette cutting machine. Whether you’re a beginner or an experienced user, our step-by-step instructions will help you master this creative process. Elevate your crafting projects with stunning colors and precise cuts using Silhouette. Let’s get started!
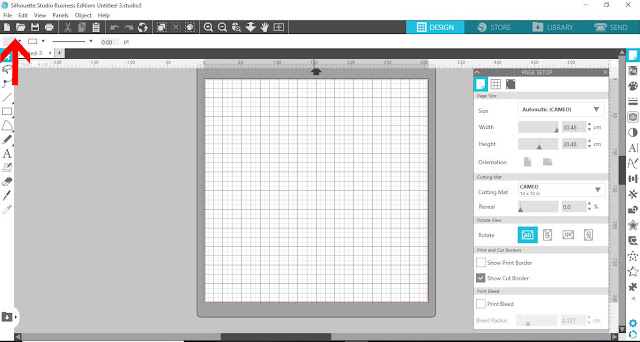
1- Open Silhouette studio. Click on the open folder.
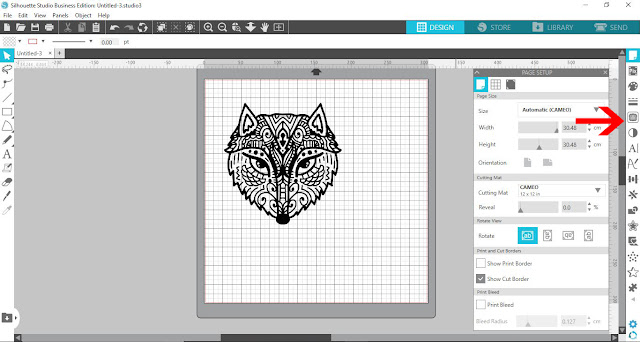
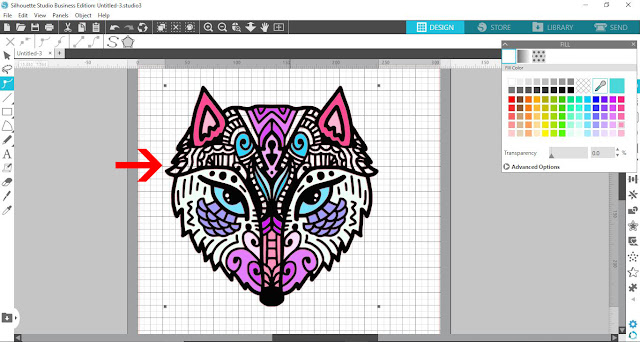
2- Insert your design. I am using Patterned animals from designbundles.net
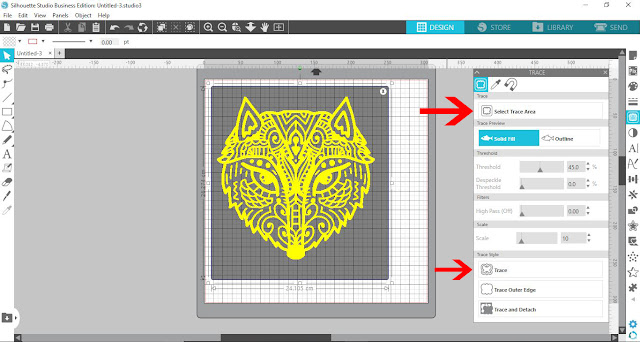
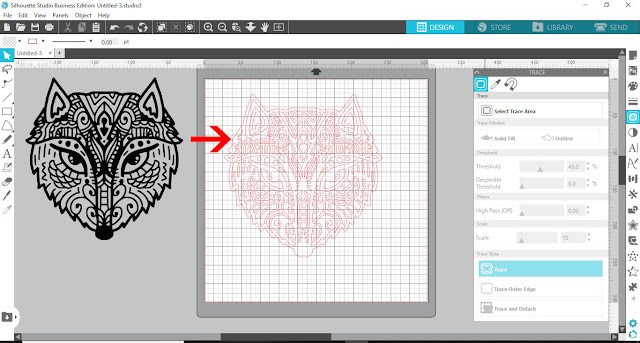
3- Select the trace panel and trace your design.
4-Move the original design from the traced design.
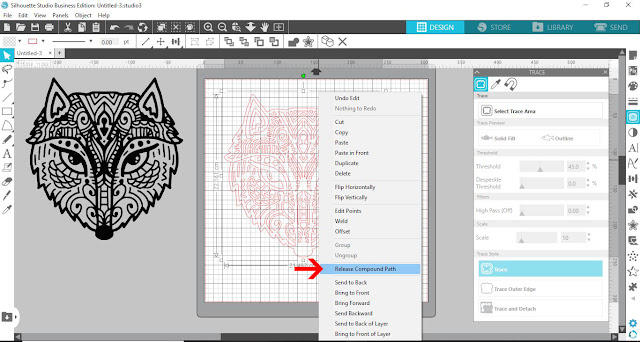
5- Select the traced design. Right click and select release compound path.
6- Select the fill panel. Select a part of the design and fill with a color. You can also use a fill pattern if you choose.
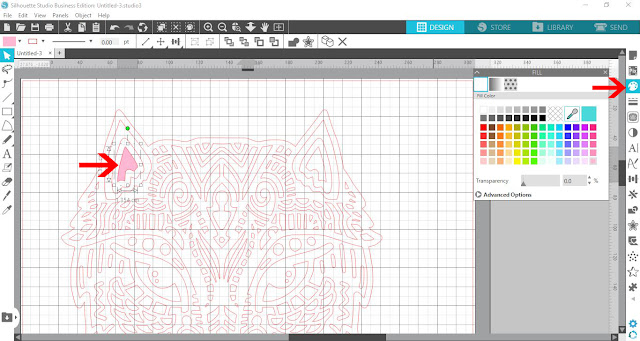
7- Repeat filling parts of your design.
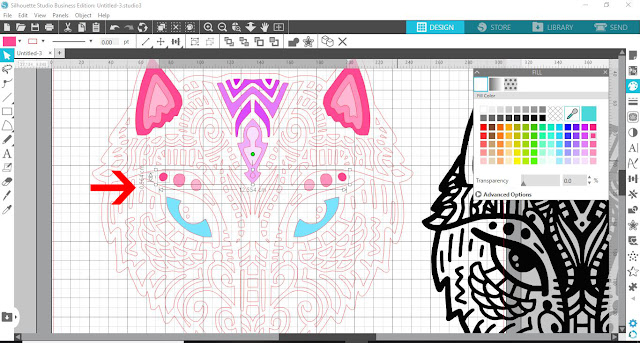
8- When you are happy with the filling color, drag the original image (png/svg) over the colored design.
9- Select all and right click. Group.

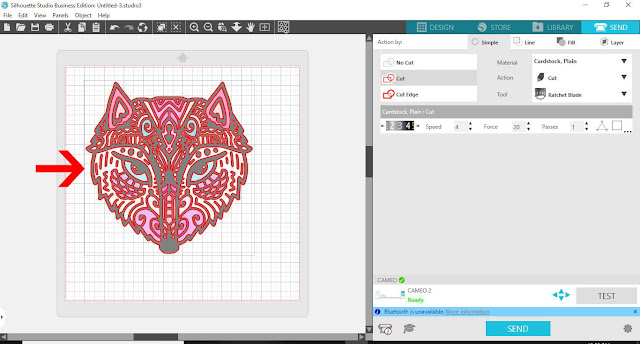
10- When you go to the send screen, you will see that all parts of the design will cut. When you print and cut you only want the outer edge to cut.
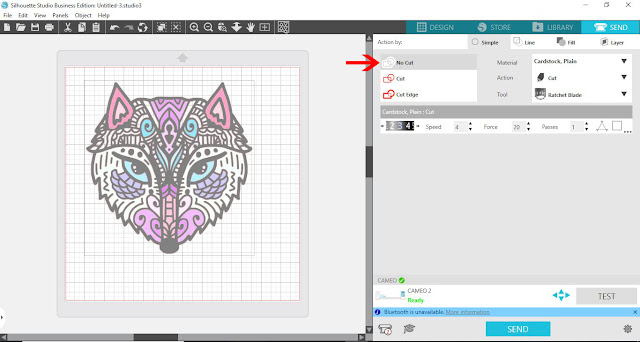
11- With all of the image selected. click on no cut.
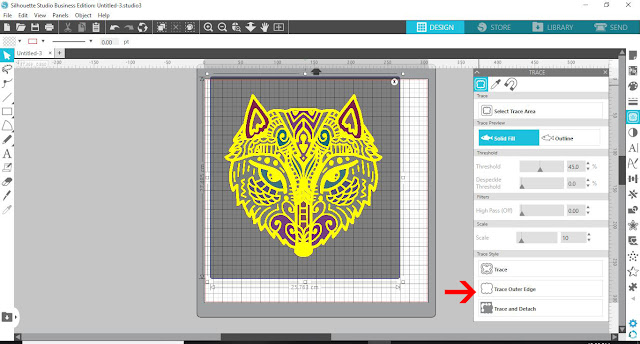
12- With the design still grouped. Click on the trace panel. then select the trace area icon.
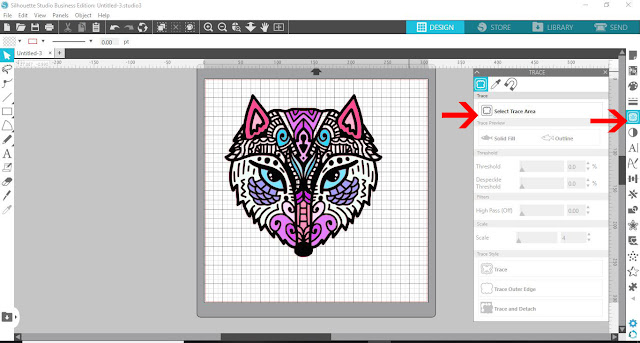
13- Click on trace outer edge.
14- Now when you go to the send screen, you can see just an outline to cut. Print your design then cut.
