
How To
How to Create a Distressed Retro Look in Photoshop
Jul
If you’re looking to enhance your photos with a vintage or retro aesthetic, adding distressed textures can truly make them stand out. In this article, we will guide you through the process of creating a distressed retro look using Adobe Photoshop. By following our step-by-step instructions, you’ll learn how to apply various distressing techniques to your photos, giving them an authentic vintage feel. Whether you want to create nostalgic visuals or simply experiment with different styles, this tutorial will equip you with the skills to achieve a captivating distressed retro look in Photoshop. Let’s dive in and start transforming your photos into stunning vintage masterpieces!
Creating a Distressed Retro Look
First thing you need to do is open your image in Photoshop.
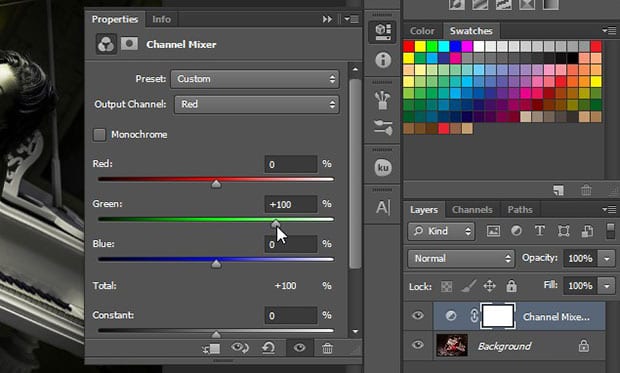
Now select the Channel Mixer from the Adjustments panel at the right-hand side of your Photoshop screen.

In the settings, you should select Red from the Output Channel dropdown, and set the following values for each of the sliders…
Red: 0%
Green: 100%
Blue: 0%
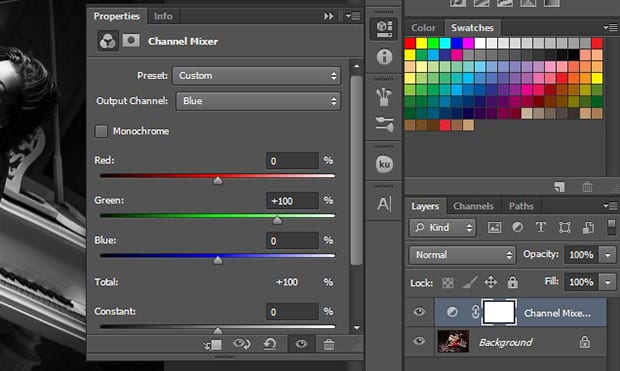
Next, select Blue from the Output Channel dropdown, and move the sliders to following values…
Red: 0%
Green: 100%
Blue: 0%
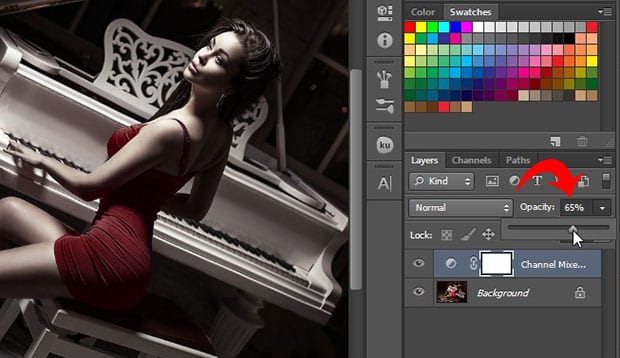
Now you’ll need to select the Channel Mixer layer in the Layers panel and reduce the opacity to 65%, so that some color pops out in your image.
Then, you need to open an image with some texture (such as one of these).
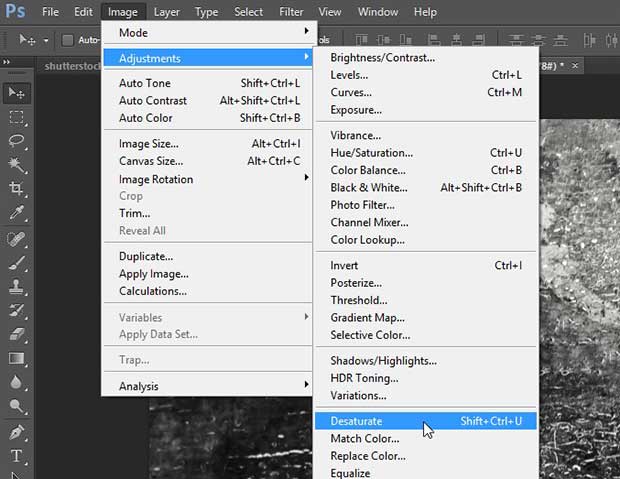
From the texture image, go to Image » Adjustments » Desaturate to desaturate your texture.
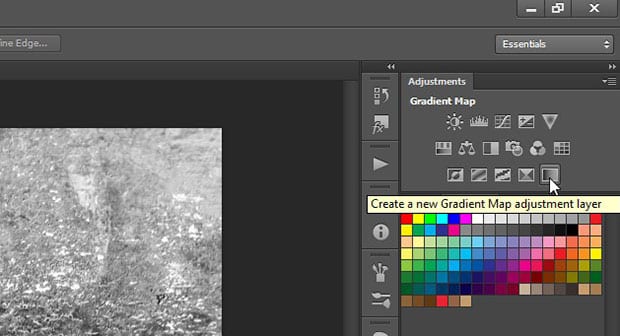
Once the texture image is desaturated, you can create a Gradient Map adjustment layer from the Adjustments panel at the right side.
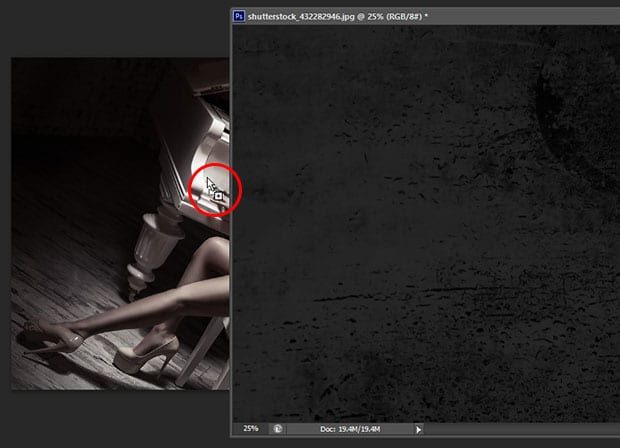
Select all the layers in Layers panel, and press Ctrl + E to merge them as one layer. Now, drag the texture image into your original image file.
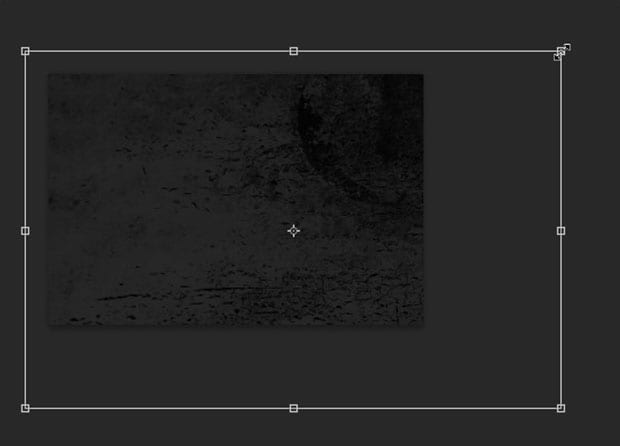
You should press Ctrl + T to transform the texture layer and adjust it to the approximately the same size as your original image, or larger.
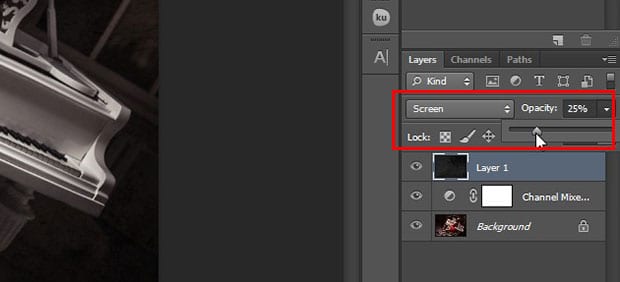
Once the size is set, go ahead and reduce the opacity of the texture layer to 25%. Also, change the blending mode to Screen.
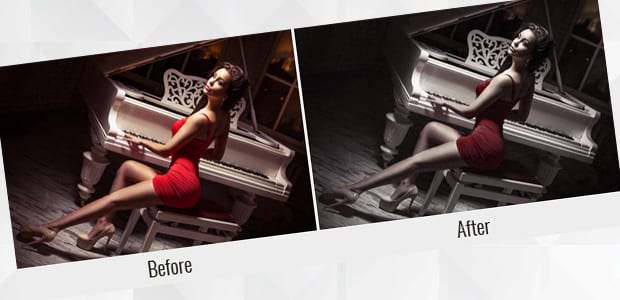
That’s all. You can see the before and after image below.